We all know someone that keeps their jewelry in a random box on the dresser, maybe YOU’RE that person? Don’t you love digging around your jewelry box or bowl only to find your favorite necklace all jumbled up in a knotted ball? Awesome, right?
Jewelry is a work of art and should be treated as such! Maybe you have some one-of-a-kind pieces that an artisan slaved over for days to make, maybe you inherited your grandmother’s vintage collection of pearls, or maybe you just love a good-n-gaudy costume piece!
Sure you can buy the stackable plastic jewelry trays or you can create a custom jewelry display to not only showcase your collection for easy outfit-pairing access and tangle-free organization! Did we mention you can make it with a ✨picture 🖼 frame✨?


Check out our picture frame jewelry display DIYs below:
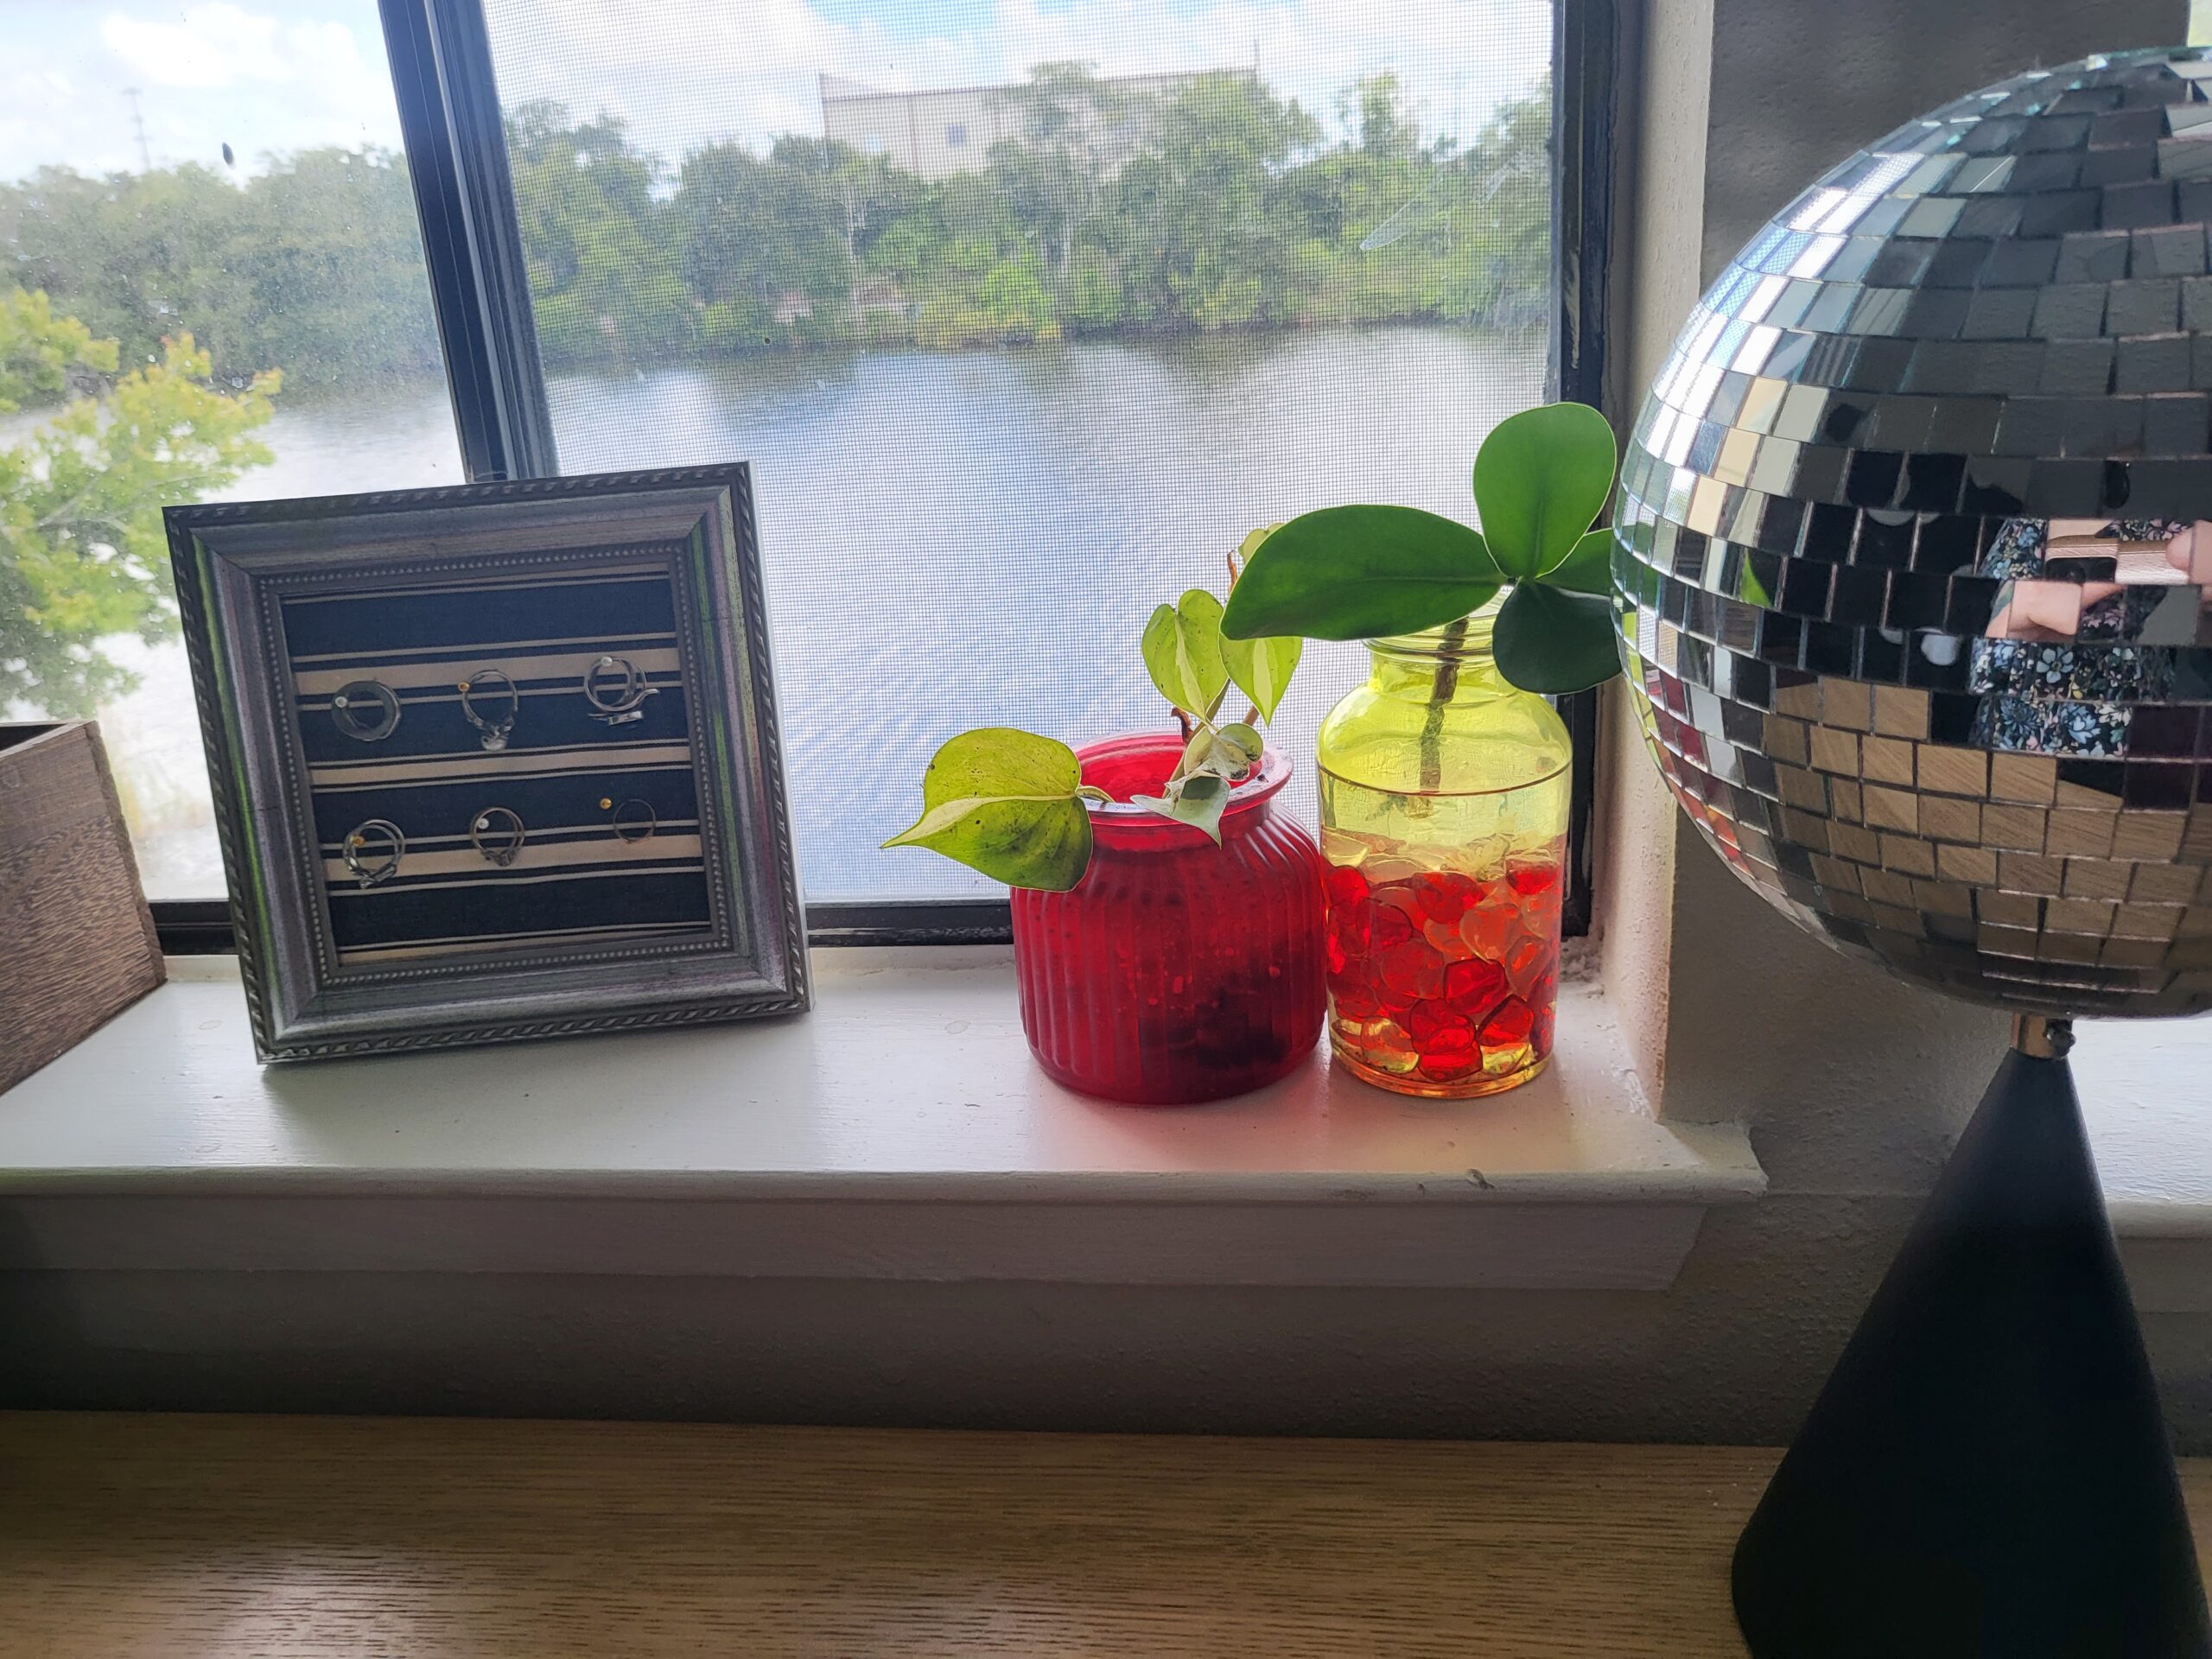
Picture Frame Jewelry Display: Rings, Earrings, and Brooches


Materials & Tools:
- Frame It Easy Custom Picture Frame (in the size and style of your choice!)
- Hanging Hardware (this comes with every frame!)
- Fabric
- Push Pins or Sewing Pins
- Craft Glue or Hot Glue Gun
- Craft Scissors or Fabric Scissors
Follow along with our video or view our step-by-step written directions below!
1. Design Your Custom Picture Frame
- Only have a handful of rings? Opt for a small frame but with a BIG personality! For our example, we used our Granby style frame in Silver. Our outside frame size measured 8 1/4″ x 8 1/4″ with an art size of 6″ x 6″.
- If you have a bigger collection, go for a bigger frame with a more subtle look! We recommend our Derby frame in Wheat, perfect for that boho chic or sand-washed beach house look!
- Can’t decide? Group your frames! Order different sizes and styles to create your own picture frame jewelry display gallery wall! Check out 5 Steps To Plan A Gallery Wall for inspiration on how to plan your jewelry wall!
2. Breakin’ It Down
- First, you’ll need to disassemble and take the backing off of your frame. For wooden frames, push back the flexipoint tabs and remove the contents of your frame (use pliers if needed). For metal frames, take your screwdriver and loosen the two parallel corner brackets, this will allow you to remove the frame rail along with the acrylic cover, matting, and backing of your frame.
- You won’t need the acyclic cover for this project, so go ahead and set that aside.
3. Cut & Paste
- Next, grab your fabric and frame backing. Lay your backing on top of the fabric and cut around it, leaving about a 1/2″ to 1″ extra to cover and fold over the frame backing.
- For added support, wrap and glue your fabric to your backing. We recommend gluing the extra 1/2″ fold-over fabric so the glue is only placed on the backside!
4. (Avengers) Assemble!
- Once the glue has dried and your fabric is secured to the frame backing, begin to re-assemble the frame. Be sure to secure that extra fabric down with the frame flexitabs if you choose not to glue them down.
- If you wish to hang your display, re-attach your hanging hardware. If you want to display it on a tabletop or dresser, it’s best to remove the hanging wire and other hanging hardware. Check out our Easelmate for a stylish and sturdy tabletop display!
5. Hang & Style Your Way
- Place your push pins or sewing pins into the fabric-lined backing in whichever pattern or fashion you see fit, you can always re-arrange them!
- Find the perfect wall space to hang! We recommend placing your new picture frame jewelry display in your bedroom by the closet or in the bathroom, this way coordinating your jewelry and outfits is easy peasy!
- Grab your hanging hardware and proudly display your new DIY jewelry holder! Check out our Guide To Hanging Hardware for tips and tricks on hanging your DIY projects perfectly! Also, be sure to check out How To Hang A Frame On Any Wall for hanging on difficult walls!
6. Bragging Rights
- You did it, you made a SUPER cool and SUPER easy DIY jewelry organizer! Now it’s time to show it off and be the envy of all your friends. Snap a pic and share it with us use the hashtag #frameiteasy and tag us @frameiteasy. We can’t wait to see your DIY home decor!
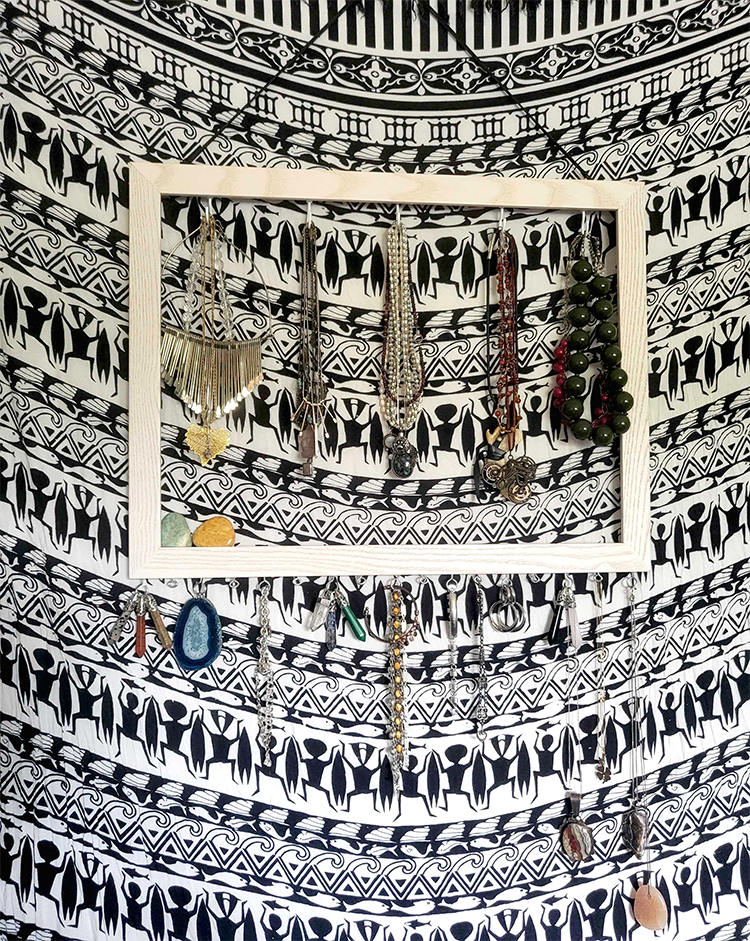
Picture Frame Jewelry Holder: Necklaces, Bracelets, and Anklets

Materials & Tools:
- Frame It Easy Custom Picture Frame (in the sizing and style of your choice!)
- Hanging Hardware (this comes with every frame!)
- Screwdriver
- Hand drill
- Wood drill bits
- Pliers
- Hookscrews & Eyelet screws
- Sandpaper
- Rope, beading, etc.
- Pencil
- Ruler or Tape Measurer
Follow along with our video or view our step-by-step written directions below!
1. Design Your Custom Picture Frame
- If you order a whole frame kit: you won’t need the backing or the acrylic cover for this project! We recommend ordering the frame only from our accessories page. This has all four sides of the frame, without a fame backing or cover. Assembly hardware is still included!
- Only have a few necklaces? Opt for a small frame but with a BIG personality! We love the look of our Stafford style frame, its wide metal frame and flat profile face are sure to make a bold statement!
- If you have a bigger collection, go for a bigger frame with a more subtle look! For our example, we used the Dayton frame in Whitewash. Our outside frame size measured 22 1/8″ x 17 1/8″ with an art size of 20″ x 15″.
- Can’t decide? Group your frames! Order different sizes and styles to create your own picture frame jewelry display gallery wall! Check out 5 Steps To Plan A Gallery Wall for inspiration on how to plan out your jewelry wall!
2. Breakin’ It Down
- Remember: If you order a whole frame kit, you won’t need the backing or the acrylic cover for this project!
- Go ahead and disassemble your frame if you have a whole frame kit, if you’re just working with the frame itself take off the hanging wire and any other installed hanging hardware.
- Grab your pliers and pull out the flexitabs from the frames, if you wish you can also use wire cutters to snip off the tabs and sand the rough edges down with sandpaper. You can also just bend the flexitabs to the backside of the frame to hide them.
3. Mark it up
- Now that your frame is pretty much bare bones at this point (good work!) it’s time to grab a pencil and mark where you would like to screw in your eyelet screws and hook screws. We recommend using a ruler or tape measurer to measure the spacing out evenly.
- 1/2″ or 1″ between hooks is a great place to start spacing. Keep in mind what types of pieces you’ll be hanging, bigger and bulky jewelry will need more room!
4. Twist & Shout!
- While you can place your eyelets and hooks on any side, top, or bottom of the frame, we chose to use screw hooks for the inner top edge of the frame, and the eyelets for the bottom end. You can also install hooks off the outer side of the frame for extra jewelry storage – you do what works for you! The inner top edge is perfect for displaying long necklaces, while the bottom of the frame makes for a great earring display. Side hooks can hold bangles and charm bracelets!
- After you’re happy with your marks, you can start twisting your hooks and eyelets in the frame. if this proves difficult by hand (especially if you’re using a metal frame!) try pre-drilling some starter holes. You can also add some glue to make sure your hooks are really stuck!
5. Hang & Style Your Way
- Find the perfect wall space to hang! We recommend placing your new picture frame jewelry holder in your bedroom by the closet or in the bathroom, this way coordinating your jewelry and outfits is easy peasy!
- Grab your hanging hardware and proudly display your new DIY jewelry holder! Check our Guide To Hanging Hardware for tips and tricks on hanging your DIY projects perfectly! Also, be sure to check out How To Hang A Frame On Any Wall for hanging on difficult walls!
- Wanna hang bangles or pendants? Open some eyelets. Take your pliers and open the closing just a bit so you’re able to slide in your jewelry!
6. Bragging Rights
- You did it, you made a SUPER cool and SUPER easy DIY jewelry organizer! Now it’s time to show it off and be the envy of all your friends. Snap a pic and share it with us use the hashtag #frameiteasy and tag us @frameiteasy. We can’t wait to see your DIY home decor!
Get Crafty!
We hope we’ve inspired you to craft your own picture frame jewelry display! This DIY craft is not only great for personal use but makes an excellent gift for the jewelry lover in your life! Head over to our frame designer to get started and don’t forget to check out our other DIY Learning Center content like Kid’s Rotating Museum Frames and 5 Frame-Worthy DIY Wall Art Projects.

Send your DIY project photos to [email protected] with the subject line “Featured Friends” for a chance to be featured!
Or hit us up on our socials, use the hashtag #frameiteasy and tag us @frameiteasy.