How to Add Art to Frames: Step-by-Step Guide
While we’ve covered everything you need to know about picture frames before you place an order, what about once you receive your frame and now have to add your art to it? Adding art to frames might seem like a daunting task, but it’s actually quite simple!
Here we’re going to share all about how to add art to frames, as well as all the necessary tools and components you’ll need. We’ll cover the basics of framing common items (photos, posters, etc.) and give a few tips for more unique projects.
Important note: If you upload a digital file to us for printing and framing, your frame will arrive ready to hang and you will not need to worry about how to add the art to the frame — it will already be done for you! But, for art you already have in-hand, the following information will be helpful so you can easily add it to the frame you receive.
Want More Tips and Tricks?
Join our mailing list and we’ll send you weekly framing tips, tricks, and special offers!
01What Are The General Components of a Frame?
It’s always a good idea to start with the basics, and that’s understanding the various components you’ll be working with before adding art to frames.
The Frame Itself
The frame itself is what showcases your work. While shape and color of your frame style shouldn’t make much of a difference from an assembly standpoint, the material it’s made from (as well as its construction) will — for example, wood frames and metal frames are made a little differently, thus each have different assembly requirements.
Rabbet
No, we didn’t misspell the name of everyone’s favorite woodland critter; a rabbet is the channel on the internal portion of the frame that everything (your art, backing, and cover) fits into. Call it your artwork’s own little burrow. 😉
The thicker a frame’s rabbet, the more space it can accommodate.
Shadow box frames usually have massive rabbets, as they allow for 3D objects and other thicker art. Frames for thinner pieces, however, have smaller rabbets.
Here at Frame It Easy, most of our frames have around ½″ rabbet depths, though some are 7/16″ (Granby), 9/16″ (Ashford), and 19/31″ (Hanover).
It’s important to remember, however, that this depth must also include your backing, cover, and any matting.
This is why our Metal frames have room for artwork up to 1/4″ thick. This includes cover, backing, and matting, so if your frame has a single mat the artwork shouldn’t exceed 3/16″ thick and if it is double-matted the artwork shouldn’t exceed 1/8″ thick. (The spring clips that hold your art into the frame will adjust perfectly as long as your art doesn’t exceed this thickness.)
Our Wood frames have room for artwork up to 1/8″ thick if they have no mats or one mat, and up to 1/16″ if they have two mats.
Frame Hardware
The following items are what keep your art snug in its frame:
- Flexipoint Tabs go on the back of our wood frames. You simply bend them down to secure the contents of your frame. (They hold the art, cover, and backing inside the frame itself so nothing falls out.) These tabs come already installed on our wood frames, so you won’t have to find or assemble them. They do, however, take up some of the rabbet space, which is why our wood frames can only accommodate 1/8″ art.
- Spring Clips remove all the extra space in the rabbet of our metal frame, making the display nice and snug. Without them, your frame’s contents would flop around, possibly subjecting your art to damage. Spring clips do not come attached to the frame, so for art you’re adding to your frame you would need to slide them into the back channel.
For a more in-depth look, check out our complete frame hardware guide.
Backing
Our backing is an acid-free foamcore. It is 3/16″ thick and is included with all our frames; it preserves your art, and it is also lightweight. It goes behind your artwork and cover when you slide everything into the frame.
Cover
Our covers are made of acrylic, and are available in either a clear, non-glare finish, or our conservation clear option. This is industry standard with online custom framing sites, as glass is heavier, more expensive to ship, and can shatter easily.
Our clear and non-glare acrylics are 1.5mm thick and block 66% of UV light. Our conservation acrylic is 3mm thick and blocks 99% UV protection.
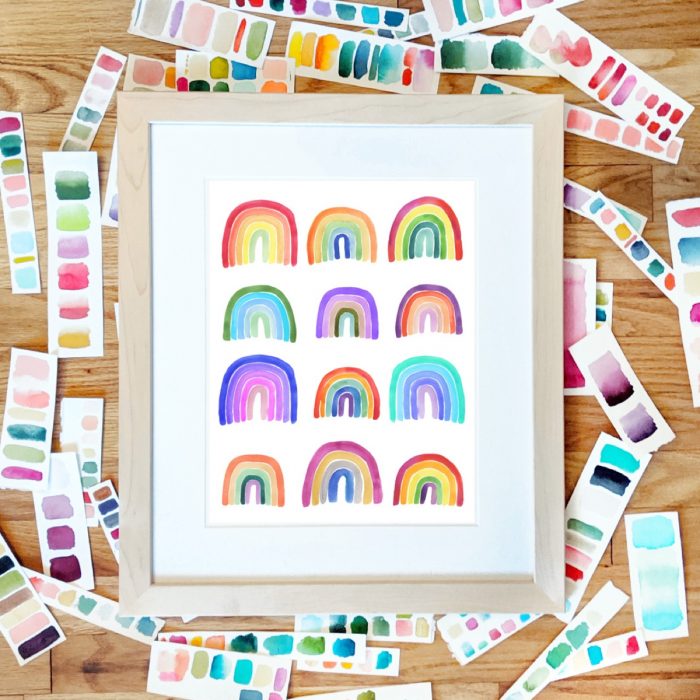
Matboard
Matboards are optional, but they add a decorative aesthetic to framed art. They can accent or complement a certain color in your artwork that you want more noticeable. Getting artwork into frames that have matboards involves some extra steps, but it’s still easy!
Our matboards are 1/16″ thick, and you can choose either single or double matting.
(P.S. For more in-depth resources on choosing and ordering matboards, check out our matting specific posts in the Learning Center.)
02What Materials Might You Need?
In order to get your art into a frame, there are a few key items that are necessary to have on hand before you get started.
Your Art
This might seem a bit obvious, but you’ll need your art in order to, well, add it to a frame. We’ll cover different types of art in more detail in a bit, but for now, this is just an explicit reminder. 🙂
A Properly Sized Frame
While we know a frame will be necessary for adding art to it, the key here is a properly sized frame. Custom framing often offers things standard “off the shelf” frames do not so be sure that whichever frame you choose, it’s the proper size for what look you’re trying to achieve.
For most projects, you’ll need a frame cut to fit the exact “Width” and “Height” of your art. Here at Frame It Easy, we make this, well, easy by just having you enter your “Art Size” in our frame designer. (We take care of the rest of the math!)
Hanging Hardware
In addition to the necessary hardware for holding your art in the frame, you’ll also need a few things to hang your frame on the wall. Among these items are the following:
- Hook: the mount on your wall that the frame hangs off of.
- Nail: goes into the wall, and it’s what holds your hook in the wall.
- Hanging Wire: goes across the backing of the frame, and you hang it off the hook.
- D-Rings and Eurohangers: hold the hanging wire, and go on the back of wood frames and metal frames, respectively.
All of these items come included with your frame from Frame It Easy.
Framer’s Tape
While we provide all the necessary hardware to get your frame up on the wall, Framer’s Tape is one additional component you might want to consider purchasing from our frame accessories page.
Framer’s Tape is an adhesive specifically designed for mounting prints for framing, and a single roll will usually last you a long time.
Why not just use regular tape? Well, Framer’s Tape is acid-free, meaning it won’t degrade your art over time. It is stronger and thinner than linen or paper tapes, and it won’t harm your mats or artwork. The archival-grade, moisture-proof, non-porous film backing is long-lasting and can be easily and cleanly removed from most surfaces by applying minimal heat.
Typically you’ll want to use Framer’s Tape if you need to either adhere your art to a piece of matboard, or if you want to float mount your piece. (Tutorials provided below!)
03Basic Framing Steps
Next are your basic steps — the procedure of putting your art in the frame. While there might be added things you have to do with certain types of art, the following are pretty much a given no matter what you want to frame.
1. Measure Your Art
The first and most important step! If you measure your art wrong, everything else in your project will be incorrect. So it’s important you measure correctly.
P.S. Keep in mind that we automatically apply a ¼″ overlap, to make sure your art does not “fall through” the frame.
2. Find/Order/Purchase The Proper Size Frame
After you measure your art, you’ll have a decision to make. As we mentioned earlier, you’ll need to find the right size frame, and such an item may be common or scarce depending on what your measurements turn out to be.
If your art is 8″ X 10″, and you aren’t looking to preserve or protect your art for very long, your average department or arts and crafts store should have a standard sized frame that can display your art. It might not be the best quality, but it will function.
If you want a specific frame color/style, or if your art is of a more unique size like 15 ¼″ X 39 ½″ for instance, you will most likely need to go the custom frame route.
These days buying custom frames online is a snap, and you can personalize everything from the size to the color to the matting choices.
To order picture frames from Frame It Easy, use our handy frame designer found on our homepage.
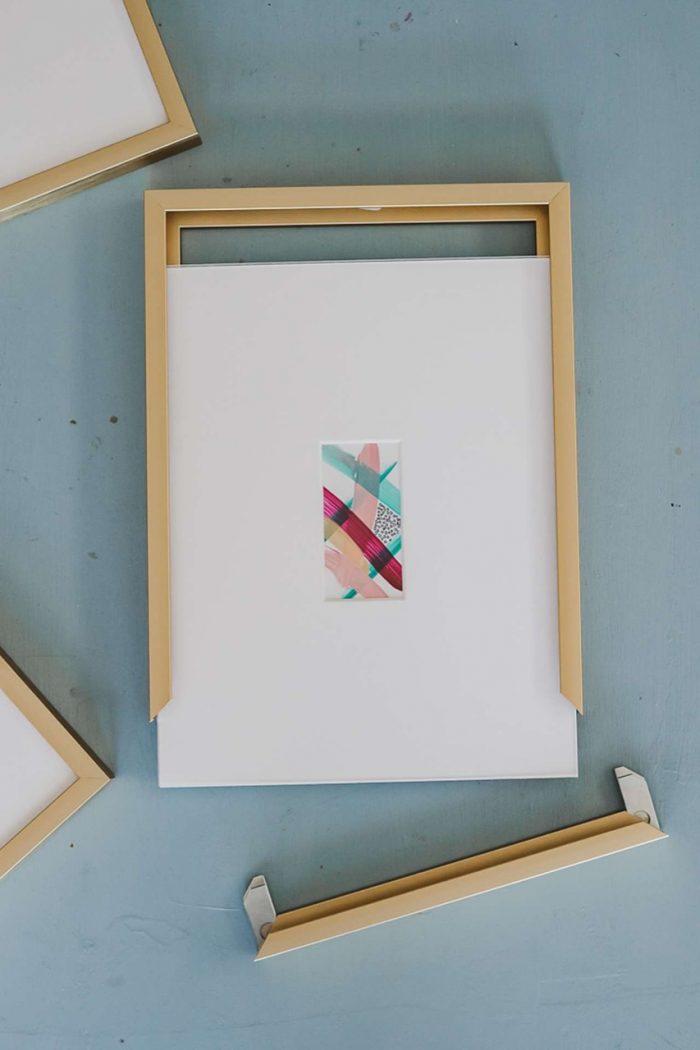
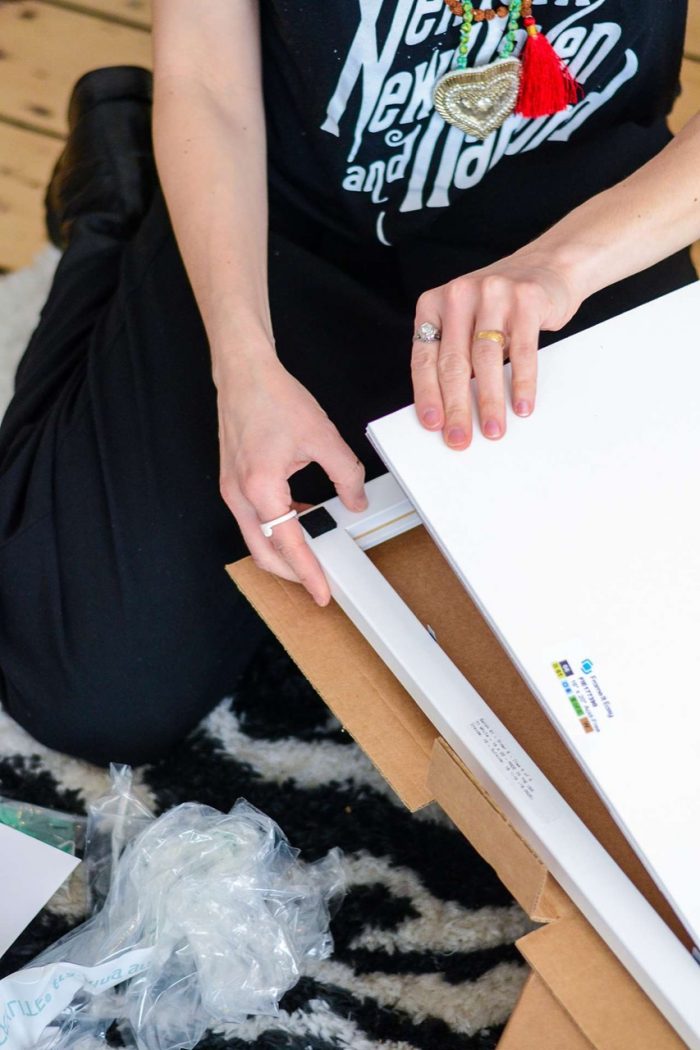
3. Disassemble The Frame
Once you have your frame in hand, you’ll need to take the frame apart in order to get your artwork into it. The process for this will vary depending on what framer you buy from, and we can only speak for our own process.
Our metal frames require slightly more disassembly than our wood ones, the latter of which only require you to bend back the flexipoint tabs and remove the backing and acrylic.
For our metal frames, you’ll need to unscrew the corner brackets and remove the bottom rail. You’ll get access to the backing and cover from there.
For Frame It Easy frames, you will receive illustrated paper instructions with every order, and we also have some instructional information (with videos!) on our Help page.
Wood Frame Assembly
Metal Frame Assembly
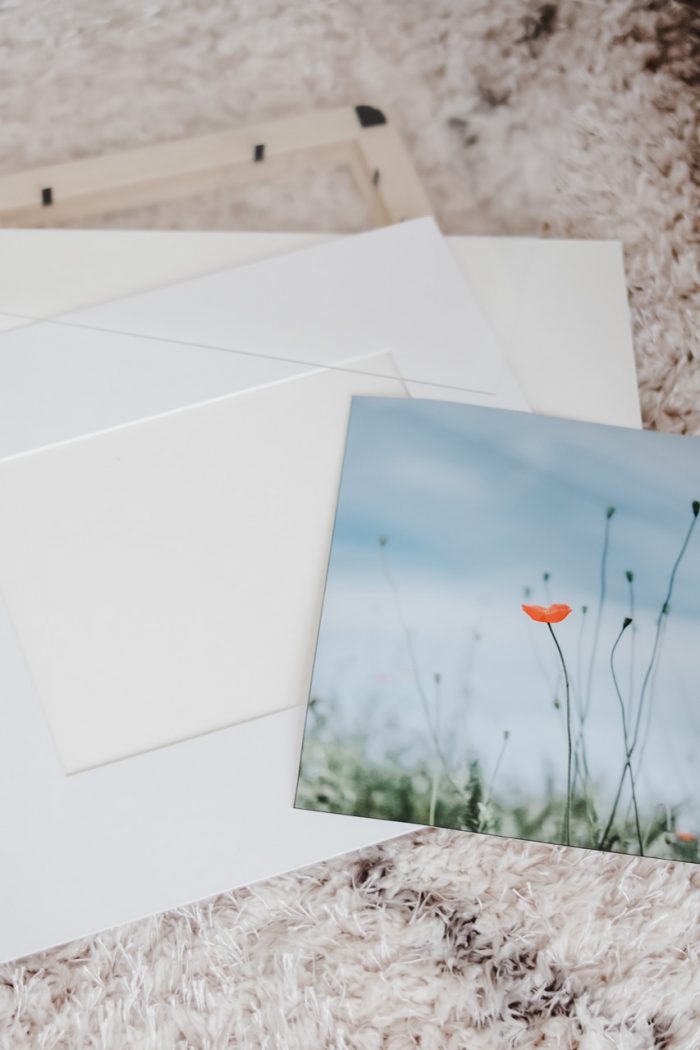
4. Add Your Art*
Adding your art is an exciting step! The simple idea is that all you need to do is sandwich it in between the cover and backing. (Just make sure you remove any protective film from both sides of the acrylic first, though!)
*Depending on the type of art you have, though — as well as if you have matting — there may be some different methods you want to utilize to add your art inside the frame. In the following sections (four and five) we detail some popular methods and tips for adding various kinds of art to frames.
5. Re-Assemble The Frame
Frame re-assembly is basically the disassembly step, but in reverse! If you have a wood frame from us, just pop the art, backing, and cover back into the frame itself. Bend down the flexipoint tabs, and then tie the hanging wire on the end that’s loose. (Refer to the video above or view our wood frame assembly video.)
With the metal frames, you’ll need to slide the art, backing, and cover back into the rails, and then re-screw the corner brackets into each corner that you loosened them on. Everything should be secure once you add the spring clips, and you should be good to place the eurohangers onto the frame rails to string your hanging wire through them. (Refer to the video above or view our metal frame assembly video.)
6. Display
Now you’ve made it to the final part that’s most gratifying — displaying your completed frame! All you need to do is hang your frame up on the wall. (Instead, want to place your frame on a desk or table? Order an EaselMate from our accessories page!)
For most of our frames, just hammer the hook & nail into the wall, then hang your frame from the wire off the hook.
P.S. For larger wood frames you’ll get wall buddies, an extra piece of hanging hardware that will prevent bowing. Just place the wall mounts on the wall, and drape the wall buddies over them.
04Popular Methods for Adding Art to Frames
The following are some basic framing concepts for several different types of art.
The “Perfect Fit”: Art That You Just Need To Slide Into The Frame
This method covers many items we commonly frame — photos, posters, and art prints that do not have any matting.
In this case, you simply need to follow our standard assembly instructions (linked in Step 5 above) as your art will perfectly match up with the backing and cover of your frame.
The T-Hinge Method: Can Be Used for Art With Matting
Including a matboard means a little extra consideration when it comes to adding your art to frames.
The T-Hinge method is a way of mounting your art to the matboard to keep it centered and secured.
How To Add Art to Frames: T-Hinge Method
- After measuring the size of your art, start by ordering your frame & matting at www.frameiteasy.com.
- Also order Framer’s Tape from www.frameiteasy.com/accessories, or use another type of acid-free framing tape.
- On a clean, flat surface, position your artwork face-up.
- Position two small pieces of Framer’s Tape — sticky side toward you — at the top of your artwork.
- Use a small, non-abrasive item — such as a folded hand towel — as a weight to hold your art in place so it doesn’t move around.
- Position your matboard over the art so that it is centered or in the position you’d like.
- Press down at the top of your art to adhere the matboard to the framer’s tape.
- Remove the towel and flip your artwork over.
- Place two more pieces of Framer’s Tape perpendicular over the top of the first two pieces of tape.
- This will create a “T” shape to hold your art against the matting.
- This also creates a “hinge” for your art so that it only needs to be secured at the top.
- Add your art plus matting into your frame!
The H-Mount Method: Can Be Used To “Float” Artwork
In most cases, we automatically add a 1/4″ overlap to our frames — whether it’s the lip of the frame itself or the edge of a matboard, this 1/4″ overlap is what keeps your art from “falling through” the frame or mat. There are instances, though, where you might not want the overlap, such as if you have very important details near the edge of your art and/or if you want to “float” your art in the center of the frame (such as in the case of art that has a decorative or deckled edge).
In this case, using the H-Mount Method will float your art in the frame, securing it from the back.
How To Add Art to Frames: H-Mount Method
- After measuring the size of your art, start by ordering your frame at www.frameiteasy.com
- Also order Framer’s Tape from www.frameiteasy.com/accessories, or use another type of acid-free framing tape.
- For a colored backing, order a piece of separate matboard with no opening that will fit the desired size of your artwork, accounting for any “border” around it. (The outside dimensions should match the “Art Size” of your frame.)
- On a clean, flat surface, decide where you want to position your art on the backing (or a solid piece of matting that has no opening).
- Cut three pieces of Framer’s Tape — take one piece that is sticky side up and add two smaller pieces to each side, sticky side down.
- This will create an “H” shape to hold your art against the matting.
- Repeat as many times as necessary to fully secure your art in place.
- Add your art into your frame!
05What Kind(s) of Art Are You Looking To Frame (And What Might Be Some Special Circumstances)?
We mentioned earlier that there might be subtle variations in how you frame your art depending on what you want to display. In the following sections, we’ll discuss some additional considerations.
We’ll break down some different types of art — what it might be made of, its shape, how thick it might be, special circumstances, etc. — all of which should influence how you approach your project.
Types of Art
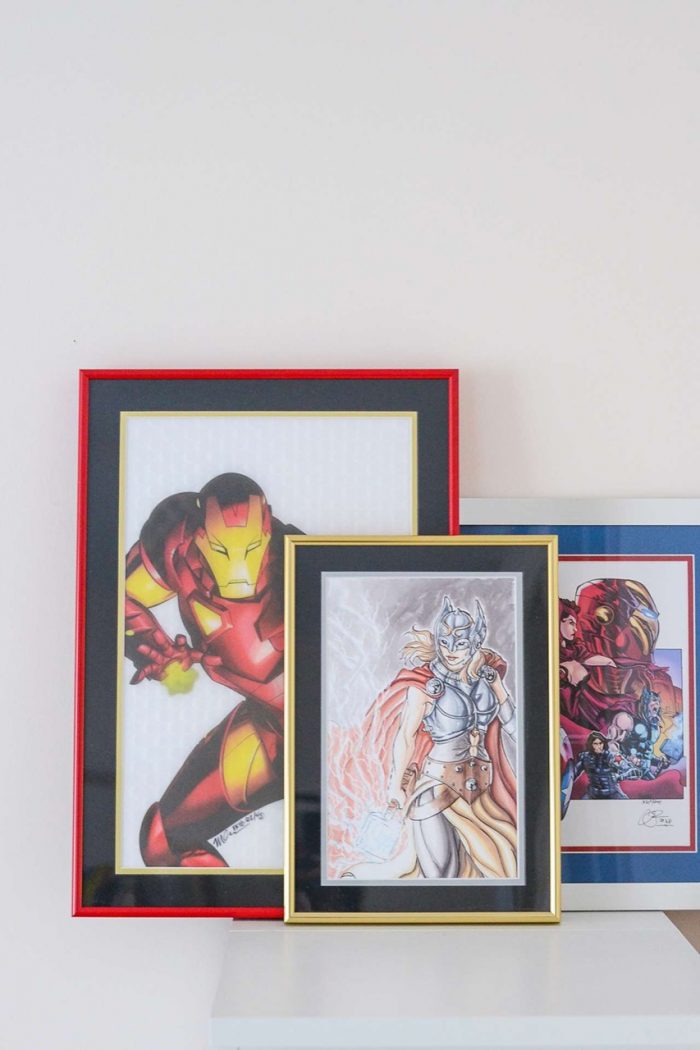
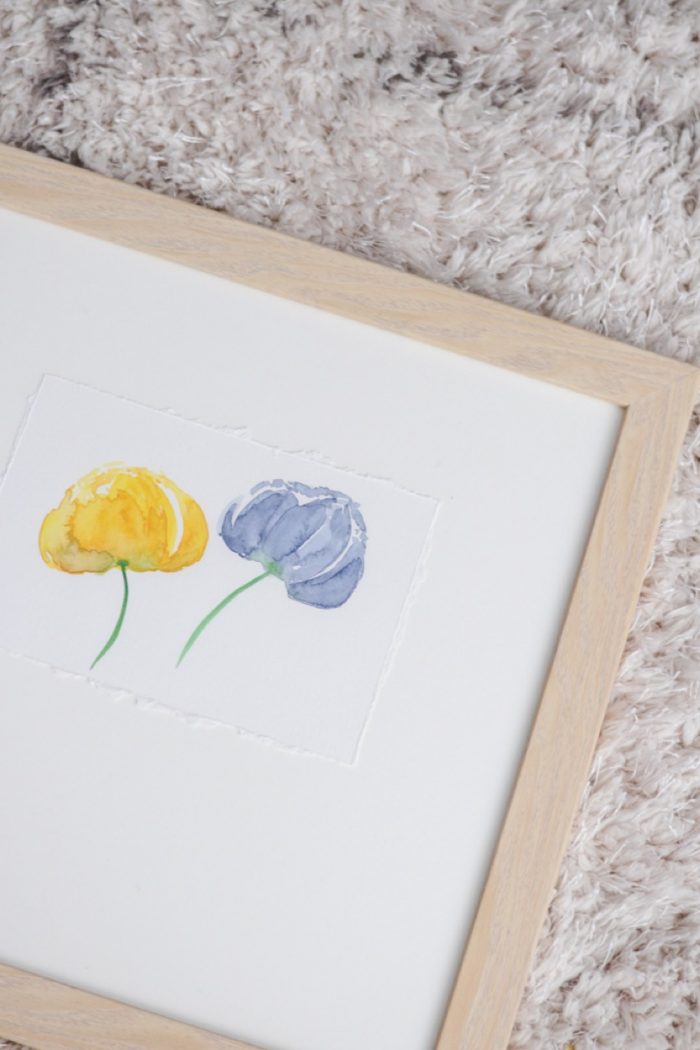
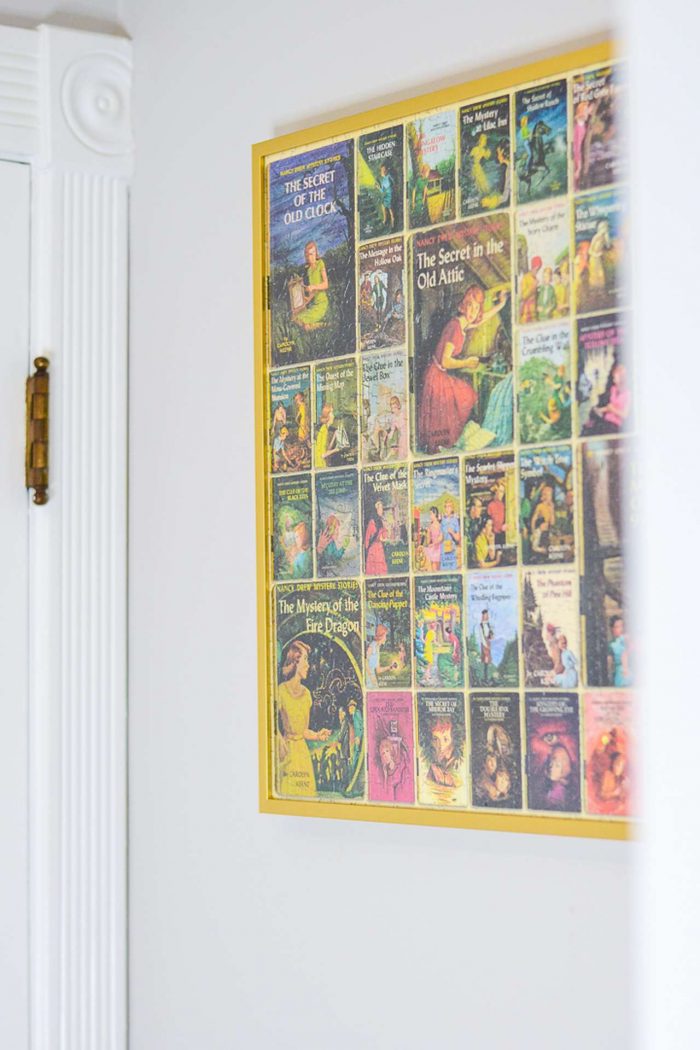
Photos, Posters, Documents, Drawings, and Prints on Paper
The most common types of art to frame — simple photos, posters, and prints on paper — are typically the easiest to mount and/or assemble.
They will either be the perfect fit within a custom frame ordered to exact measurements or can be mounted to a matboard or backing using the T-Hinge or H-Mount methods outlined above.
Puzzles
Framing a puzzle isn’t too much different than normal art, but there are a few preliminary steps you’ll want to consider.
Most importantly, you’ll need to either glue or place tape behind your puzzle, so it doesn’t fall apart when you go to add it to the frame.
For any adhesive, always be sure to use acid-free options.
Once the puzzle is mounted or bound together, the process should be the same as framing other photos, prints, or posters.
Just be sure to be mindful of your puzzle’s thickness to make sure you get a properly fitting frame!
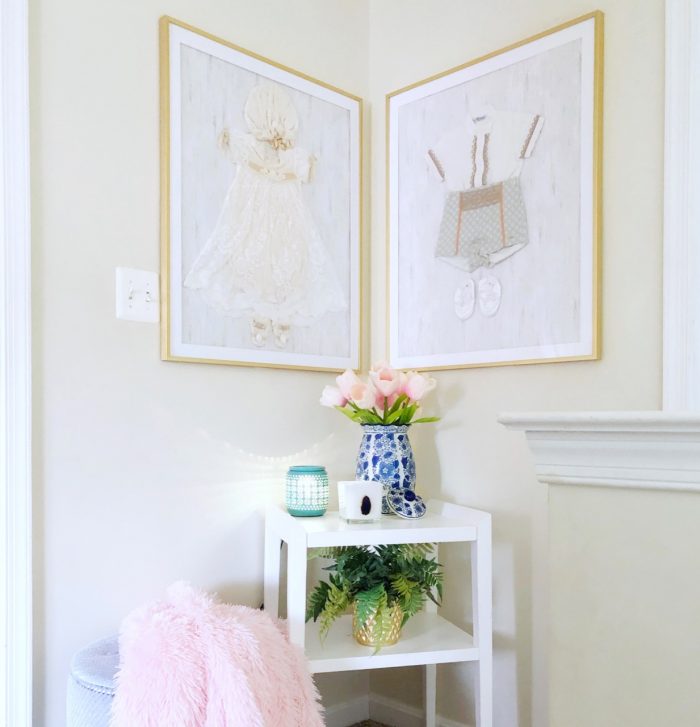
Clothing, Crafts, and Textiles
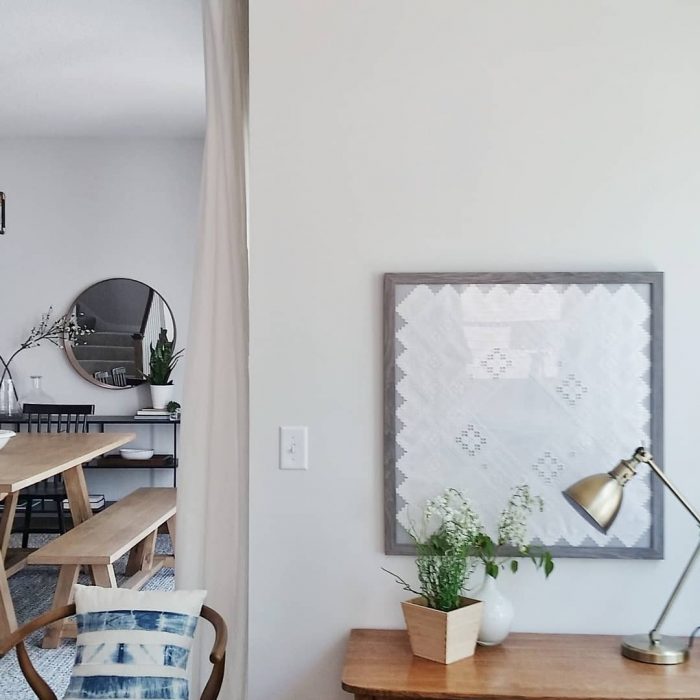
If looking to frame items other than paper photos and prints, the material, composition, shape, and thickness all need to be taken into consideration. Common “frameable” items in this category include:
- sports jerseys
- baby clothes
- t-shirts
- flags
- cross-stitch
- quilts
- diamond paintings
- scarves
Fabric and other textiles can come with a few different challenges, as they don’t usually take a strict shape. Because of this, how you measure for framing will depend on how you want your piece displayed.
Do you want the sleeves of a shirt out or folded? Do you want only the logo of the shirt displayed, which would require more folding and a thicker overall piece, or have the whole thing laid out? All of these will influence what frame options are available and the materials you use.
To frame a textile, use these steps & tips:
- Lay your piece out as you would like it displayed in your frame — folded and everything in the particular way you’d like it showing. This is to get as accurate of a measurement as possible.
- Measure the area around your piece that you would like it displayed in. (*For a non-rectangular piece, you’ll want to account for the extra “space” around the edges.)
- Order a frame to match your desired dimensions.
- Once you receive your frame, fold your jersey as you would want it displayed. (You might consider using something like sequin pins, which are small and unnoticeable, to tack your piece to the foamcore backing. Just make sure you don’t push the pins straight through, which would cause them to stick out the back — instead angle them into the center of the foamcore. Always use caution if you decide to go this route!) Alternatively, you can try using Framer’s Tape and the H-Mount method if your piece is not too thick or heavy.
- Once the push pins are in or your tape is secure, assemble your frame as you normally would.
Canvas/Thicker Art
As mentioned, our metal frames are designed for art up to 1/4″ thick, and our wood frames can accommodate art up to 1/8″ thick. (That’s with both the backing and cover included!)
If your piece of art exceeds 1/4″ in thickness but is still less than 1/2″ thick, you would likely need to omit either the cover and/or backing. (Details on this below!)
If your art is thicker than 1/2″, though, then you’ll likely need to source a canvas or shadow box frame.
Special Framing Circumstances
Non-Rectangular Art
We primarily sell art for square and rectangular pieces, as that is the shape of our frames, but there is the occasional need or desire to frame a circular/oval or oddly-shaped piece of art.
While the frame itself would still always be rectangular, with a little extra engineering, a non-rectangular piece of art can still have a great display.
If your piece is circular or ovular, you do have the option of ordering separate matting with a circle/oval shape opening. More info can be found in our guide to ordering separate matting.
Otherwise, you’ll simply want to lay your piece out as you want it displayed, and measure square/rectangular measurements around it as your “Art Size.” Then you’ll want to H-Mount your piece to keep it secured in the frame.
Art With A Border You Don’t Want Visible
Let’s say your art has a white margin — maybe two inches — and you’d rather not have that visible in the frame. There’s a way to hide the border and not need any framer’s tape to only display the actual print portion of your art.
All it takes is ordering a bit of matting to cover the border.
- Order a frame with the “Art Size” equal to the outside measurements of your print (i.e. the full numbers of your print, including the border).
- Add to your cart, making sure you select “No Mat” through the frame designer — you’re about to build it somewhere else!
- Go to our Matboard page and enter the “Outside Width and Height” equal to the numbers on your frame’s “Art Size,” and then enter the “Inside Width and Height” as the actual numbers of what you want to be displayed — i.e. the art without the border.
- Place your order for the frame and separate matting.
- Once you receive your order, you should have a frame that will hold the entire piece of art — it should be a “perfect fit” to add right into the frame.
Because the frame will be cut around the actual dimensions of your print’s paper, it will hold everything in place; no need to tape it! In addition, the matboard will cover up the margin that you don’t want showing.
Omitting the Cover or Backing
While a cover and backing are standard to protect both sides of your art, there are a few special instances where you might want to omit either (or both) of the components:
- you might want to make more room for a thicker piece of art
- your art may already be mounted to a piece of foamboard, which would eliminate the need for additional backing
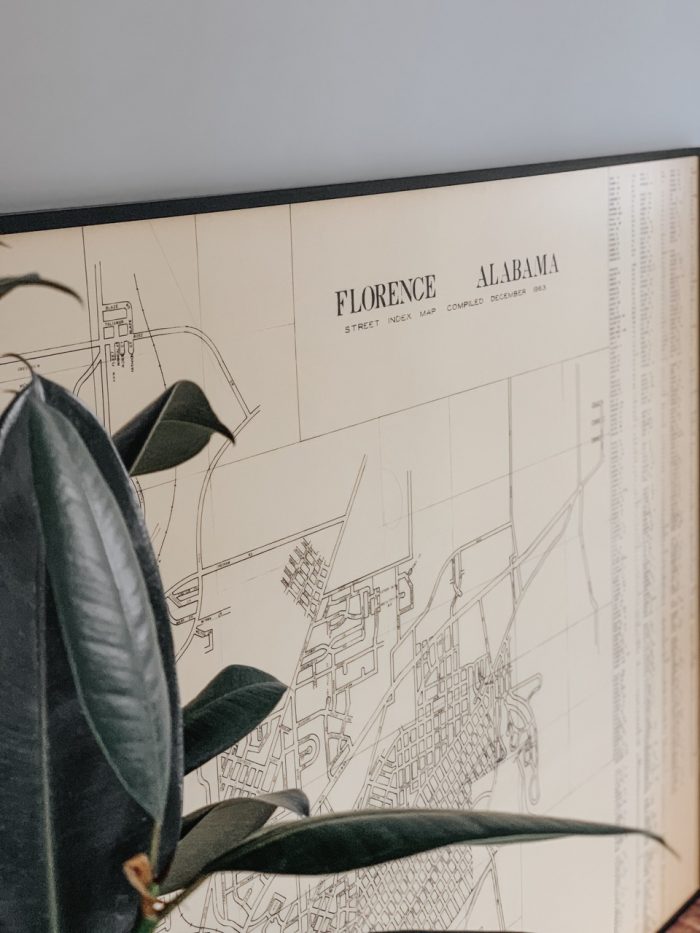
- you might want to interact with your art, as in the case of a push-pin/scratch-off map of your travels, therefore don’t need a cover
To order a frame through the frame designer with no cover, when on Step 4, tap the “H” key on your keyboard to bring up a “No Cover” option. (Just note we only recommend this if you truly do not need a cover — in most cases, you will absolutely want one to protect your art!)
To order a frame with no cover and no backing:
- Go to our “Accessories” page and scroll down to the “Frame Only” section, which is fifth from the top. You can also get there quicker by clicking the link to that section at the top of the page.
- Once you’re at the “Frame Only” section, enter your “Art Size” as the “Inside Width and Height.”
- Place your order!
- Once you receive it, you should be able to place your art into the rabbet of the frame.
If your art is a little less thick than the rabbet of a metal frame, you can use spring clips to take up extra space. There are a few things to consider for this, however. You need to make sure that your artwork is rigid in order to effectively use the spring clips. With a flimsy piece of art, there will be no firm counterweight to them, and they will likely fall out.
Second, the feet of spring clips can scratch the back of your art. With foamcore backing on regular frames, that isn’t the biggest deal, as it’s there to protect your art, after all. In a frame without foamcore, though, you run the risk of having the spring clips scratch the back of your art itself. To prevent this, all you’d need is a business card or piece of paper to put in between the spring clips and the back of your art as you slide them into the frame. This should prevent the feet of the spring clips from touching your art, and it should keep your art protected.
To order a frame with no backing:
If your art is already mounted to a piece of foamcore or an otherwise thicker/sturdier material, you may not need the foamcore backing. To order a frame with no backing:
- Go to our “Accessories” page and scroll down to the “Frame Only” section, which is fifth from the top. You can also get there quicker by clicking the link to that section at the top of the page.
- Once you’re at the “Frame Only” section, enter your “Art Size” as the “Inside Width and Height.” Add to cart.
- On the “Accessories” page, now order just a piece of acrylic to match the “Inside Width and Height” you ordered for the frame. Add to cart.
- Place your order!
- Once you receive the frame and cover, you should be able to place your art into the rabbet of the frame.
Final Thoughts on Adding Art to Frames
Adding art to frames might seem complicated, but as long as you know the look you’re trying to achieve, there’s usually a simple solution.
Below, you’ll find a table that outlines all the basics you’ll need to add various kinds of art to frames. If you have any questions, of course, please feel free to reach out.
| Art Style | What You’ll Need | Recommended Assembly/Mounting Method |
| Photos, Posters, and Prints – No Matting | Frame, Hanging Hardware | Perfect Fit |
| Photos, Posters, and Prints – With Matting | Frame, Matting, Framer’s Tape, Hanging Hardware | T-Hinge |
| Art with Detailed Edges / Non-Rectangular Shape | Frame, Colored Backing, Framer’s Tape, Hanging Hardware | H-Mount |
| Puzzles | Frame, Puzzle Adhesive, Hanging Hardware | Perfect Fit |
| Clothing, Crafts, Textiles | Frame, Colored Backing, Pins or Framer’s Tape, Hanging Hardware | Pins or H-Mount |
Ready to create your frames?
Explore our interactive frame builder and design your custom picture frames easily!
Design Your Frames Now