Here at Frame It Easy, we are huge fans of gallery walls. What’s better than displaying all of your favorite photos together in one place? Of course, planning and hanging a gallery wall will take a little more work than just hanging one or two frames! Lucky for you, we’re sharing some of our best tips and tricks on how to plan a gallery wall effectively.
If you are feeling a little stuck or not sure where to start with your gallery wall, don’t fret, by the end of this post, you’ll be a planning pro!
Step 1: Plan Where You Will Hang Your Gallery Wall
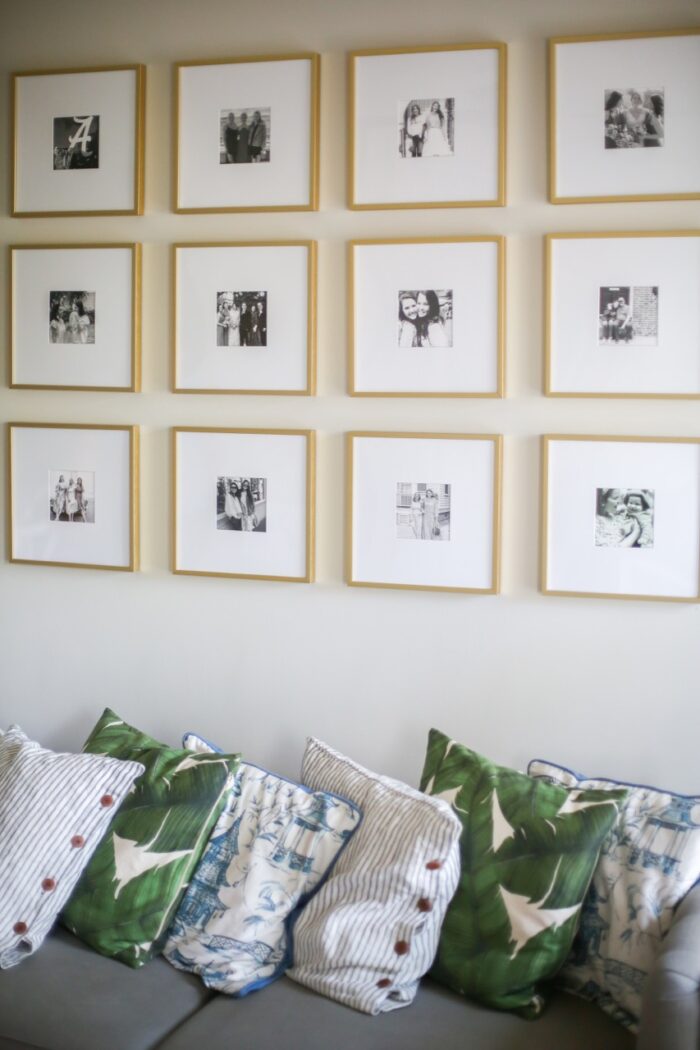
The first step is most important! You’ll want to make sure that the photos you choose and the size of your frames will fit into your wall space. Gallery walls work in any room, but they are exceptionally great for living rooms, as a conversation piece, you can share these special photos with your guests! Bedrooms, as a focal point to share your own personal style, your staircase, to create a welcoming space, or your office, to brighten up a space that can sometimes bring stress.
Once you have figured out where to hang your frames it’s time to measure the wall. Make sure you are designing frames that will be able to fit in this space without being too crowded! Remember to leave space for a gap between your frames so that they have some room to breathe! We suggest leaving 3″ between each frame.
Step 2: Create A Layout
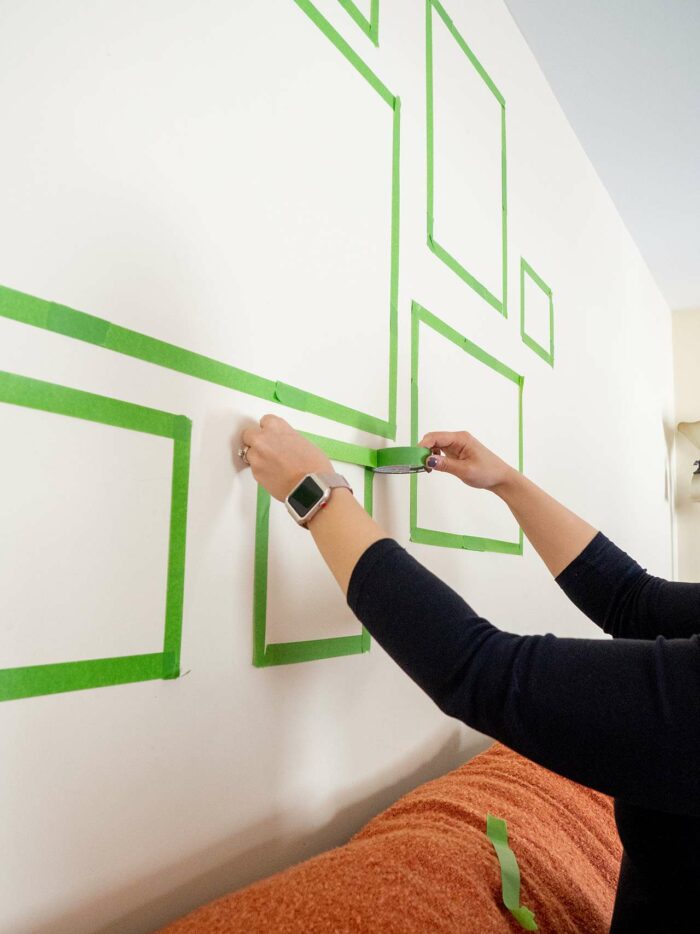
The next step is to create a wall layout. This will give you a better idea of how big to make each frame, the spacing between them, which frames will be verticle, or horizontal, and where to place each frame. We recommend doing this step before designing your frames to make the process easier. You can use newspaper to cut out the size and orientation of each frame, draw it out on paper, or use painter’s tape to outline your frame size.
Step 3: Create Your Theme
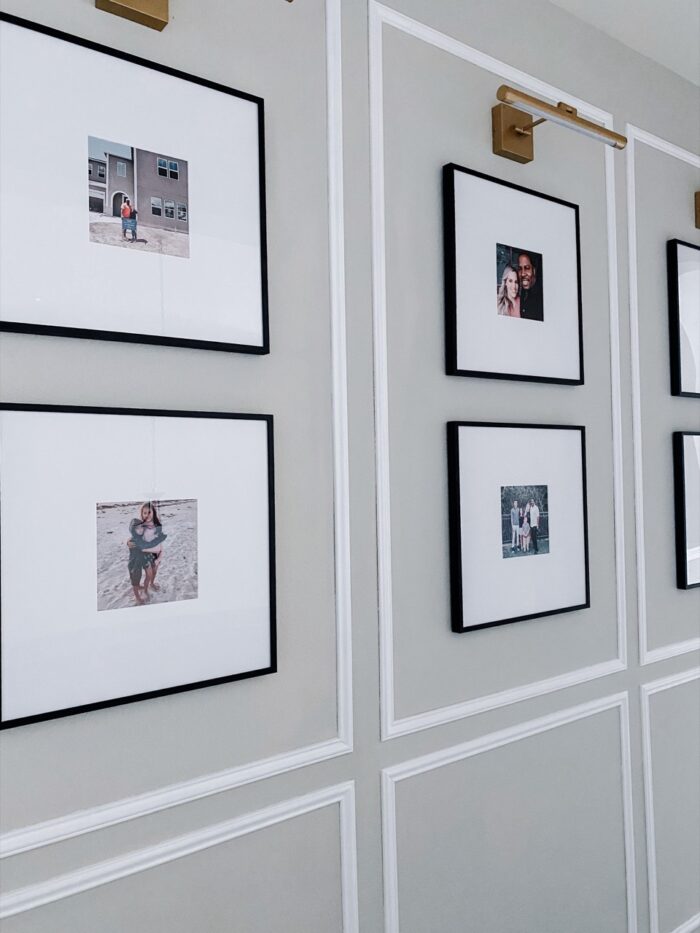
We suggest choosing a theme to give your space a cohesive look to draw in the viewer’s eye! There are many different themes you can choose from, maybe you want to create a family gallery wall with all of the most important people in your life. They can be professional portraits or just your favorite family photos you’ve taken at different events. You could also do a gallery wall of your favorite art pieces — by one or various different artists, photography pieces, or the like.
Step 4: Design Your Frame
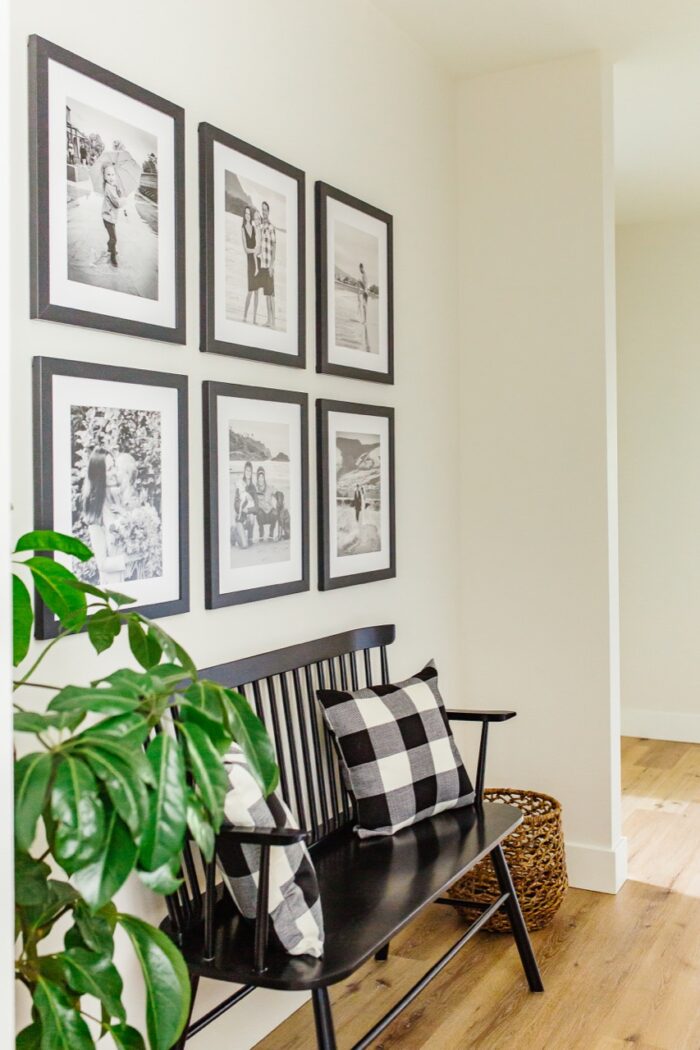
Now comes the fun part, designing your frame! You know want to frame and you have an idea of the size you will need, so let’s get creating! When ordering, you will need to complete 4 easy steps to get your perfect frame:
1. The first step is to enter your “Art Size”, this will represent the size of your photo inside the picture frame. You can hover over “Details” next to “Art Size” to see the outside frame dimensions, which is what you will want to focus on. As far as the photo inside your frame, you have two options: If you are uploading your photo, we will print, mount, and frame your photo so that your frame will arrive ready to be hung!
If you’re uploading art, you’ll also need to choose the type of paper you would like to print on. We offer both Photo Paper and Art Paper. If you already have a physical copy of your photo, simply measure the photo and add in the Art Size!
2. Next, choose your frame style. We have 8 frame styles, 5 metal frames, and 3 wood frames with over 25 frame colors, so you have plenty to choose from. You will want to choose a frame style and color that will coordinate with the decor style you have in your room.
If you are creating a gallery wall in your living room, consider choosing a wood frame that will match your furniture. If you are hanging your frames in your bedroom, consider choosing a metal frame style that will match your bedframe.
3. The third step is to choose if you will add a matboard. A matboard (also referred to as a photo mat, frame mat, or matting), is a cardboard-like material that serves two purposes: to protect your artwork from damage and to enhance its look. You have the option to add a single or double matboard, or none.
We suggest when adding a matboard add color that is going to enhance your picture. Look for a color palette in your photo, such as an accessory, an article of clothing, or even something in the background of your photo that will give your photo that extra POP!
4. Finally, the last step is to choose your cover. We have two options for covers, our clear acrylic is the most conventional and almost like looking through glass. If your art is colorful, clear would be the best option. However, the clear finish is reflective, and it could cause glare if placed near a window.
The other option is our non-glare acrylic. This will soften the color of your artwork, so we recommend using it if your overall piece doesn’t have bright colors, or is entirely in black and white. Non-glare acrylic will also diffuse sunlight if your piece is near a window.
Step 5: Hang Your Gallery Wall
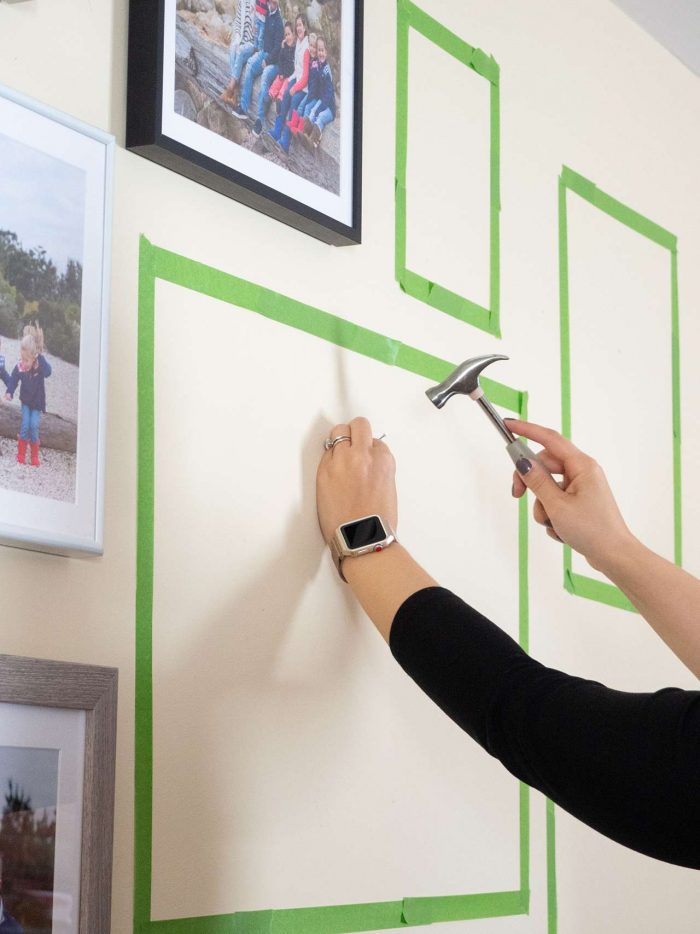
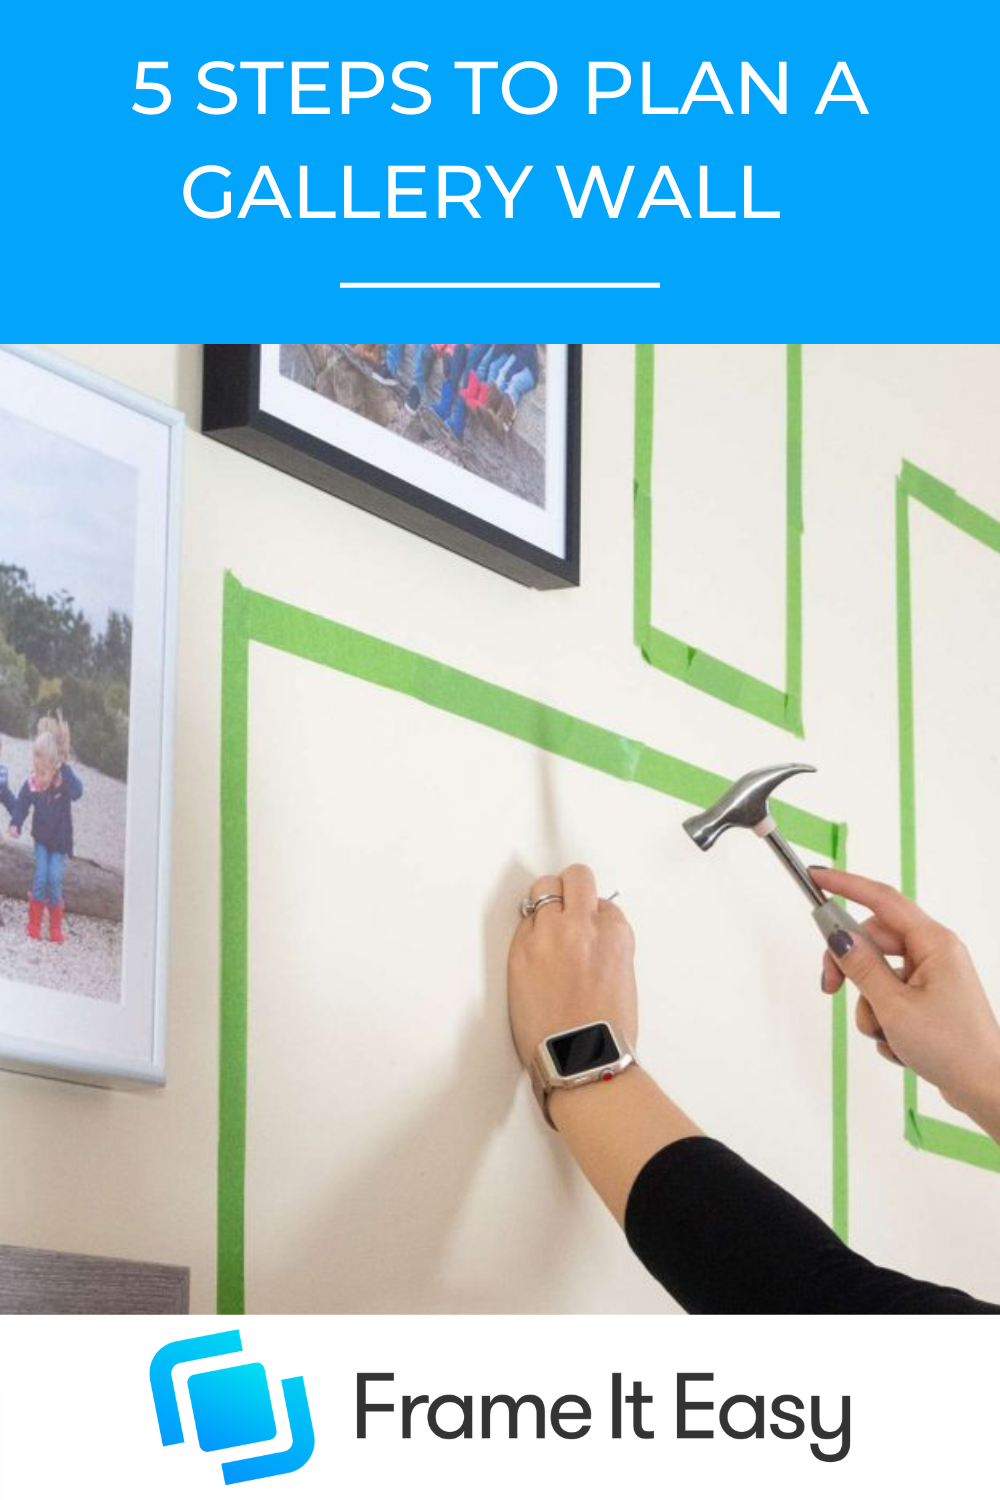
Now that you’ve finally received your frames, it is time to hang your wall art! All you need to do now is to grab a hammer and start marking your nails. We have some tips on how to properly hang your frames to keep them looking great for years to come.
The most important thing is that your frames are hung level and even. You can use either a standard bubble level or a level on your phone to be sure that your frame is hung straight! When hanging a gallery wall, your center frame should be hung at eye level. You may be asking yourself, what is eye level, if everyone is at different heights.
A good rule of thumb is to place the center of your art about 57 inches from the floor. That’s the average human eye level – the safest bet. From there you can hang the rest of your frames around your center frame for a perfect gallery wall!
Final Thoughts

It may seem like a daunting task to plan a gallery wall, but we hope that these 5 easy steps made it a little easier for you to create a grand display in your home. Just remember, when it comes to home decor, you should do whatever you think will look best, there are no real rules!
Be sure to share your gallery wall with us on social media or send your photos to creative@frameiteasy.com with the subject “Featured Friends” for your chance to be featured in our weekly email!
