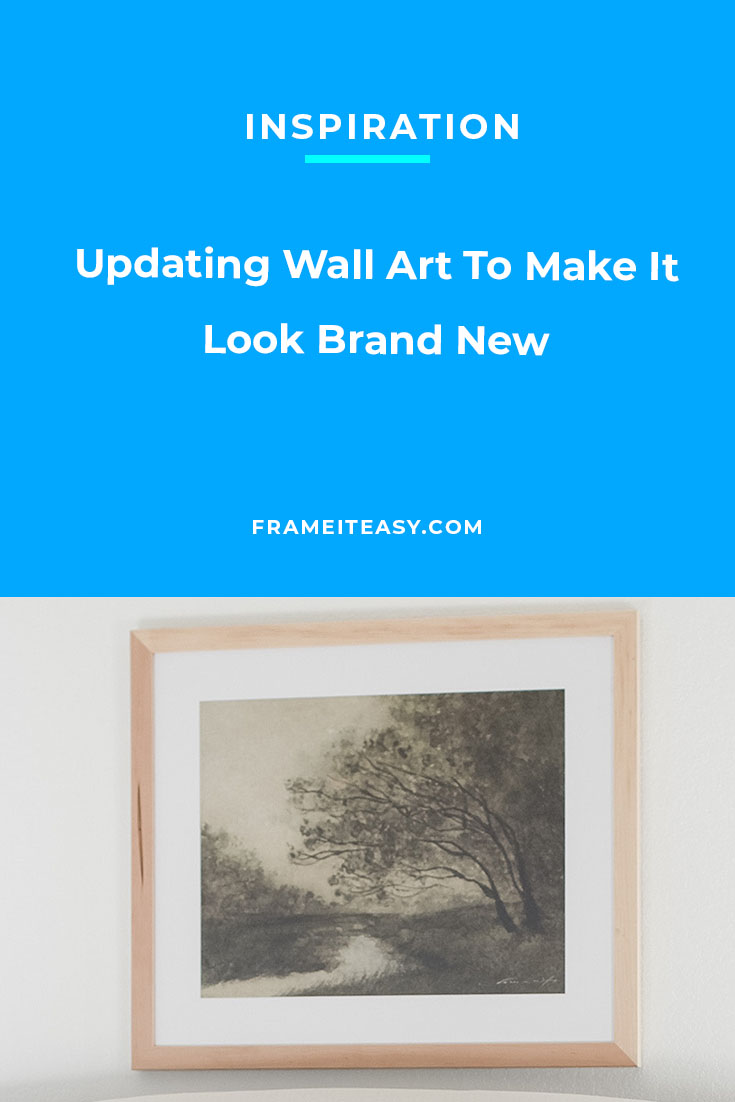
When it comes to updating wall art, you have to be a little creative to make it feel brand new again. Have you ever gone thrifting and found an amazing piece of art, painting, or photograph that you just had to have? Maybe it has a frame that needs to be replaced or doesn’t even come with one. Maybe a family member has recently gifted you an old family photo that you want to frame for your house. Or maybe you have an older piece that just needs a little update. All your art needs is a new frame to look brand new again. If that’s the case, you’ll need to take a few extra steps to repurpose your older art or photo, but don’t worry, we will go over all of that to make sure you are on the right track and get your older art looking brand new again with Frame It Easy!
Preparing Your Art For Framing

The first thing you will want to do when updating wall art is look at the condition of your piece. Is it in good condition? Is it cracking and ripping in some places? Does it have tattered edges that will need to be held together once placed in the frame? These are all important things you will need to consider before looking for a frame.
If your art piece has tattered or frayed edges, you’ll first need to decide if you want to hide the imperfections of the piece or if you want to show off its beautiful flaws. (Here at Frame It Easy, keep in mind that all of our frames have a 1/4″ overlap, so if you want to cover the edges, the 1/4″ should take care of masking them. But if you want them to show, you may want to consider adding 1/4″ to your “Art Size” or you could use the H-Mount method which will “float” your art in the center of your frame. To accomplish this, you will need some framer’s tape. You can head over to our Accessories to add some to your cart or use your own. Just make sure it’s acid-free to protect your artwork and keep it looking good for years to come.)
If your piece is in perfect condition and all you need is a new frame, you will still need to remove the piece from its current frame, if it has one. Be sure to do this carefully as it may be taped into the backing of the current frame and you don’t want to rip or damage it. Once you have safely removed your art from its frame, be sure to keep it in a safe space until you can get it re-framed and hanging up!
One of the most important steps to framing art is measuring your art. If the measurements are off, then so is everything else that you order! The measurements of your art will represent the “Art Size” in our Frame Designer and this will be the opening of your frame or matboard, so be sure the numbers are accurate. *Even if your artwork or the artist claims it to be a certain size, you should always measure it yourself to confirm – just to make sure you receive a frame that fits perfectly.
Preparing Your Space For Framing

Another important step that you will need to do before designing your custom frame with us is to plan ahead on where you will hang your frame. This will require you to figure out the sizing you need, the colors that will work with your room, and assess the lighting in the area. If that space in your room gets a ton of sunshine, you may want to consider using our Non-Glare cover. However, our non-glare cover will soften the color of your artwork, so for the best clarity, we recommend using it if your overall piece doesn’t have bright colors, or is entirely in black and white. If your piece does have bright colors, you may want to reconsider where you will be hanging it.
You will also need to consider the size of your space and how much room you want your frames to take up. This is another key step because you don’t want your frames to be too big or too small for your wall. You can plan out your wall using painter’s tape. Simply cut pieces of painter’s tape to mimic the outside size of your frame or frames to be sure you like the placement, size, and layout of them, before purchasing. Take a step back to see if you like the layout and sizing of these frames and spend a few days playing around with different sizes to find your favorite!
Maybe you want to create a tabletop display instead of hanging your frames. For this, you would need our EaselMate™, which acts as an easel for any of our Wood or Metal frame styles up to 13″ x 19″. It makes creating a tabletop display easy and effortless.
Create A New Frame

Now that your art and space are ready, it’s time for the fun part — designing your custom frame! If you’ve ordered from us before or have seen our interactive Frame Designer before, you know that it is a 4 step process that is super simple!
The first step is to plug in your Art Size. Since you already measured your piece, you will already have this number on hand. If you hover your mouse over “Details” next to your art size, this will give you the outside measurements of your frame, which will be slightly larger than your art size, depending on the frame you choose.
The next step is to choose your frame style. We have many gorgeous frame styles, that come in many different colors. You must consider what you are framing and where you will be hanging it to find the perfect frame style. Are you looking for an ornate-style frame to give your photo a grand display? Our Granby frame style would be perfect for your project! Are you looking for a simple black frame that won’t distract from your piece? Our Ashford frame style would be the right choice!
Next, you will decide if you want to add a matboard or not. Matboards are a cardboard-like material that serves two purposes: to protect your artwork from damage and to enhance the look of your finished project. You have the option to add a single or double matboard, or none at all. You may find it helpful to add a matboard to help hold your art in place. If you are adding a matboard, we suggest choosing a color that will enhance your photo or art piece. Look for colors in your photo to pull out that will give your project that extra WOW factor. If you have a black-and-white photo, consider choosing a color that will coordinate well with the room you plan to hang it in.
The last step of our Frame Designer is choosing your cover. As we briefly went over this earlier, you have two choices for a frame cover — clear and non-glare. Our clear acrylic is the most conventional and is just like looking through a glass. If your art piece or photograph has lots of vibrant colors in it, clear acrylic would be best for you, since it won’t dull any colors. As we mentioned before, our non-glare acrylic cover will soften your piece, so it is best for photos with little to no color.
The best part about our interactive Frame Designer is that you can see your frame come to life during each step. On the right-hand side, you will see a frame preview, that you can make larger or share with others. You could also take a photo of your artwork and upload it to the Frame Designer to see what your art will look like in the frame before purchasing. After you select “Add to cart” you will have the option to include the photo you have uploaded or order just the frame with no image, so if you already have your art on hand, be sure to let us know you just want the frame!
Other Ideas on Updating Wall Art

Maybe you love the frame your art is in, but still want to make changes in order to make it feel brand new again. You’re in luck because we have some great ideas that will give your art a fresh new feel. Maybe the art piece or the photo you found is smaller than what you want to hang on your wall. If that’s the case, try enlarging the matboard. When you select to add a single matboard, our site will automatically add 1 & 1/2″ of matting. However, you have the choice to make that size larger. Adding a larger matboard size can give your photo a whole new look that you didn’t have before.
Another option is to paint your frame. If your frame has some dull or fading spots or just has a color that no longer fits the vibe of your room. If that’s the case, why not spruce it up a little by adding a new color? You can use spray paint or acrylic paint to paint over the old color or add some designs to the frame. Painting your picture frame is a small change that can have a huge impact on your overall decor.
Final Thoughts on Updating Wall Art

Sometimes, some things just need a little updating to make them feel brand new again. If you have an old photograph that you want to make feel new again or even a new art piece that you want to give a fresh feel to, we hope you found these tips helpful! Of course, be sure to share your before and after photos with us on social media so we can see what you created!