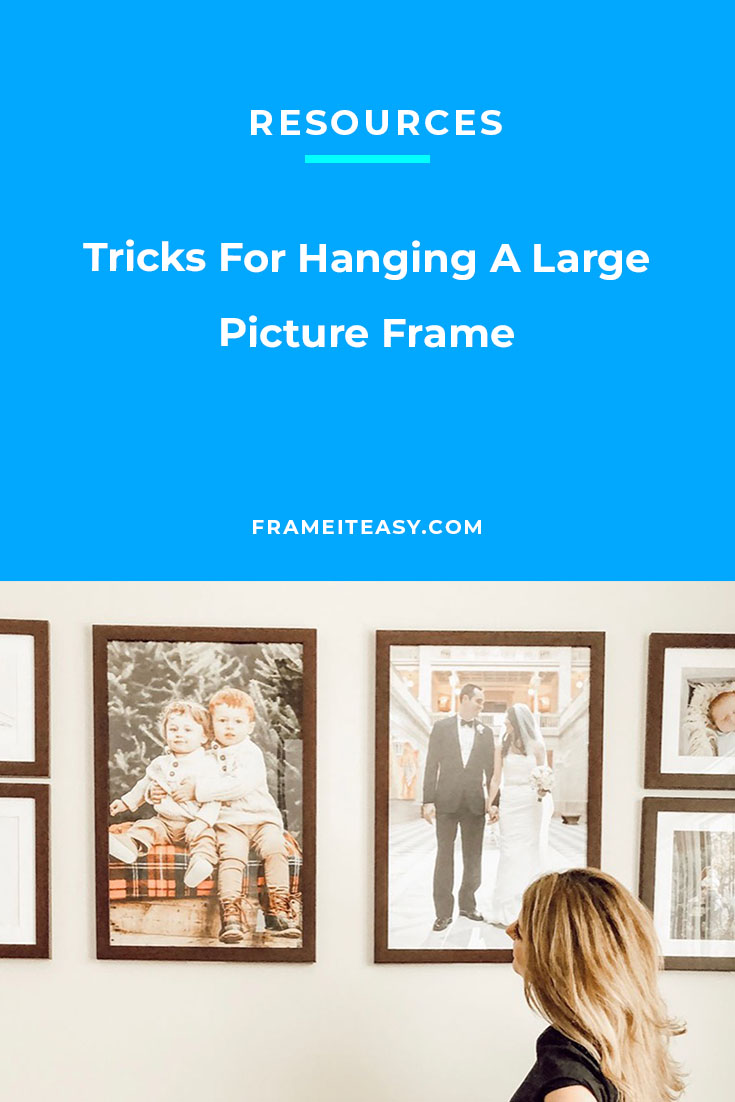
Whether you are displaying your original artwork, photos, or favorite prints, large picture frames are the best way to make a big statement in your home and tie a room together.
However, large picture frames require a bit more work than a 5″ x 5″ frame when it comes to hanging them. You’ll want to make sure you are spacing the frames correctly if you are hanging more than one, keeping things level, and minimizing any wall damage. Lucky for you, we have a few tricks up our sleeves to make the process a bit easier for you! If you are looking for tricks to hanging a large frame — stick around!
Use Painter’s Tape to Frame Your Wall

If you’ve created a gallery wall or even just read about how to create one in your home, you probably know one of our favorite tricks — using painter’s tape to plan it out before ordering your frames. But painter’s tape can be used for a lot more than just planning a gallery wall. Use it as an assistant to hanging your frames! First, you are going to want to rip off a piece that will go past the length of your frame width. Next, place the piece of tape along the top of the frame where the hanging wire is and mark it in the center to indicate where the hook will go. Then, place the tape on your wall where you want your picture frame to hang. The dots on your tape will be your guide on where to insert the nail. Just get the hanging hook that we included with your frame and start hammering!
The tape trick can also be a ton of help when planning a gallery wall or more than just one frame. It allows you to take a step back from your wall and make sure you like the placement of each frame before making any holes in your wall. It requires a bit extra planning, but you’ll be thankful for the minimal wall damage in the end!
Craft Paper/Newspaper for Layout

Craft paper has a similar idea to the painter’s tape. First, you will want to layout your paper and cut it to represent your frame size. Be sure to mark again where the hook will need to go. Craft paper also lets you play around with where the frame should go on your wall and lets you play around with the set-up before actually making any holes in your wall. Once you are happy with where the frame is, simply hammer the nail in your wall through the paper, where you marked, and then remove the paper!
Toothpaste as a Marker

Toothpaste is more than just providing pearly whites! If you have a frame with a sawtooth hanger, place a small dab of toothpaste in the center of the hanger and press your frame firmly against your wall. When you remove the frame, a small dot of toothpaste will be left where you need to insert your nail. Just be sure to wipe away the toothpaste on both the wall and frame before hanging.
Pencil

For this trick, you are going to want to hold your frame against your wall where you want to hang the frame. Make a small mark on your wall at the top of your frame at the center of your frame. Next, pull up on the hanging wire and measure the distance between the hanging wire and the top of the frame, this will represent where the nail will need to go. Then you want to measure that same distance from the mark on your wall. Make another mark to represent where your nail will go. Once you have that mark, you are all set to start hammering away!
Level Your Frame

Now that you know how you are going to hang your frame, the next important step is to actually hang it level and keep it hanging level. One of the best picture hanging tools you can use is a standard bubble level. (You know, those handy tubular vials that have a bubble that rises to the center.) Because our eyes can think an object is straight when it may not be, having a level on hand is a huge help.
Some levels are simple, offering only a single direction of orientation. Others might be more complex, having horizontal, vertical, and even diagonal directions. You should be able to get by with a level that only has one direction, but you pick what works best for you.
In fact, if you have a smartphone, you may already have a suitable level ready to go. If you have an iPhone with the latest iOS installation, you can use the “Measure” app and get an exact reading in degrees to align your frames. And if your phone doesn’t have built-in levels, there are plenty of free apps to download and try. Save a trip to the hardware store and do it right from your pocket!
Use the level of your choice to get the angle right and painter’s tape to mark spots onto for reference. This should allow you to make sure everything will be straight once you’re ready and look great after you secure your hanging hardware to the wall.
How To Keep Your Frame Hanging Straight

Sometimes you walk by your piece of art and notice it’s not as straight as the day you hung it. Maybe it’s leaning a bit or shifts after a friendly game of tag is played indoors. Whatever the reason, there are some ways to counteract this.
The first step is to use the hardware that comes with your frame. Here at Frame It Easy, we send a hardware kit with each frame, which includes everything you need to hang your frame (except the hammer 😉). We recommend using this hardware kit to hang your frame to prevent any large implications. If you switch things around, it could cause more harm than good.
The next step is to make sure your hanging wire is as tight as possible. If you upload your photo to our Frame Designer, your photo will be printed, mounted, and framed for you and will include the hanging wire pre-assembled, so you don’t have to worry about this step. If you are inserting your own art, the hanging wire will be included in your hanging hardware kit to allow you the ease of inserting your own art. That means you will have the task of securing the hanging wire to the back of your frame, but don’t worry — you got this! We send a ton of extra hanging wire, but that doesn’t mean you will need to use all of it. You’ll want to make sure the hanging wire is secured to both sides and is as tight as possible. Leaving the wire loose can cause a lot of issues — the most prominent of which is the frame becoming top heavy and bowing off the wall, which is most likely not the result you want.
You’ll also find corner bumpers in your hanging hardware kit. These can either be made of felt or rubber and they go on the back corner of your frames. It’s important, though, that you attach one to each of the corners. It can be the difference between having your frame tilt — either diagonally or completely off the wall — or not.
Hanging At The Right Height
Hanging your frame at the right height is an important task. You won’t want to hang it too high where it may be hard for people to see and you don’t want it to be too low where people would have to bend to see it. Of course, as we always say, it only matters that you like it, so if that’s what you want to do, we say go for it! However, if you do want to learn more about where to hang your frames for the perfect height, we have some tips for you.
Hanging your artwork at eye level is the most basic suggestion to take into consideration. This method allows you to view it easily when standing while enabling an equally appealing perspective while seated too. If you’re doing this for your own home, of course, that task will be easy. The downside of this is that “eye-level” can mean slightly different things depending on your personal height. A good rule of thumb is to place the center of your art about 57 inches from the floor. That’s the average human eye level and it’s used as a guideline for most art galleries. So if you wanted to know what the professionals think, well, that’s it!
Maybe you want to hang your frame over a piece of furniture and you may be asking yourself if the 57″- 65″ rule still applies for such an occasion. Well, it doesn’t. There is, instead, a different guideline to take into consideration, and it’s simple: Just make sure that the piece of art is about half a foot to a foot (6″ – 12″) above the piece of furniture.
Got The Hang Of It?

While hanging a large frame may seem like a daunting task, we fully believe that you are capable of getting the job done! We hope you found these tips and tricks helpful and apply them next time you need to hang a large frame. These tips aren’t just for hanging a large frame though, they can work for any size! Just remember to plan and create different layouts of your frame with tape or craft paper to make sure you like where the frame is placed before actually putting a hole in your wall.
We look forward to seeing your finished product, so be sure to share with us on social media once it is all complete! And be sure to join our email list and share photos for your chance to be featured in our weekly email. Need some more inspiration? Head back to our Learning Center for tips, tricks, and the best inspiration photos for your next framing project!