Are you looking to add some personality to your wall? Not sure how to arrange them? No worries – we got you! Picture frame arrangement can be challenging but rewarding – the end result really does pay off! We’ve all seen beautiful gallery walls in interior design magazines or at a fancy restaurant that we’ve dreamed of replicating.
Now’s your chance, these walls may look challenging to replicate but with the right tools and a little planning, you’ll have your walls looking fab in no time!

You may have asked yourself…
- How do I arrange picture frames on a wall?
- What are some creative ways to display picture frames?
- What are the best ways to arrange picture frames?
Keep reading to learn how to create and style 5 different picture frame arrangements…
Before You Begin
Before you get started, it’s important to gather the necessary tools to make the job easier. Every framing order here at Frame It Easy will come with hanging hardware. Printed instructions are included on your packing strip as well as QR codes to videos on how-to’s – Easy peasy! 👍
What You’ll Need

- 📌 Hanging Hardware Kit
- 🔨 Hammer
- 📏 Tape Measurer
- 🖌️ Painters Tape
- ✏️ Pencil
- 📐 Level
- 🧮 Calculator
- 🖼️ Frames
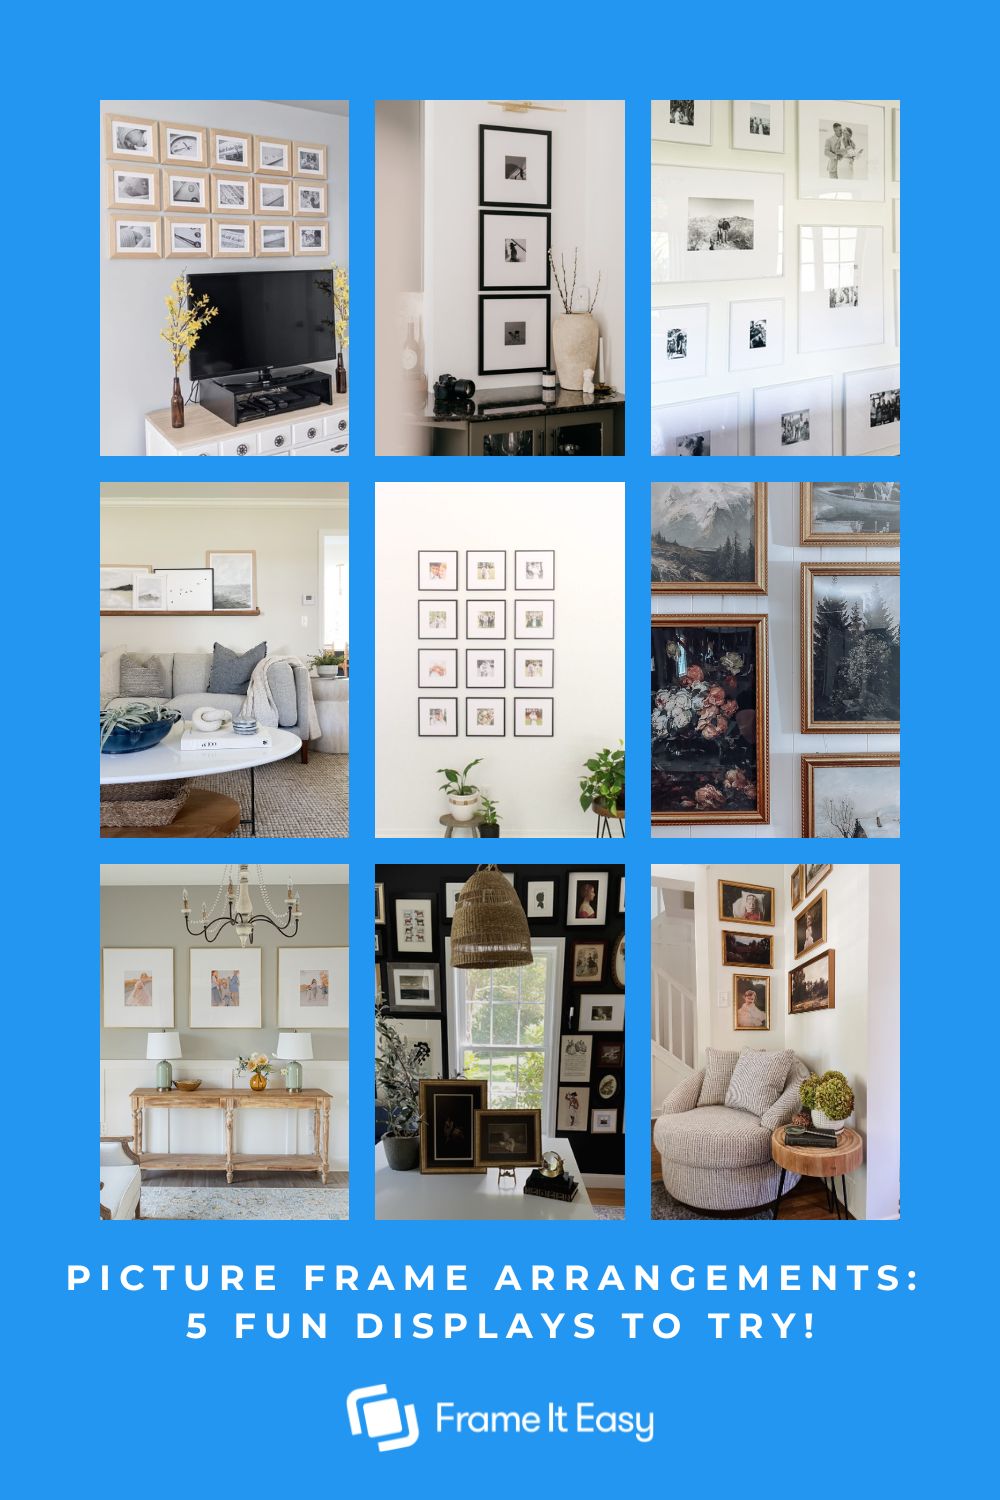
Fun Picture Frame Arrangements
Grid Layout
A grid layout is a simple yet effective way to create a clean and modern look on your wall. Start with an even number of frames and arrange them symmetrically by lining them up horizontally and vertically.


How to:
- Measure the area you want to cover with frames – measure both width and height in inches!
- How many frames do you want to include? – know the exact amount of frames you want to hang.
- Account for the gap – we recommend adding at least 2″ between each frame in your grid.
- Do the math – plug in your numbers to our formula, solve, and you’re ready to hang!
The Formula:
Area width – the total amount of 2″ space between each frame = X
X ÷ the width of your grid by frames = Length of Frames
Area length – the total amount of 2″ space between each frame = X
X ÷ the height of your grid by frames = Width of Frames
Example:
My space to cover is 60″ wide and I want my grid to be 4 frames wide.
60 – 6 (three 2″ gaps between my 4 frames) = 54″
54 ÷ 4 frames = 13.5″
So each of my frames should be 13.5″ long
My space to cover is 40″ in height and I want my grid to be 2 frames in height.
40 – 2 (one 2″ gap between my 2 frames) = 38″
38 ÷ 2 frames = 19″
So each of my frames should be 19″ wide
Vertical Columns
If space is limited, vertical columns are a great choice. Start by considering the height of the wall and then arrange the frames accordingly. This display can create height or elongation in a room.


How to:
- Measure your space – and tape off the surrounding area. Measure from the floor to ceiling, this makes it easier to find your eye level!
- Find your center – measure your area height and divide by 2 – you’ve found the center & where your middle frame should be hung!
- Start from the bottom up –this makes it so much easier to space your frames.
Horizontal Rows
Horizontal rows are a timeless classic that can create a sense of balance and symmetry. Start by measuring the width of your wall and placing your frames evenly in a straight line.
If you’re working with frames of different sizes, start with the largest frame in the center and work your way out.


How to:
- Find your baseline – this is where the bottom of your frames will “sit”. We recommend laying down a strip of painter’s tape to act as a visual aid.
- Measure your space – and tape off the surrounding area.
- Find your center – measure your area width and divide by 2 – you’ve found the center & where your middle frame should be hung!
- Start from the middle frame – work your way out on each side.
Staggered Frames
Staggered frames are a more unique and playful option. Start by placing the largest frame in the center and arranging the smaller ones around it. This display adds a bunch of personality and dimension to any wall.


How to:
- Keep your spacing consistent – or don’t! Staggered photo displays are all about having fun, and letting your creative ideas flow!
Check out our guide on staggered gallery walls for more inspiration!
Staircase Lines
If your room has a staircase, consider lining the wall with frames to create a bold statement. Start at the top of the staircase and work your way down, aligning the frames with the staircase’s steps.


How to:
- Measure from the ground up – to find a baseline measure up from each step you plan to hang your frames over. This is where the bottom of your frames will “sit”. We recommend laying down a strip of painter’s tape to act as a visual aid.
- Keep width spacing consistent – once you’ve laid out your baseline we recommend adding at least 2″ of space between your “steps” of photo frames.
Other Interesting Displays To Try
Feeling adventurous? Tight on space? Try out these other interesting (& renter friendly! 🏡 ) options:
Floating Shelves
Add extra dimension to your wall decor with floating shelves. They save on space while adding a modern touch to your display. They’re also a much more renter-friendly option as fewer holes in your wall = a better standing with your landlord!


Use them to show off your awards and collections, awesome art pieces, or houseplants as they all pair nicely with frames!
Corner Display
Tight on space? We love a corner gallery! These cute displays are perfect for reading corners (AKA Book Nooks 📚), kids’ playrooms, and that corner in your bedroom that you just have no idea what to do with!


We recommend measuring out from your corner about 2″ widthwise and begin from there. You can create a grid of wall art or a staggered gallery just like a regular wall – follow the steps above and get your corner display looking cool! 😎
Final Thoughts
We hope this post has inspired you to go ahead and give frame arrangements a try. Remember there are no rules so go with whatever you feel works best for your space. Experiment with different layouts and styles to create a look that’s unique to your room. Have fun with it and enjoy your new personalized wall!

Show off your picture frame arrangements! – Inspire others by sharing your photos, and tell us your story! If we share it, you’ll receive a coupon for 15% off your next order!
Don’t forget to follow us on our socials for more daily inspiration!