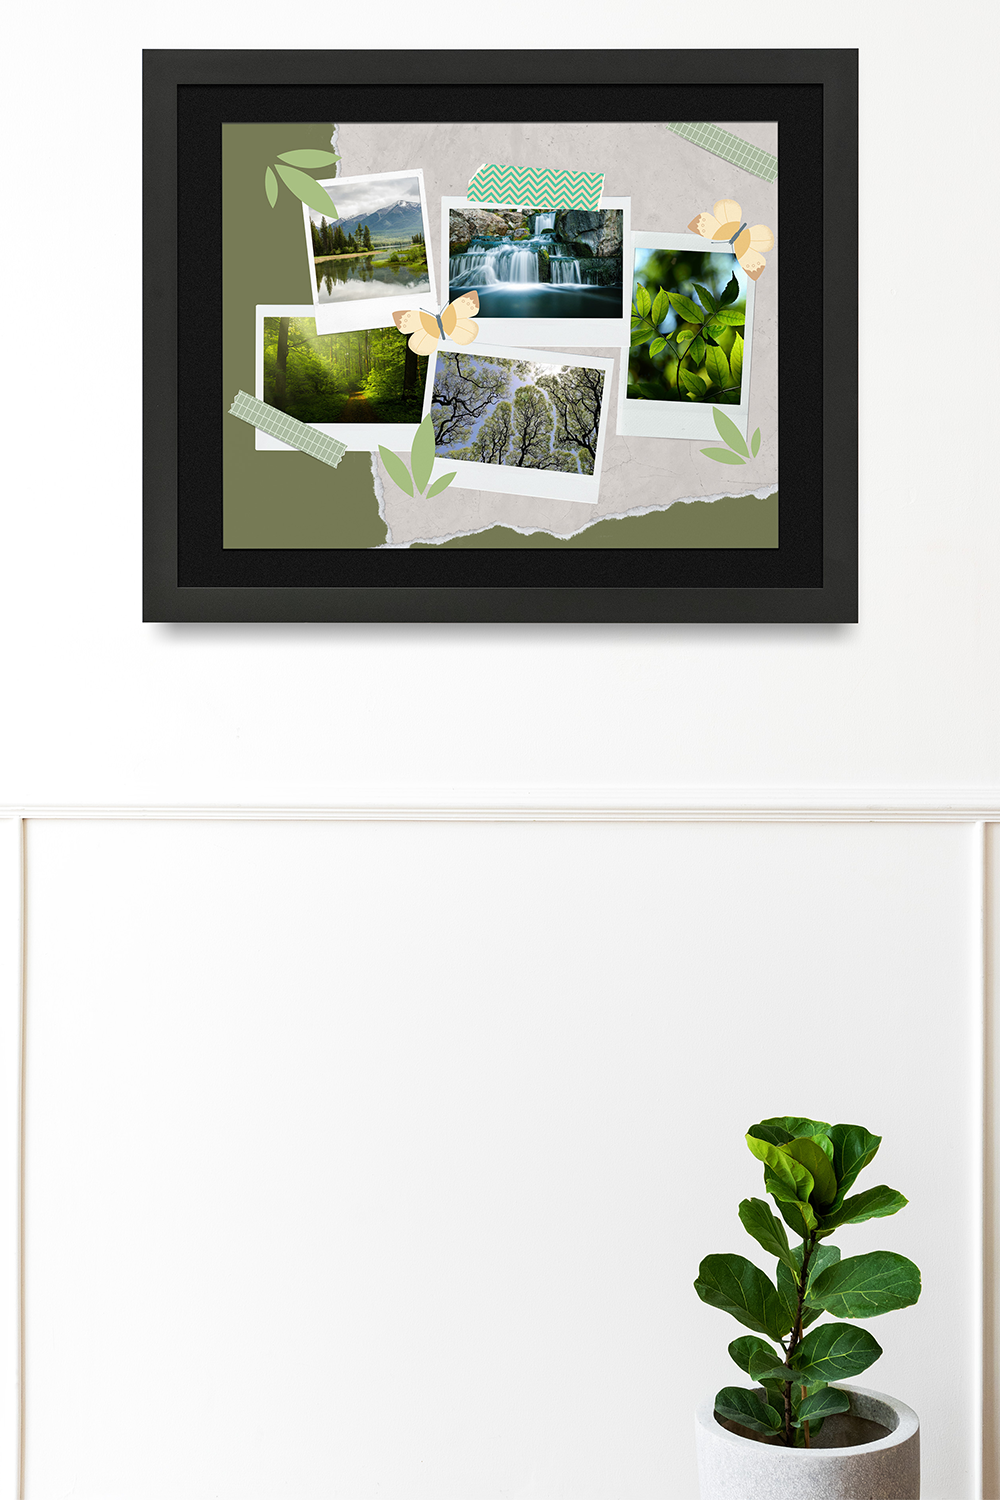
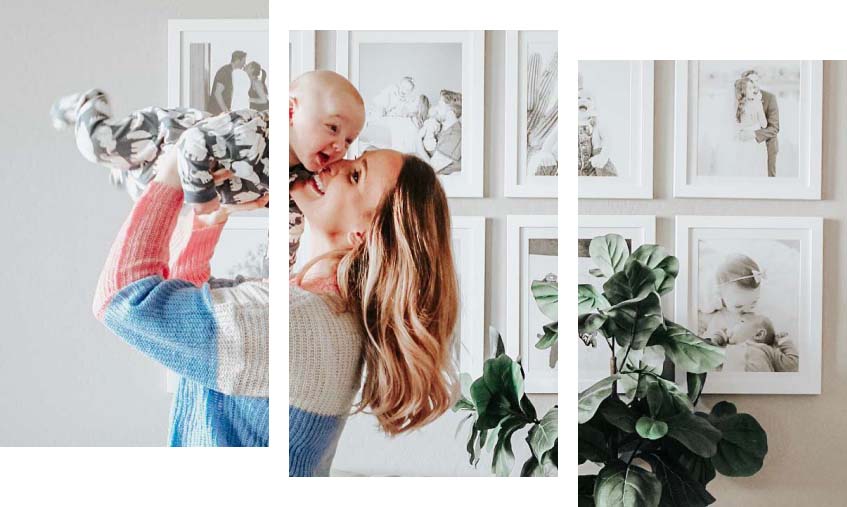
Most of us have seen scrapbooks before – big, chunky binders containing pages filled with photos, stickers, and other decorative elements arranged in a way to present or preserve family stories. But with technology, it’s easier than ever to start, and that’s where digital scrapbooking comes in, allowing you to create fun, memorable scrapbooking pages with the click of a button.
Keep reading to learn how to design your own digital scrapbook and how you can creatively display your new scrapbook art to enjoy for years to come!

💡 What Is Digital Scrapbooking?
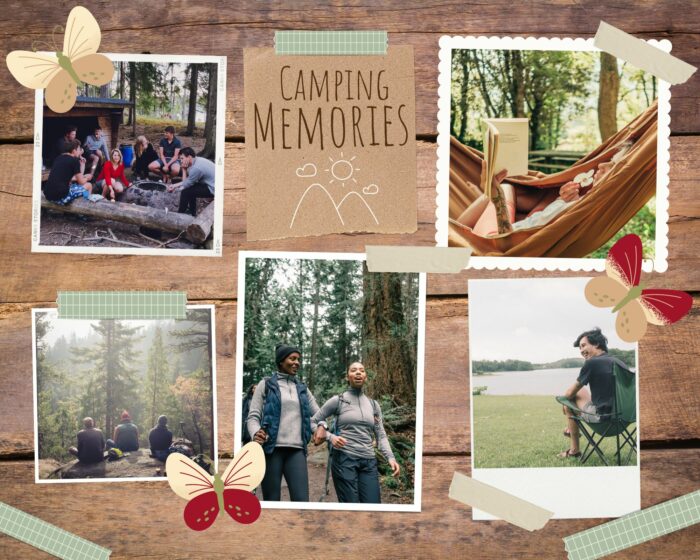
Similar to traditional scrapbooking, digital scrapbooking is the art of arranging photos and other graphic elements to chronicle a family’s history. In the digital space, you don’t have to buy supplies that take up space; instead, you’ll source elements from across the web to create a collage that usually follows some sort of theme or focuses on a particular event in the past. Some of our favorite digital scrapbooking themes include:
- 🎂 Birthdays
- 💍 Weddings and anniversaries
- 🏈 School sports and field trips
- 🎓 Graduation
- 🐶 Pets
- 🌴 Vacations and travel
- 🍁 Seasons and holidays
- 👨👩👦 Family and friends
- 🎸 Hobbies


🎨 How To Design A Digital Scrapbook
One of the best things about designing your own digital scrapbook is that you don’t need a ton of supplies or a big initial investment to get started, just a few of your favorite photos and a little creative inspiration! Here are some of the more well-known scrapbooking sites to help you get started:
- Canva.com
- Smilebox.com
- Scrapgirls.com
- Mymemories.com
- Rawpixel.com (for free graphic elements)
- Unsplash.com (for free design elements)
Additionally, if you’re an Adobe Photoshop user, you can design or modify your own digital scrapbook templates and really fine-tune the details exactly to your liking. Because everything is digital, it’s really easy to experiment with colors, textures, and graphic placement, so don’t be afraid to push your creative boundaries and have fun!


🔎 Displaying Your Digital Scrapbook
Once you’ve designed the perfect scrapbook pages, what should you do with them? Sure, you could print them out and stick them in your scrapbook, but then you don’t actually get to enjoy your photos and art unless you pull your book out and browse through it. Instead of letting that creativity go to waste, you should consider a digital scrapbooking gallery wall!
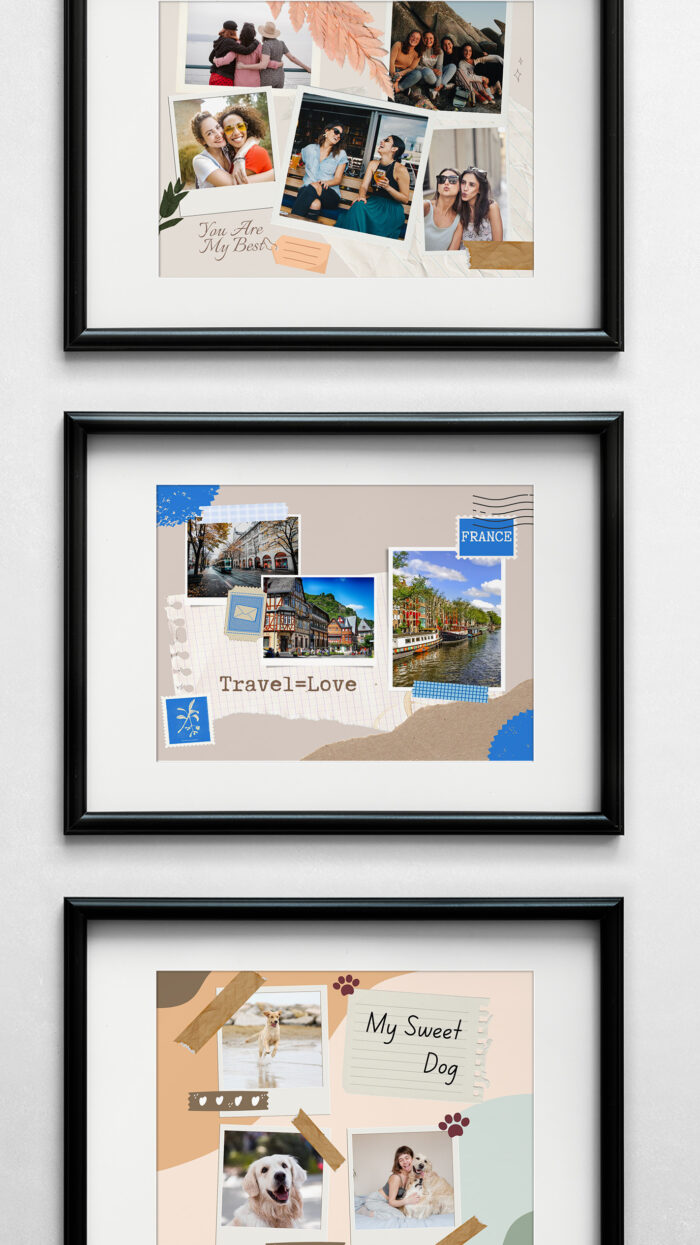
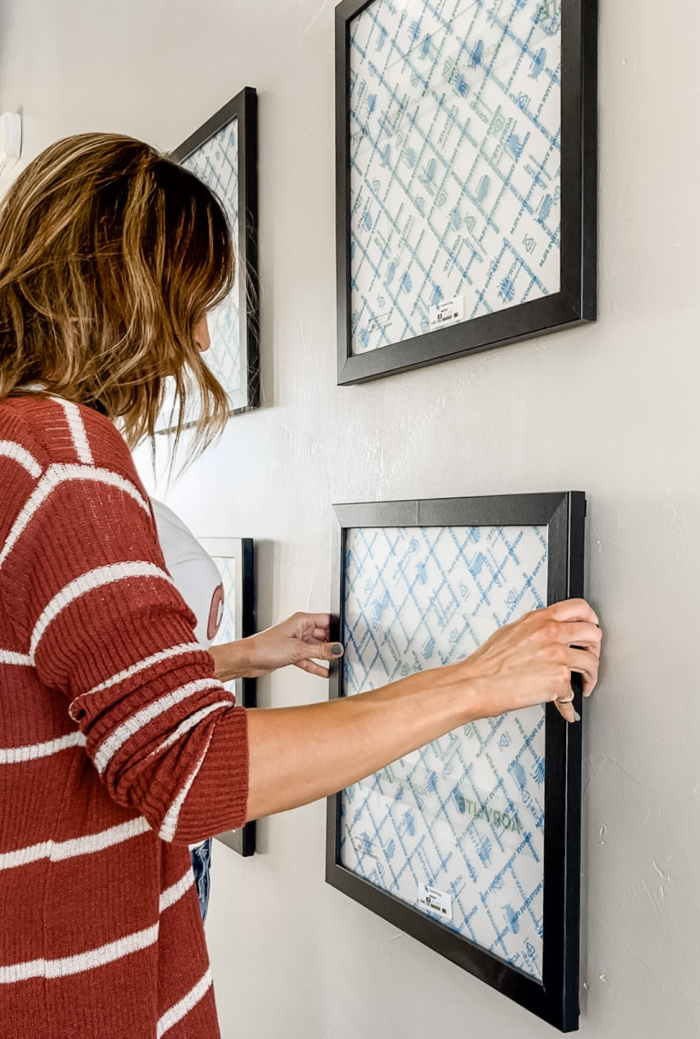
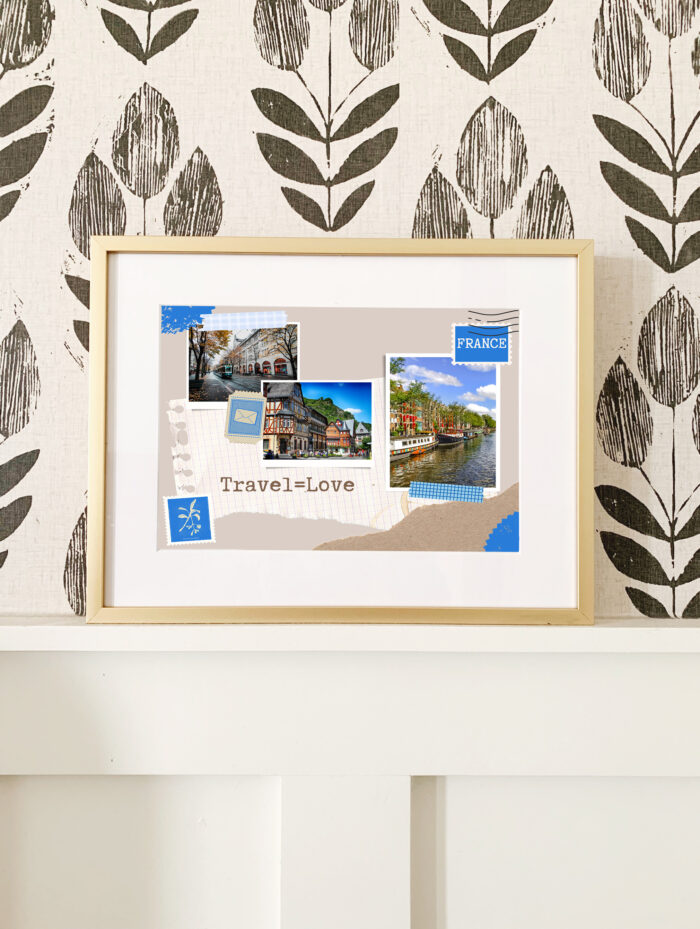
A gallery wall is a great way to visually organize photos and art into a grouping so you and your guests can enjoy a variety of imagery that’s most special to you! Gallery walls are especially appropriate for your digital scrapbooking art – whether it’s three field trip pages stacked together, or six family vacation pages staggered on a wall above a staircase, digital scrapbook pages make awesome wall decor for living rooms, hallways, or bedrooms! Plus, framing protects beloved photography and artwork, preserving and protecting it from staining, tearing, or UV damage.
🖼 Frames For Your Digital Scrapbook Art
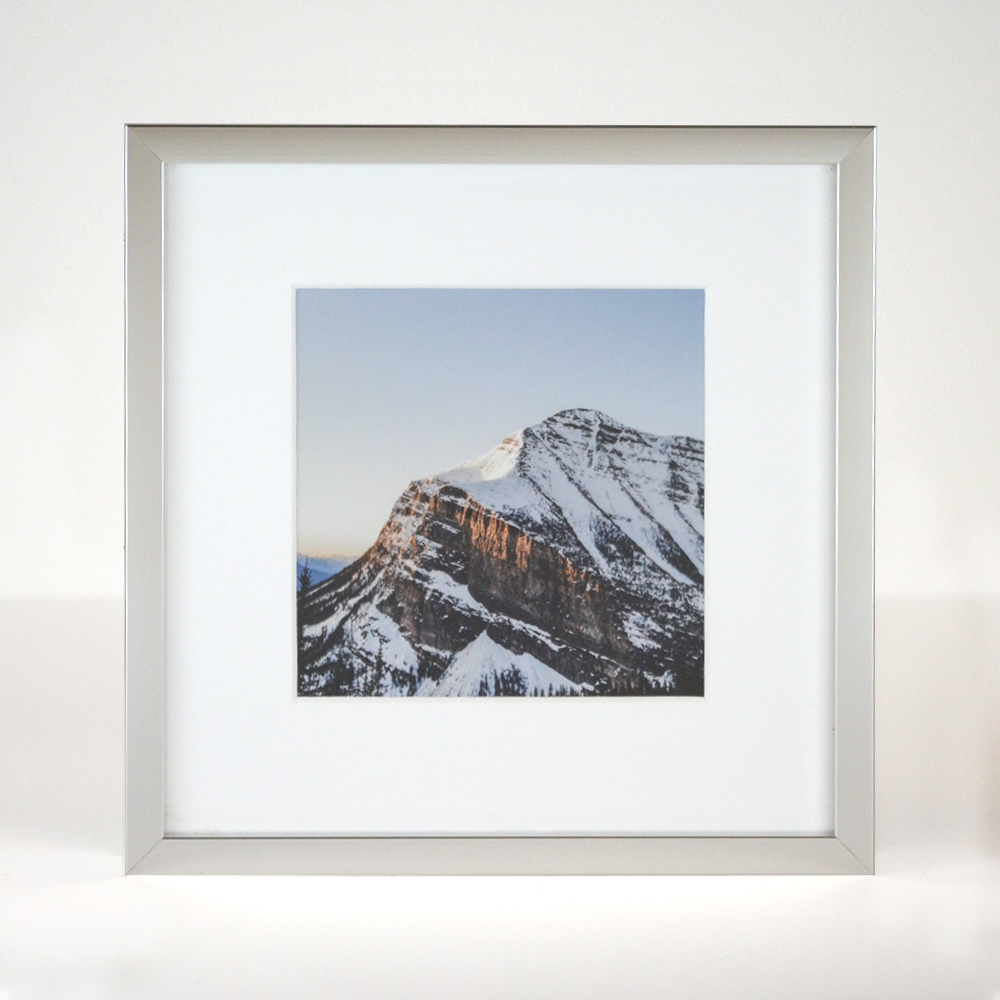
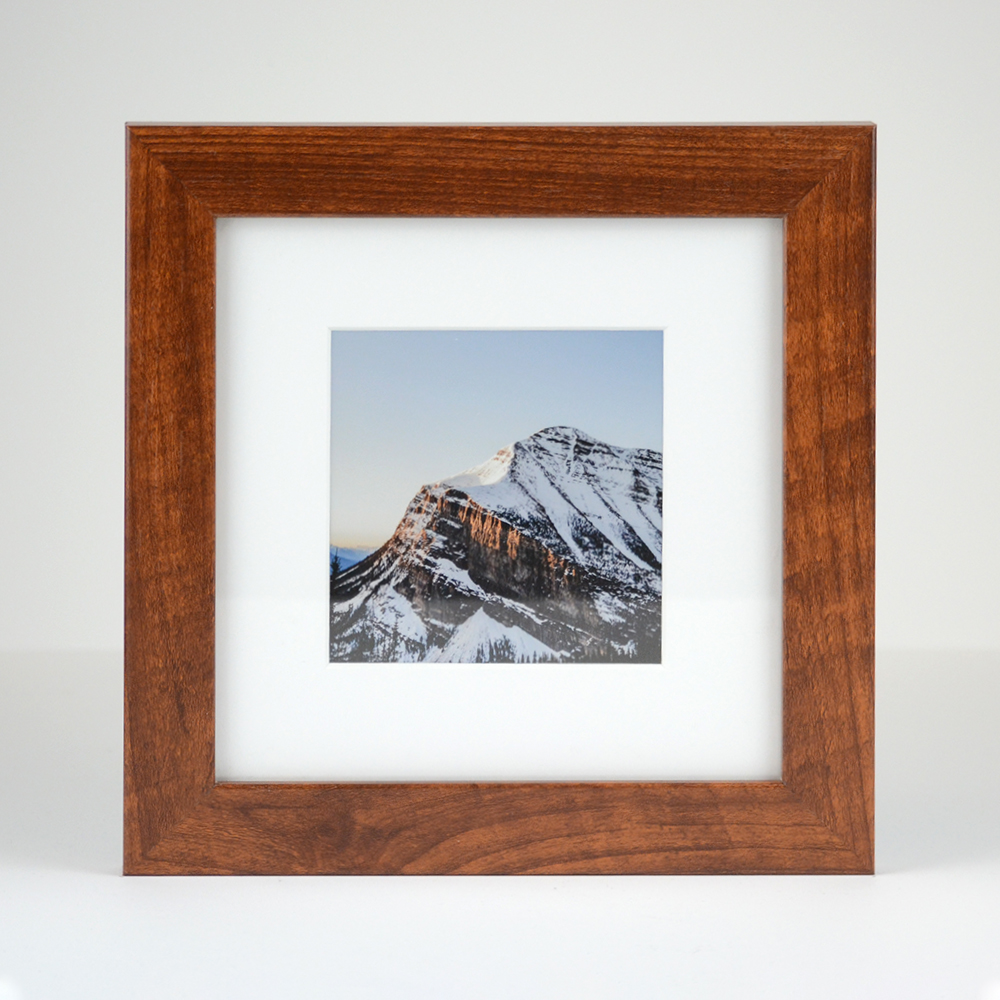
Now that you’ve decided to showcase your fabulous digital scrapbook art on a striking gallery wall, you’ll need to consider what frames to use. Luckily, we have a variety of fantastic options sure to suit any taste or decor scheme! For more modern artwork or spaces, you’ll want a frame with a thin face, like our Ashford frame. Or, if you’re looking for something a bit more traditional, our handsome Derby frame is a beautiful option with a plethora of finish options.
Don’t forget about a matboard, either! They not only help protect your art but add a bit of drama to your work that gives it a designer touch. The best way to choose the perfect matboard is to use a color found in your art! Whether it’s an exact color match or in the same color family, you can’t go wrong once you find a combination you love!
We’ve made it easy to order your frames, too because we’ll print your digital scrapbook pages for you! Visit our interactive frame designer to upload your digital scrapbooking pages, select your cover (we offer both acrylic and non-glare acrylic covers) and paper (either photo or art paper is available) options, and we’ll print, frame, and ship a ready-to-hang picture right to your doorstep!
A note about our professional printing service: Our print lab uses professional-grade, large format printers and we print with archival-grade ink. We print at up to 1200×1200 DPI and stay as true to your uploaded file as possible. We never resample or perform destructive edits to your image and maintain the exact profile and colorspace embedded within your file. If you choose to have us print, mount, and frame your digital art and photos, you will be extremely pleased with the clarity and quality. Choose from photo paper, art paper, or Giclée paper. for a look that best complements your piece. (Plus your frame will arrive ready to hang – what could be easier than that?)
🛠 Where & How To Display Your Art
Now that you’ve framed your mosaic, it’s essential to think about where you’ll place your new artwork. If you have one or two pieces, try to center it over furniture like a couch or table, ideally 6″-12″ above it. If you’re looking for a larger gallery wall display, the center of your gallery wall should be about 57″ from the ground, with at least 1″ separating each frame.
Our frames come with all the hanging hardware you’ll need to get going! So once you’ve found the perfect location, just hammer the hook & nail into the wall, then hang your picture frame from the wire off the hook. For larger wood frames you’ll get wall buddies (an extra piece of hanging hardware that will prevent bowing). Simply place the wall mounts on the wall, and drape the wall buddies over them.

🎬 Final Thoughts
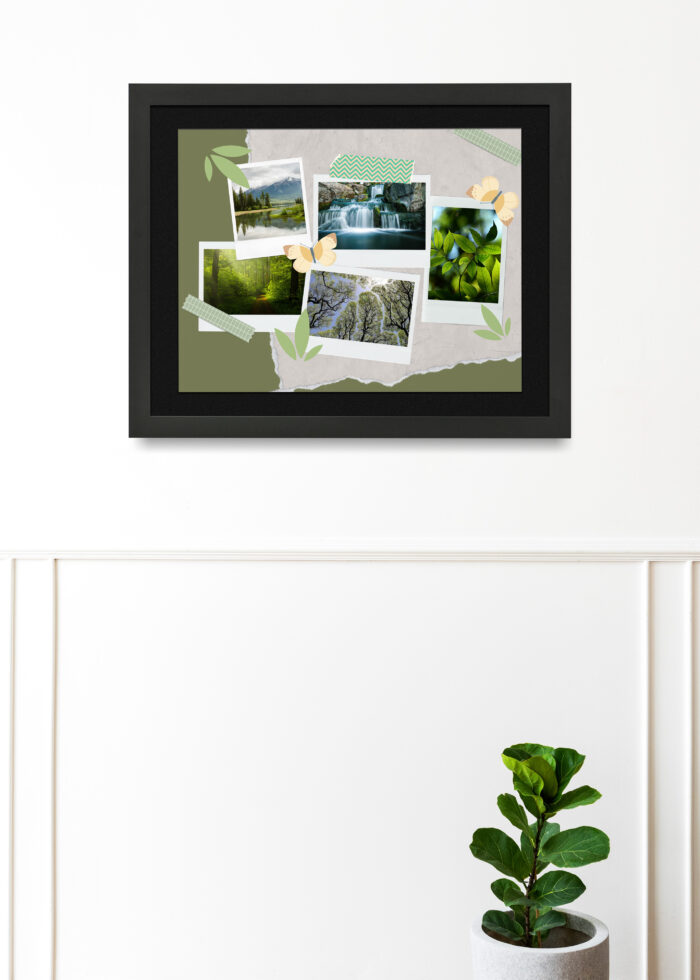
The beauty of pursuing digital scrapbooking is that there’s no upfront cost or supplies you’ll need to start. With just a few photos and creative inspiration, you could be well on your way to designing pages and pages of digital scrapbooks. And the best part is you don’t have to hide your art away in dusty old books, you can covert them to a snazzy gallery wall that you and your guests can enjoy!
And before you go, don’t miss the video below to learn how to plan your very own gallery wall in 5 easy steps 👇
