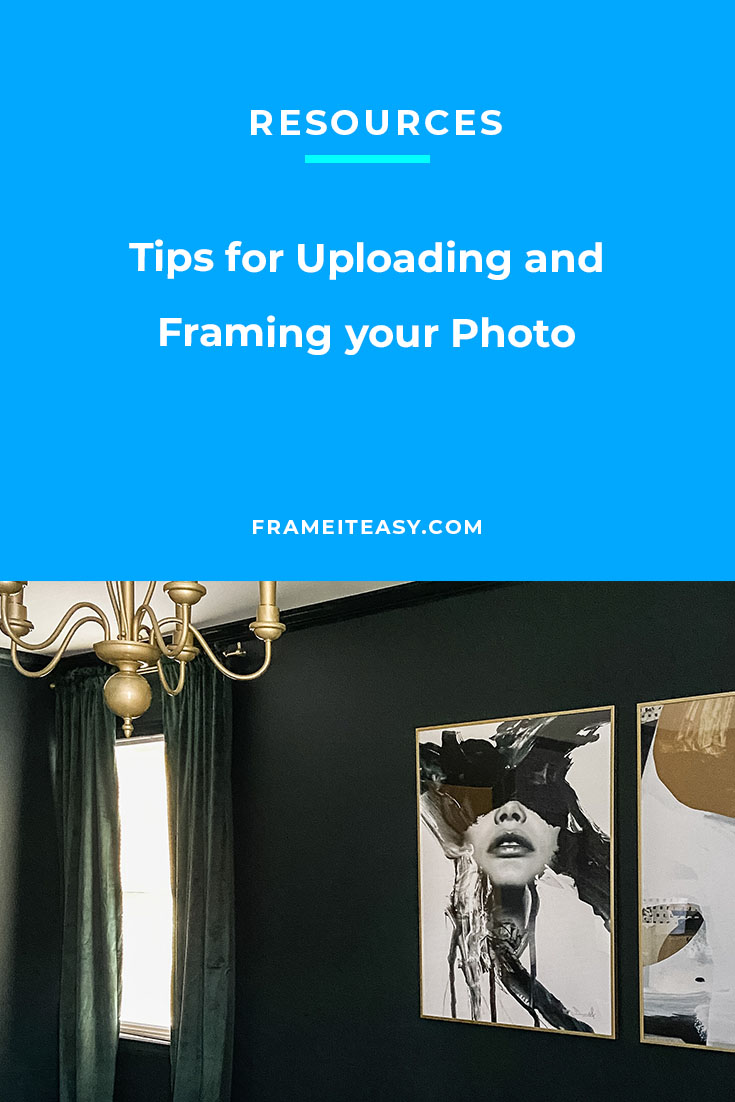
Printing your photo enables you to frame and savor your memory. We will print, mount, custom frame, and deliver your art it just for you! Here at Frame It Easy, we pride ourselves on making custom framing fast and easy for our customers. We’re a one-stop shop where you can upload your photos directly to our Frame Designer and get them printed, mounted, and framed. Not only do we save you time, but we save you money by being the most affordable online custom framing you can find. (We’ve done that research in case you don’t want to!)
While we try to make our website as user-friendly as possible, we understand that there can be some confusing steps, so we will take you through those!
Uploading Your Photos
When uploading your photo to our 3D Frame Designer, you want to make sure that your file type is one that we can support. We are able to print JPEGs and PNGs so be sure to use that file type when uploading your photo. If you do happen to have a photo with a different format, there are a few ways for you to change the format. Open the photo you want to change in the preview, and click “file” in the upper left-hand corner. From there, “export” the photo, and then choose a new file format from the “format” drop-down menu, and export your new format photo!


You will never have to worry about receiving a blurry photo, either. Our Frame Designer won’t allow you to make a frame size that would leave your photo in bad quality. For our technical customers, we print at up to 1200×1200 DPI and stay as true to your uploaded file as possible — we never resample or perform destructive edits to your image, and we maintain the exact profile and colorspace embedded within your file and never remove it or add our own.
Choosing Your Paper Type

Printing your photo with Frame It Easy, enables you to choose between three paper types. Photo paper, art paper, and giclee paper. Each will provide you with a great-looking print, but we will still explain the difference between the three.
Our Photo Paper is a semi-matte, bright white paper with a slight gloss/luster to it. It has a smooth surface and subtle sheen that will bring brightness and richness to prints. Photo paper is perfect for photographs and text-heavy images, as well as most general, all-purpose uses. This may be the ideal choice for printing your photos.
Our art paper is a matte cotton, natural white paper with no gloss or luster. It has the slightest warmth and a semi-smooth surface that will bring elegance and nuance to prints. Art Paper is best for artwork reproductions and/or digital graphics.
Our Giclée Paper is a cotton, heavyweight fine art paper that is fully matte and has a slight texture to it. There are no optical brighteners and are both acid-free and lignin-free. It has a gentle warmth and a semi-smooth texture that enhances the intricacy and richness of giclée prints. Great for fine art reproductions that are of conservation and museum quality.
Photo Paper vs. Art Paper vs. and Giclée Paper: Key Differences
| Photo Paper | Art Paper | Giclée Paper | |
| Finish | Semi-Matte with slight gloss/luster/sheen | Completely Matte | Completely Matte |
| Texture | Smooth | Smooth | Semi-Smooth |
| Tone | Bright White | Natural White (Has a hint of warmth) | Natural White (Has a hint of warmth) |
| Best For | Photographs, text-heavy designs | Art reproductions (paintings, illustrations, digital art) | Fine art reproductions that are of conservation and museum quality |
| Cost | Most affordable | Slightly more expensive (but not significantly so) | Slightly more expensive |
| Best Matting Match | Smooth White | Smooth White | White Sail |
| Weight | 68 lb / 270 gsm | 80 lb / 300 gsm | 84 lb / 315 gsm |
How to Design Your Frame

Designing a custom frame on our interactive Frame Designer is as easy as 1,2,3,4! No — seriously! It takes 4 simple steps to design your perfect frame.
Step 1 — Enter your art size.
If you are uploading your portrait, we will print, mount, and frame your photo so that your frame will arrive ready to be hung. If you are uploading your art to our site, you will also need to choose the type of paper you would like us to print on. As we mentioned, multiple paper types. If you already have a physical copy of your portrait, simply measure the photo and add in the Art Size on our site.
Step 2 — Choose your frame style.
We have tons of frame styles, including metal frames and wood frames. So you can find the perfect look for your photo. Each material offers its own vibe. Metal frames bring a clean, modern feel, while wood frames add warmth and timeless character. When choosing your frame, don’t forget to consider the thickness of what you’re framing, whether it’s a single art print, a matted photograph, or something bulkier like textiles or keepsakes. Our wide range of profiles makes it easy to find a frame that not only looks great but also fits your piece securely. With so many options, you can design a frame that truly complements your art and your style.
Step 3 — To mat or not to mat?
A matboard (also referred to as a photo mat, frame mat, or matting), is a cardboard-like material that serves two purposes: to protect your artwork from damage and to enhance its look. You have the option to add a single or double matboard, or none at all. We suggest if you are adding a matboard to add a color that is going to enhance your picture. Look for small colorful details in your photo, such as an accessory, an article of clothing, or even something in the background of your photo that will give your portrait that extra POP it was looking for!

Step 4 — Finally, your cover!
Last but certainly not least is choosing your cover. We have a few options for our acrylic covers. Our clear acrylic which is the most conventional and almost like looking through glass. If your art is colorful, clear would be the best option, as it would not soften any of the colors in your photo or artwork. However, the clear finish is reflective, and it could cause glare if placed near a window, where the sun would shine through. The second option is our non-glare acrylic. This will soften the color of your artwork, so we recommend using it if your overall piece doesn’t have bright colors, or is entirely in black and white. Non-glare acrylic will also diffuse sunlight that hits it, which would make your artwork more viewable if it’s near a window. Conservation Clear Acrylic offers 99% UV protection, this cover gives your art the most well…protection. It is extra durable and rigid at 3mm thick, preserving your art without color distortion.
Final Thoughts on Printing Your Photos

Getting your favorite photos printed and framed has never been easier. Of course, if you need any more help along the way, reach out to our support team who is always around to help with anything you need!
Don’t forget to share your finished pieces with us on social media, so we can see what you created!