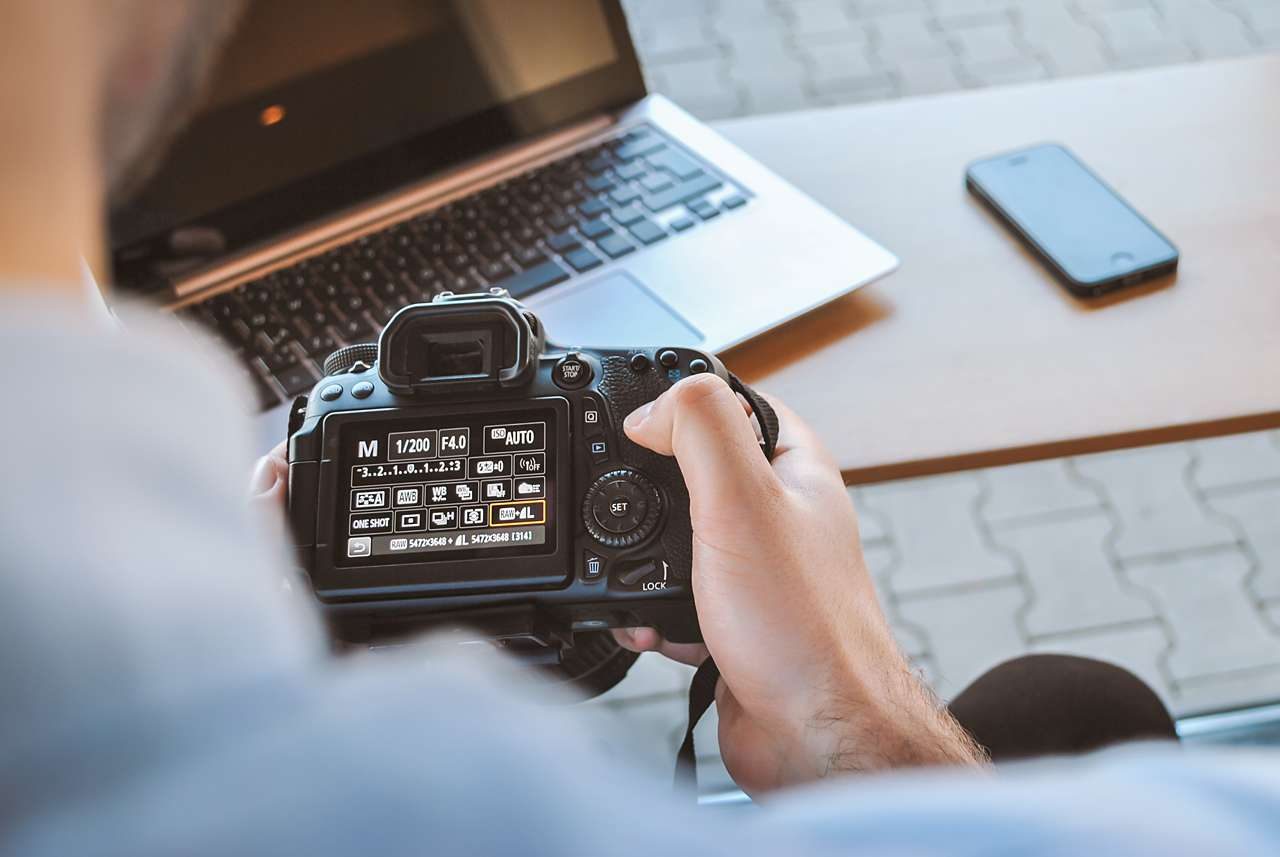
You might have taken a photo, but there’s one small issue that’s keeping it from being perfect. Good thing we have modern technology, right? Improving your photo could be a click of the mouse away!
The days of developing film in a darkroom are coming to an end. This is even true for professional photographers. It’s much easier to complete your photos on a computer than in a lab — post-production has never been easier.
Maybe you want a symmetrical shot, but something is in the way. Or there could be some red-eye in your photo, which hinders its potential. Don’t worry, though; both of these issues — and many more — are usually fixable. So let’s go through the steps so that you can get to shooting faster!
1. Clean Debris Off Lens — Both Before And After The Photo Is Taken
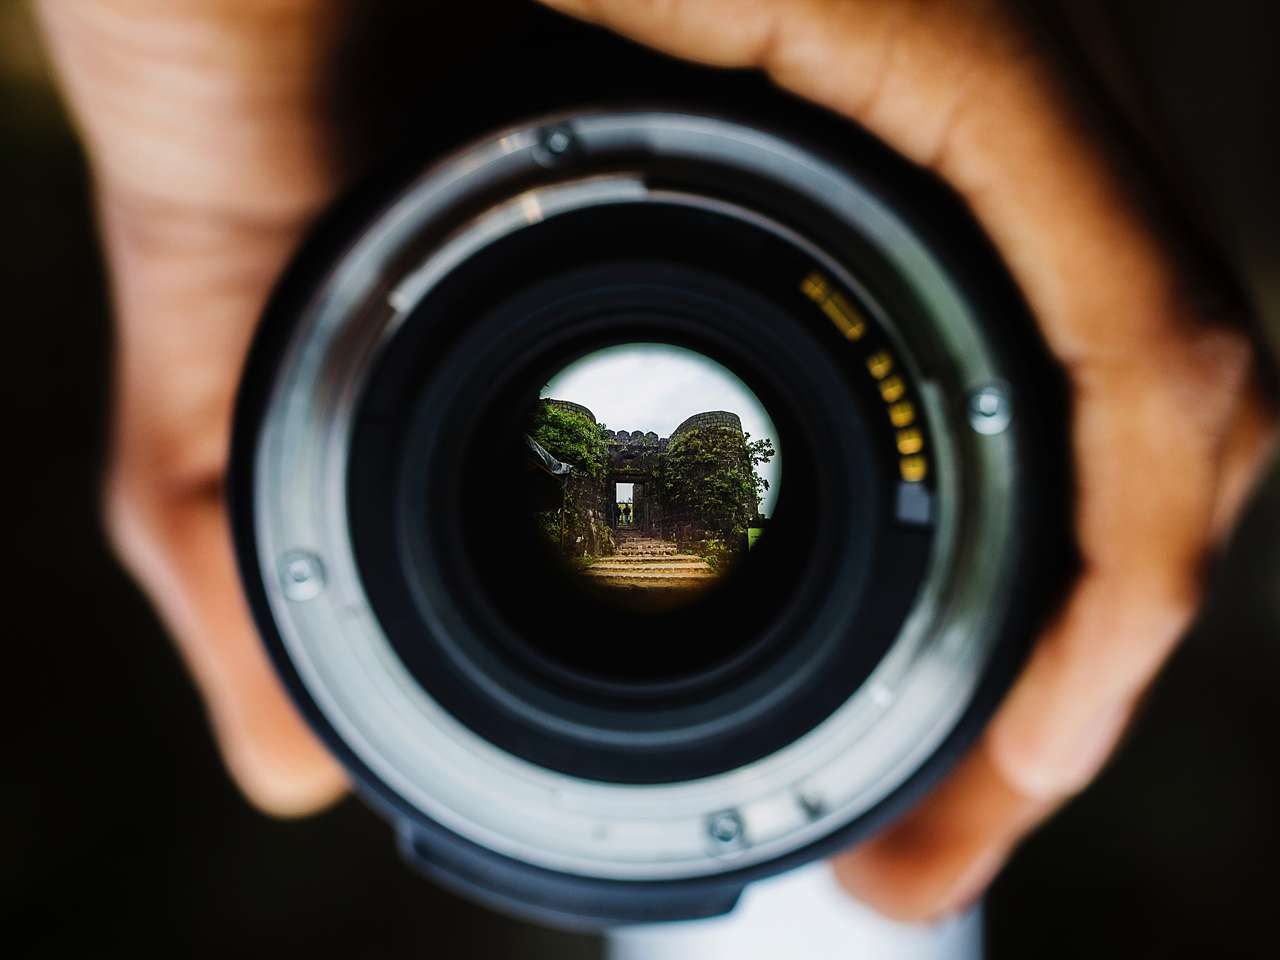
The first step to shooting, so that your pictures can come out as focused as possible, is to clean your lense.
As a precaution, you should always check to see if your lens is clean. It would be annoying to have that stray sand grain, a strand of hair, or some other debris hindering your photo. Just use a soft-bristled brush to do this– or a microfiber cloth with a small bit of lens cleaning solution. Either should do the trick.
Let’s say that you didn’t do that. No problem! The process for this is similar to removing digital noise, at least in Adobe Photoshop.
Just go to Filter, then Noise, and then select the Dust and Scratches dial. That should make your photo appear a little bit clearer.
2. Fix Red Eye
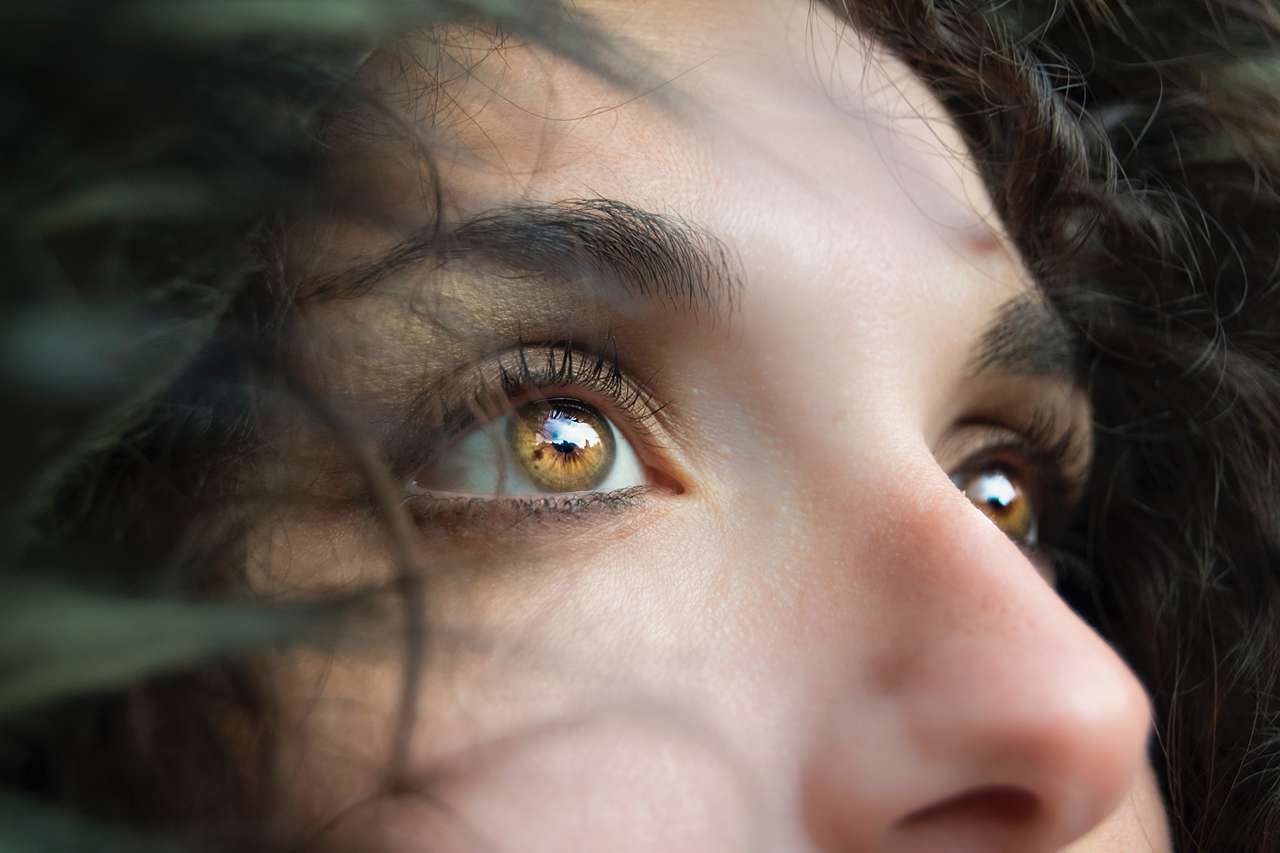
You took the perfect family photo. And you’re excited to see how it turns out. Everything seems to have gone right, too; everyone kept their eyes open and they were smiling perfectly.
Then, you look at the end product but there’s one looming issue — that ever-pesky red eye! It is such an unnatural color that will make your subject look somewhat inhuman.
Not to worry — modern technology has made this easy to fix!
To correct the issue, simply zoom in on the red-eye and color it in with a dark gray or blue. This should clear that issue right up. Fortunately, this is doable with almost any photo editing software or app.
This is definitely an option in Photoshop. But you can also do it right on your phone, usually right after you take the photo or afterward within the phone’s photo library. There are also plenty of third-party apps you could download to correct this, but you shouldn’t necessarily need an advanced app.
3. Level The Horizon

This is mainly for landscape photos where you can see a distant horizon.
An uneven horizon can take away that vast dynamic you’re trying to achieve. Diagonal lines can hinder a great photo, and they can be distracting from the picture as a whole.
You can make attempts to keep everything level before taking the photo. (It would lessen your workload in post-production, certainly.) This can be difficult, though, especially if the landscape you’re working with has a lot of hills.
What if the slope is uneven? What if your lens is somewhat skewed? These things and more could lead to a slanted horizon in your photo. In Photoshop, you should be able to easily rotate your image and even everything out in no time at all.
Took the photo on your phone? Simply go into your built-in editing settings and choose the angle adjustment feature.
You can also use apps like Fotor or Canva.
4. Correct The White Balance

We’re not yet to the point where machines can do everything humans can. And white balance is one such example of this.
Our eyes often “auto fix” white balance for us. No matter what lighting or temperature you hold a sheet of xerox white paper in, it will typically appear white to your eyes. But that isn’t always the case with camera lenses.
They can capture whites incorrectly, which would leave you with an off-white shade, or some other color you’d rather not have.
You should be able to set your camera to adjust to the climate in your photoshoot, but in case it fails, you can fix this in post-production, too.
To do this, we recommend shooting your photos in .RAW file format. This makes them easier to adjust in post. Lightroom will also give you more adjustment options if your photo is .RAW, which is why we recommend taking photos in this format.
You can adjust White Balance in Lightroom, by selecting the White Balance column. Once you do this, adjust until your photo is at the warmth you’d like it.
5. Soften Photos By Removing Digitization
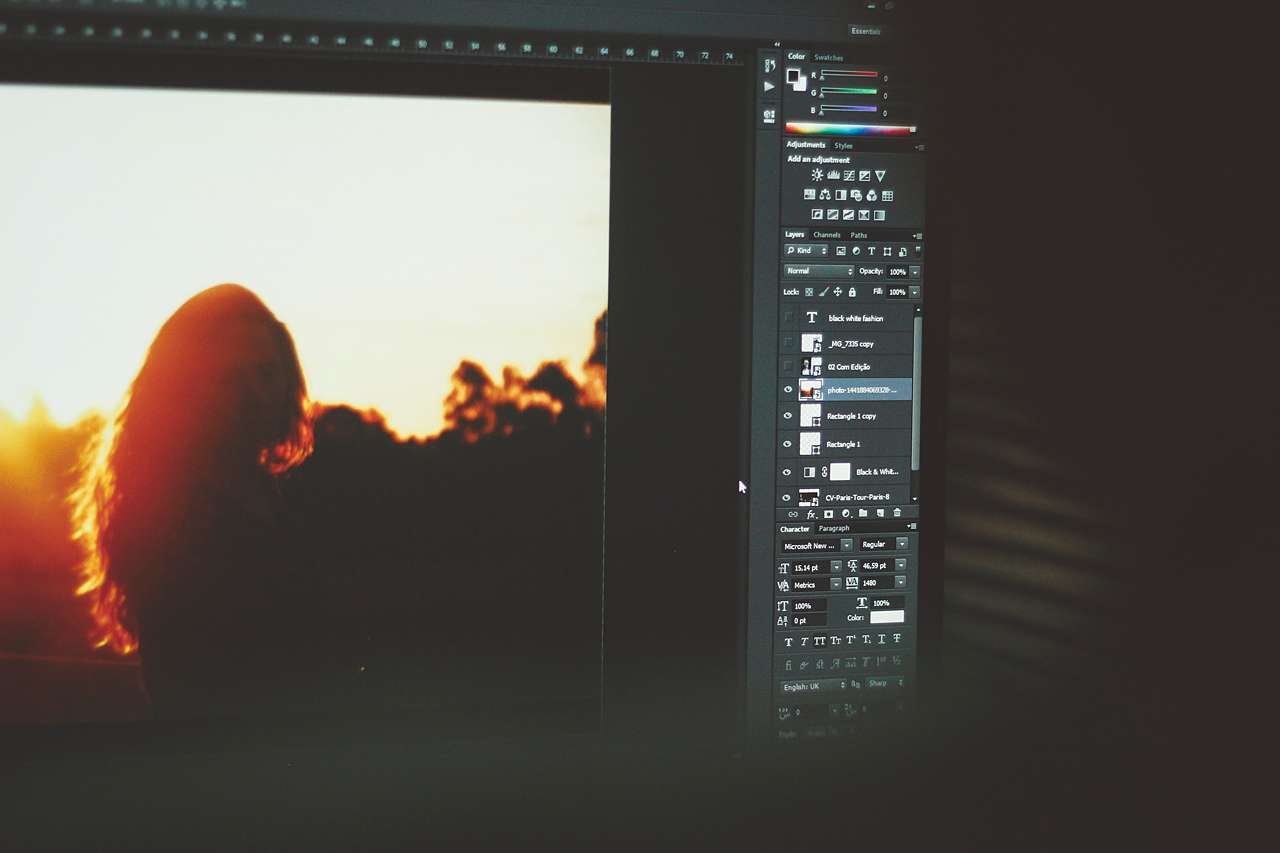
Have you ever taken a photo on your phone or digital camera, and afterward noticed that it looks sort of… grainy? If you have, this is the result of heavy digitization in your photo. The common term is “digital noise.”
Digital cameras have massive advantages over their more dated film-based counterparts. With film, you had to be sure that your roll had the appropriate light sensitivity (ISO) to take an adequate photo. If you didn’t, you had to finish the roll and then go buy another roll more appropriate for the photo you wanted to take.
Thankfully with digital cameras, you can eliminate your time at the photo store developing and buying more film by adjusting your ISO right on your camera. There can be issues with this, however: the ISO can be too high for your environment, if not adjusted properly. And this could lead to digital noise, which is that grainy look we went over at the beginning of this section. The normal range for ISO is 200 to 1600 but that depends on your camera model, so you will have to do some research.
If you find an otherwise good photo with this issue, it can be reduced, if not totally fixed. (Again, as we mentioned above, we recommend shooting in .RAW format, as fixing digital noise is easiest in this file type.)
If you are using a photo editing app, which we will cover more in the next section, such as Adobe Lightroom, you can remove digital noise from a photo. First, open the “Detail” panel, this will show the “noise reduction” sliders. From there, slide the appropriate dial down to reduce whichever type of noise you’d like. Play around with the setting until you get the best results in your picture.
6. Work With Photo Editing Apps
There is an app for just about anything you need. So of course, there is a surplus of photo editing apps out there for you to use. Whether you are a professional looking for something to use for your work or just dabbling around for fun, there are plenty of apps that will fit your needs. We’ve talked about the best photo editing apps options for hobbyists, professionals, and everyone in between in our Learning Center before, but let’s narrow it down to the top three — the best, the most cost-effective, and a free one.
The Best Option

This is an easy one to answer: Photoshop. Made by Adobe, you can do just about anything on this program: edit lighting and shadows, add in details, remove details. You name it.
While there is a free trial for it, there’s one factor that might be holding you back from using it — the money. There was once a one-time payment for photoshop that got you pretty much everything, and you only needed to pay once. That said, those days are gone, and the most affordable subscription option is $9.99/mo. If this is in your price range, and are willing to put forth the money, Adobe Photoshop is definitely your best option.
The Cost-Effective One

What is one that gives you the best bang for your buck? For that, we would go with Luminar. It’s a great tool that can both be used as standalone software, or as an extra plug-in device for Photoshop.
Sure, Luminar likely will cost more upfront than Photoshop does per month. But because it’s a one-time fee, the pile-up cost of Photoshop will, undoubtedly, be more. One payment, too, can authorize up to 2 computers. So it’s possible to use it on multiple devices, or maybe share it with your friend if they need it!
This is a great way to edit the backgrounds of photos, in particular, as the site advertises that you can change the mood of the photos you upload. And the software even suggests the best templates for each photo, which is pretty cool!
The Free One

If you’re just editing for a hobby or want to experiment with editing for a bit before you invest some money into your craft, we recommend GNU Image Manipulation Program (GIMP). This app allows you to manipulate photos, create original art, and make some great logos as well, so you will be able to get the feel for editing before spending money on something more expensive.
7. Crop Your Photo
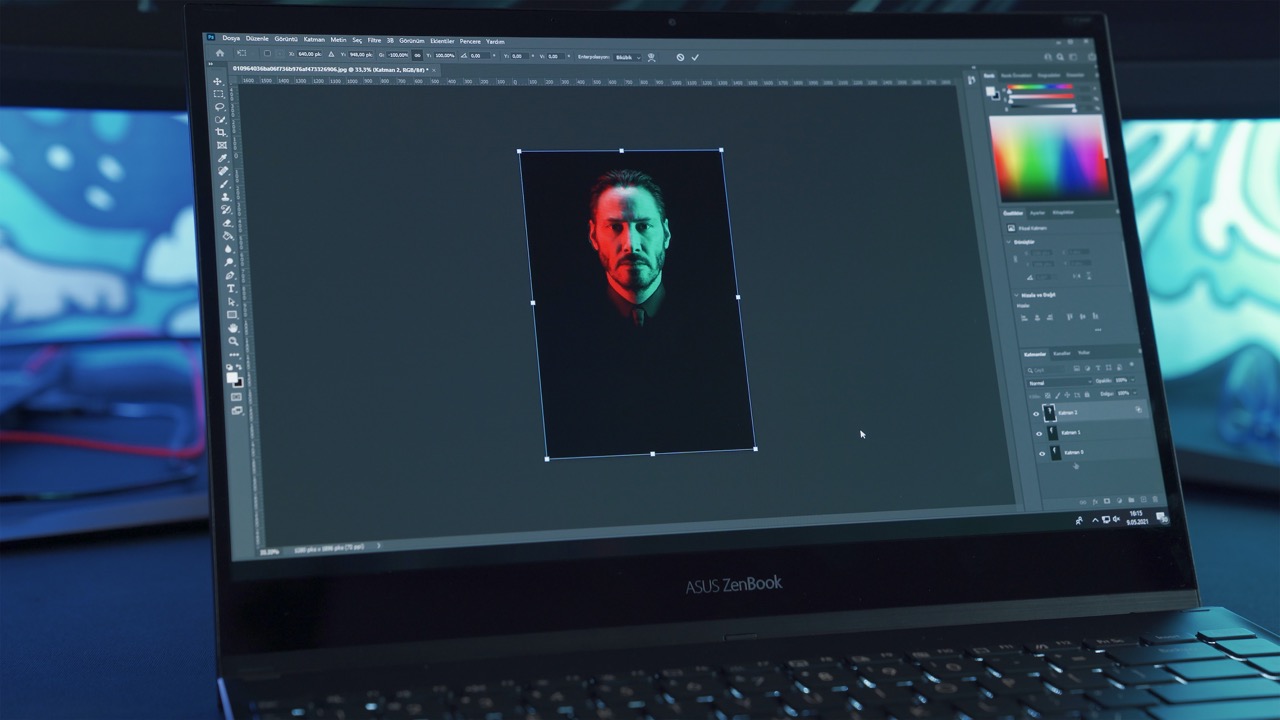
Sometimes there is something in the background of your photo or you have too much headroom at the top of your picture that you need to get rid of. The fix is simple — the crop tool. Depending on the editing tool you are using, whether that one of the ones we recommended above, like Photoshop or GIMP, or even just your iPhone, the crop tool may suggest certain ratios, such as 1:1, 16:9, 3:2, or you can just free crop on your own. The crop tool allows you to eliminate the borders of your photo, cut out unwanted items, and center your subject if it is not already done.
Final Thoughts

Sometimes, you just have to do a little post-production to make your photo wall-worthy. Editing doesn’t have to be extensive, but by adding a few digital photography cleanup tips to your repertoire you’ll be a pro in no time.
We hope you find these tips both useful and helpful for your personal or professional photography skills. Remember, when it comes to photography, create something that you enjoy. You know what they say, beauty is in the eye of the beholder, so make sure that you enjoy creating your work, then it will never feel like a job!
After you create a masterpiece, why not go ahead and frame it, whether it’s for you, a loved one, or your client! Head over to our Frame Designer and simply upload your photo, design your frame, and add it to your cart. It’s really that simple. We will print, mount, and frame your photo, and it will be shipped to you, ready to be hung!

