We’re here to tell you how to photograph the best Instagram pictures. Instagram has come a long way since we were taking heavily filtered photos of sunrises/sunsets and our food- all with no captions. Indeed, it’s now a platform that’s realized its potential, a place where you can show everyone the best side of yourself. It’s also a great platform to display all your best photography photos, whether they are professional or beginner.
Because of this, the potential for what an Instagram account could be has drastically changed over the course of a decade. Indeed, it’s gone from a simple page where you share some nice photos — which is still common and totally cool — to a marketing platform where you can spread your company’s message far and wide, or even promote yourself as an influencer!
Whatever reason you might have for being on Instagram, from casual to professional, you probably want your profile to look its best. And we’re here to help with that! We definitely want to do our best to get your photos, even if they aren’t framed, looking great.
Step 1: Settings Are Key
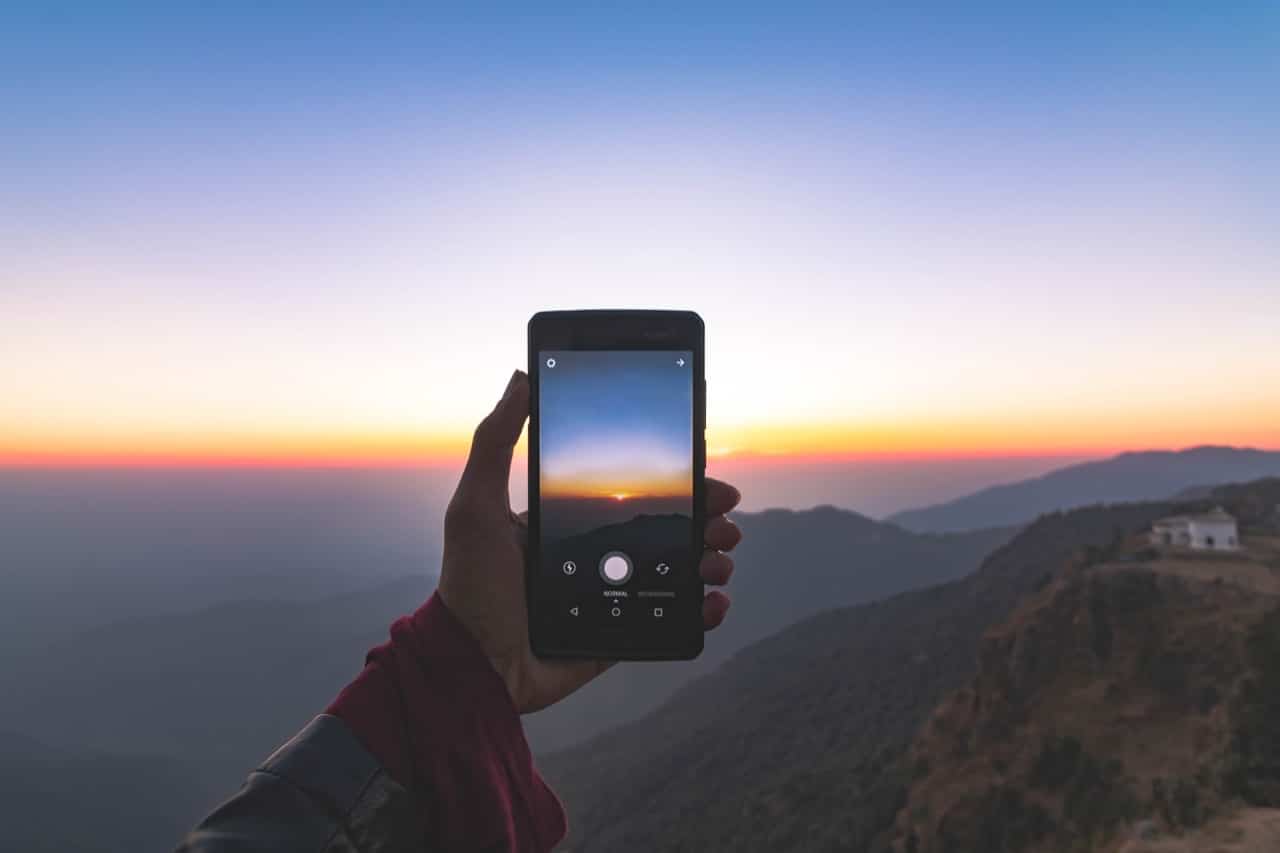
Cellphones these days have some pretty advanced cameras. That wasn’t always the case, though. Rewind back to the mid-2000s, and the cameras that those flip phones had were… not great by comparison to what we have today. Even the smartphones from half a decade ago can’t really compare to the latest, most cutting-edge photography tech on current devices. Those settings and features are there to help, but sometimes they can muddy the waters and make things less clear to the amateur photographer.
The first setting that might be helpful to turn off is HDR. HDR is essentially something on your phone’s camera that takes a certain photo with a bunch of different exposures. This allows for great, high-contrast images. This is great with high-detailed images but is less effective in low light with moving objects. For the less-trained eye, though, the result can always seem off. Add in the factor of moving objects hampering its outcome, and it’s best to click it off for most photos. Of course, if that’s what you’re going for, then go for it! We don’t want to knock anyone’s creative vision, so take these recommendations with a grain of salt, if need be.
Step 2: Use Phone Modes To Your Advantage
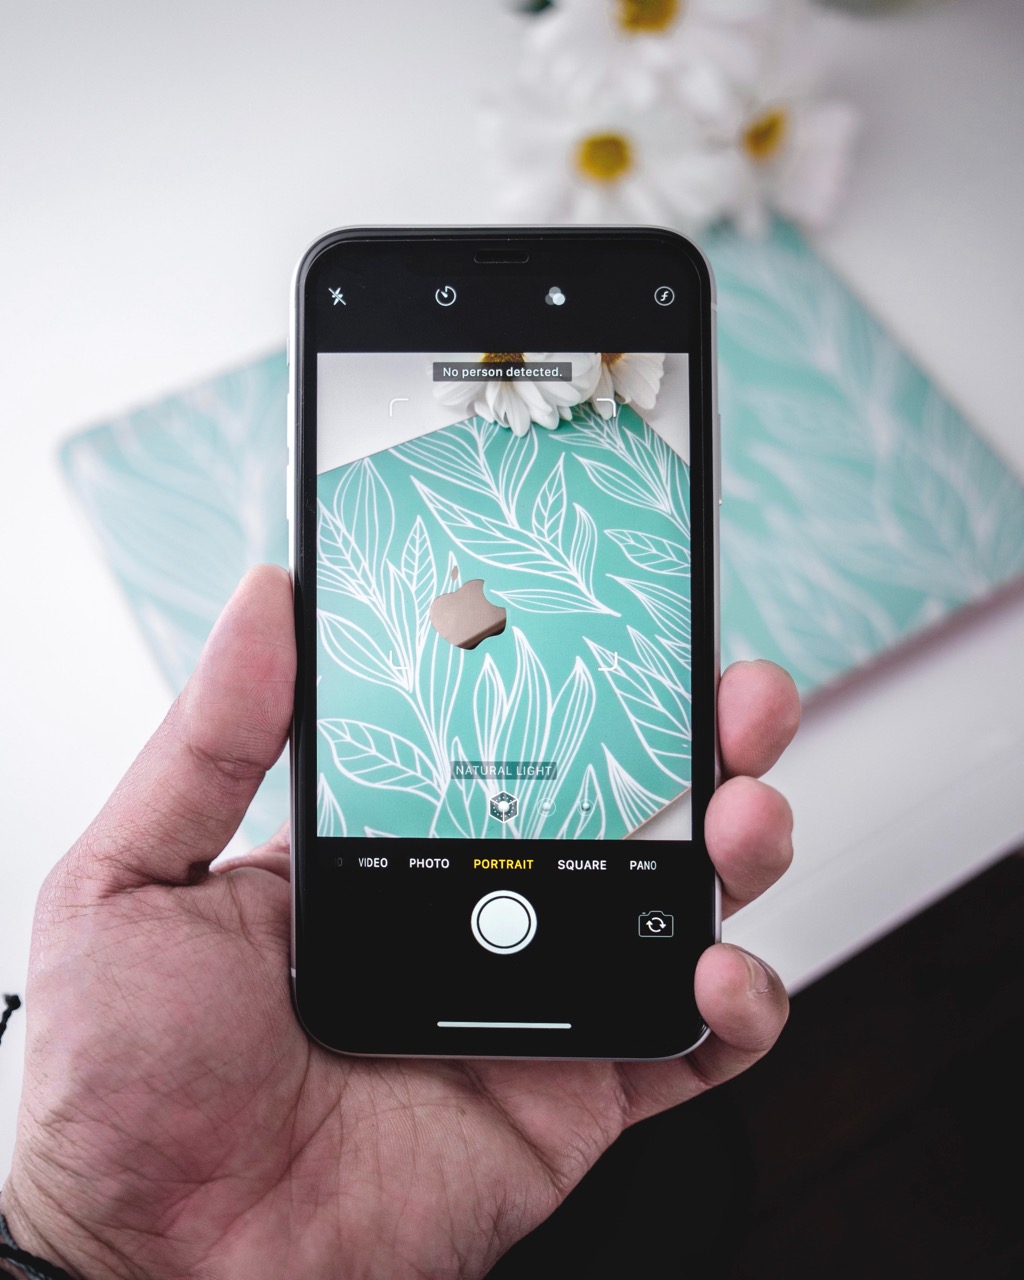
As we mentioned, smartphones have truly advanced over the years. On the iPhone, you now have the option for different modes — the most popular being portrait mode. In portrait mode, you can also choose to add natural light, studio light, contour light, stage light, stage light mono (which makes your photo black and white), and heigh-key light mono (again, black and white). All these settings will help with the lighting in your photo, which we will touch on more next, and will give you some awesome looks to your photos. Be sure to play around with these camera modes and use them to your advantage. You’ll be able to create something great just by using your phone camera.
Step 3: Use Natural Lighting
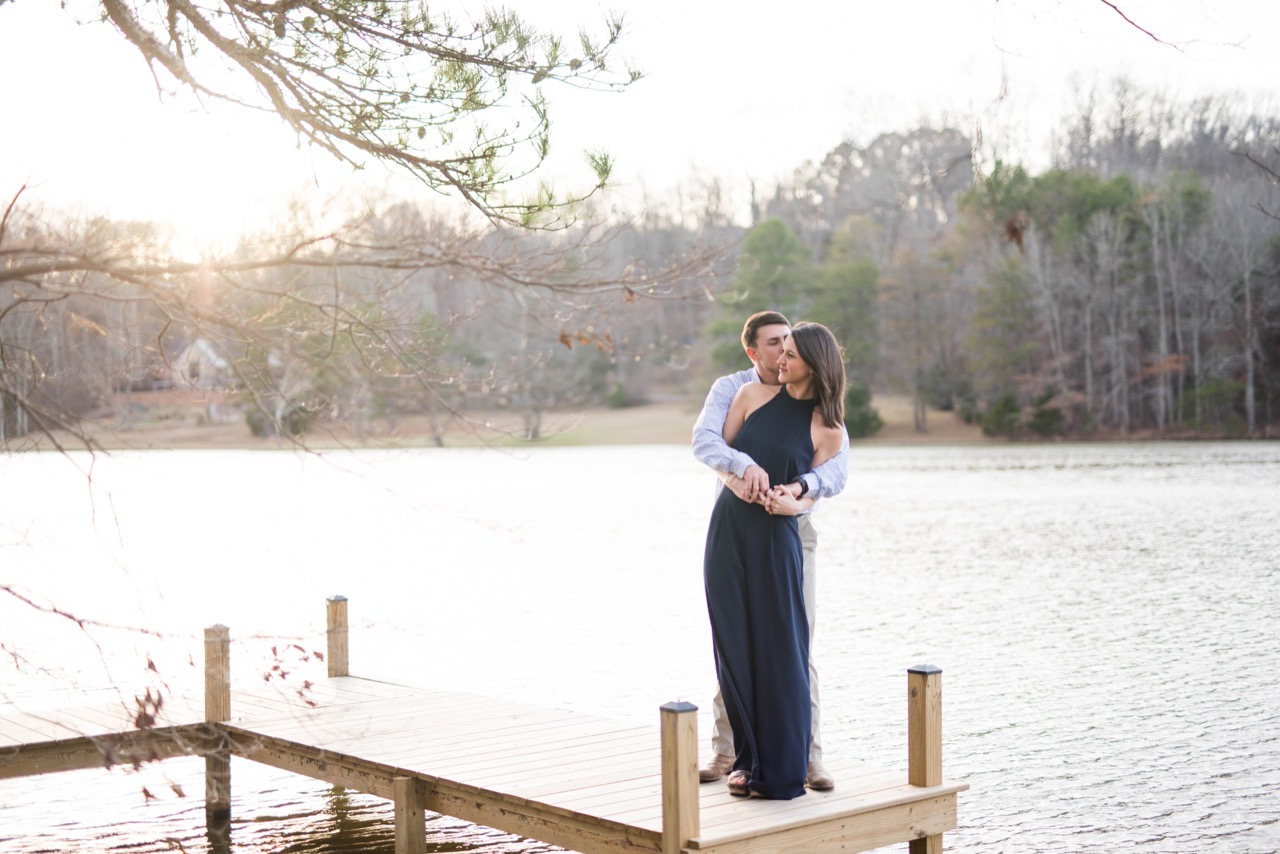
While taking the best photos, natural light will be your best friend! We’ve talked about the importance of lighting on our Learning Center before. Lighting, essentially, is one of the most important parts of photography. With little lighting, there probably won’t be much to photograph — or just a lot of shadows. Unless a dark photo with heavy shadows is the look you are going for (we’re not trying to dictate your project) you’re going to need some good lighting!
Depending on what you are shooting, bright natural light will make your photo appear airy and rich. When shooting in natural lighting, be sure to avoid using your flash or other artificial light sources, as this can flatten your image.
Step 4: Keep The “Rule of Thirds” In Mind

Now, this might seem a little bit contradictory to what we always say. You might ask why we’re tossing rules around when, well, we quite frequently say that there’s no need for them. Again, these aren’t really rules, but more guidelines to help take your Instagram pictures to the next level.
The rule of thirds is a basic compositional concept for taking photos. Essentially, each photo can be divided into nine different sections — three horizontal and three vertical. The idea with this is to put key parts of the photo where the lines of the sections intersect. People have a tendency to look at the intersecting lines — even though they aren’t really there — rather than the center of the photo. This is why key details should be around those lines! You want people to see and notice all the great details of your photo.
How are you supposed to just see those lines, though, when you are composing a photo that you’re about to take?! That all seems sort of, well, complicated, right? Well, there’s a great way to see the lines on your shot, before you even take it! If you’re taking an Instagram photo, you’re more than likely using a smartphone. This allows you to take a photo and immediately upload it to everyone’s favorite photo-sharing social media platform. And if you have an iPhone, there’s a way to set your camera to show you those rule of thirds lines.
You’d just go to “Settings > Camera > Grid.” If the grid is turned on, you’ll see those rules of third lines, and you’ll be ready to compose a shot in a more “by the books” sort of way. After all, the more rules you get good at following, the better you’ll become at breaking them down the line!
Step 5: Line Your Subject
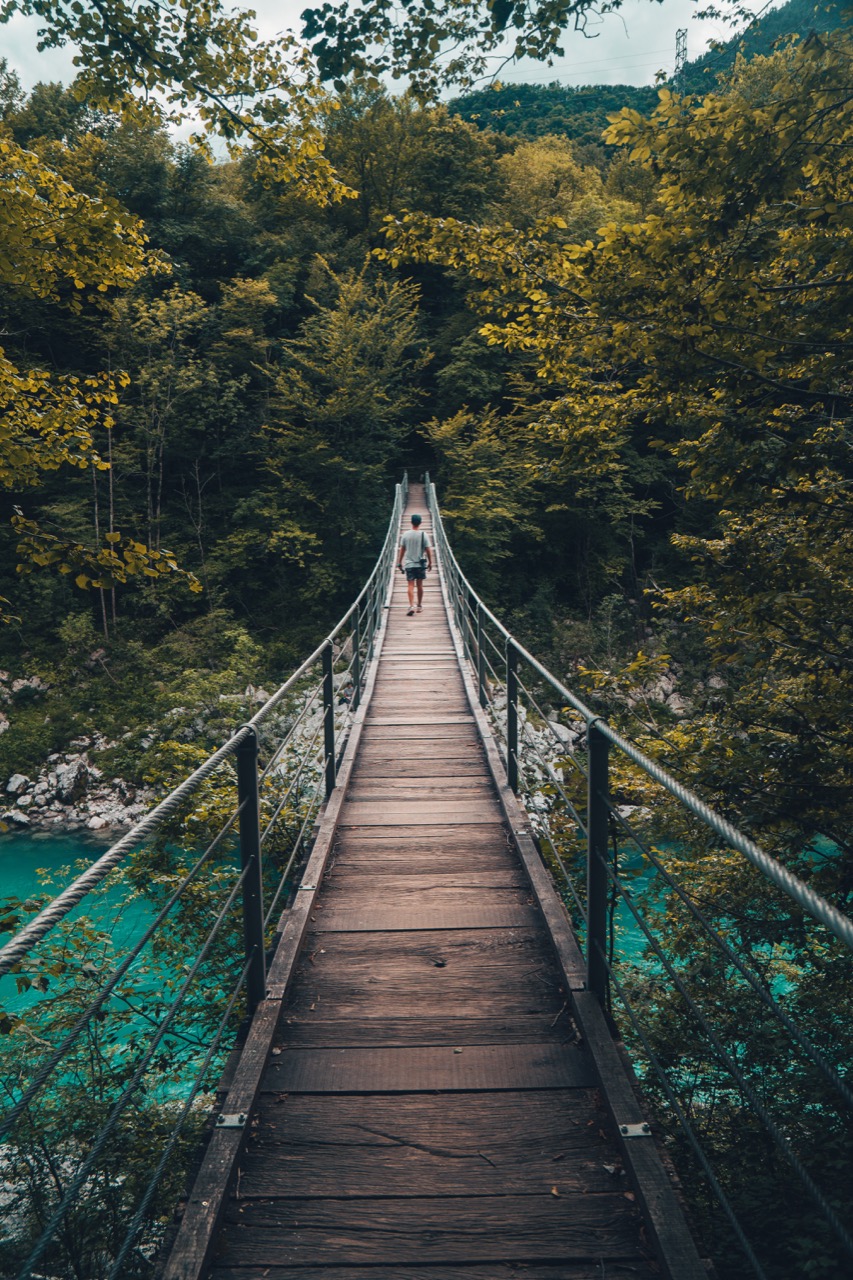
Going off of the section above, you will also want to make sure you are lining your subject and drawing in the viewer’s eye. In order to do this, you will need to first find your subject. The subject is simply the object (person or thing) that your photo will focus on. Of course, there may be other items in your photo, but your subject will be the thing that is in the most focus, in both the sense of the sharpest point and in a figurative sense.
Another way to draw your viewer’s eye is to use “leading lines” to add depth to your photo. Leading lines can be buildings, the lines of a road, branches from a tree, benches, trails, and the like. Take a look at the photo above, see how your eye is instantly drawn to the person walking on the bridge. Although there are many other things to look at in the photo, such as the bridge, the water, and the trees, he is the subject so your eyes instantly look towards him before anything else. This is a perfect example of using “leading lines” to draw in your viewer’s eye and add depth to your photo.
Step 6: Use Photo Editing Apps
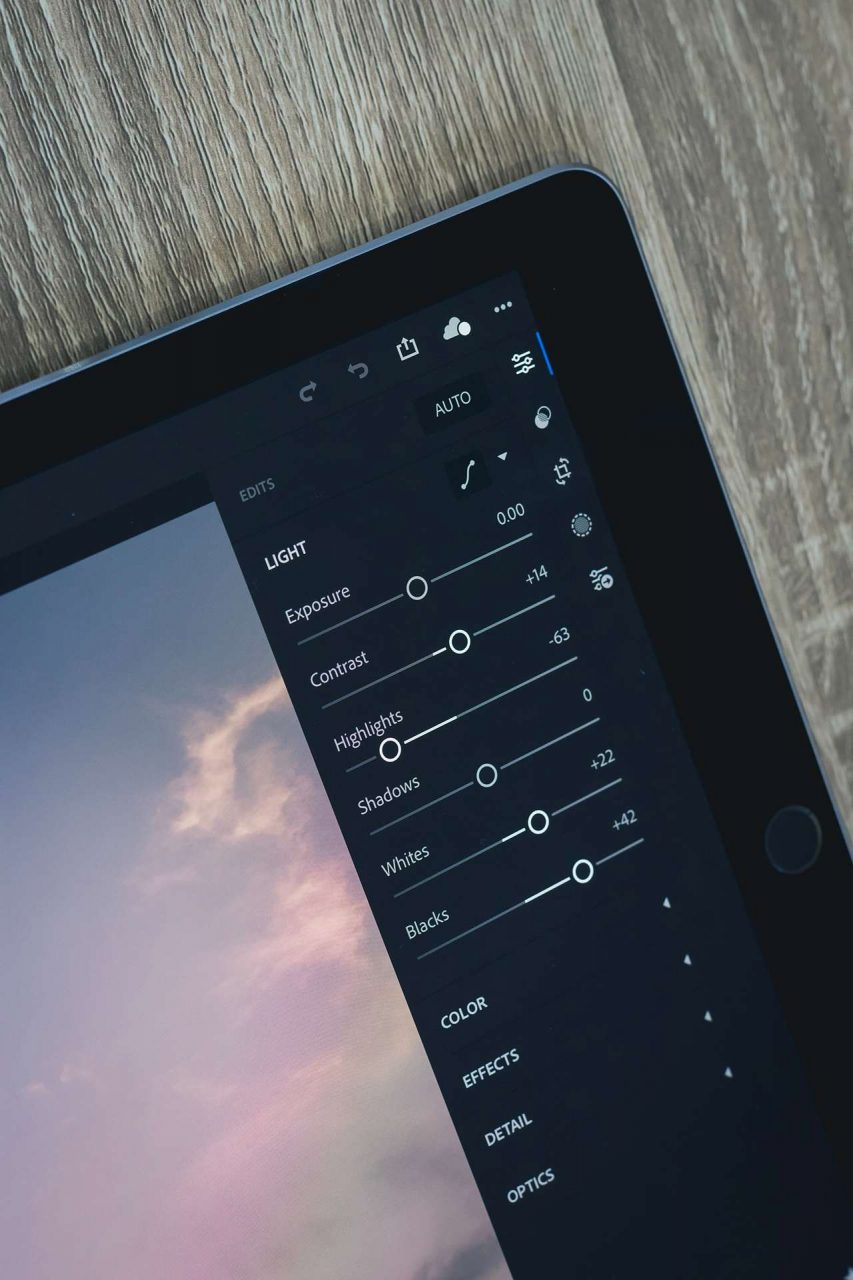
There’s an app for pretty much everything these days, so you better believe there is also a plethora of photo editing apps for touching your photo up, eliminating unwanted details, or just adding a fun background.
Depending on who you are and what you plan to use the editing app for, there are tons of different choices. You could be an artist who needs to enhance your photo. Or, you could be a vlogger who needs to make a thumbnail for your latest video. Maybe you’re a parent who needs to edit red-eye out of the latest photo of your kids.
Although there are a million choices, we’re going to narrow it down to three choices — the best, the most cost-effective, and a free one. From there, you can decide which will best fit your budget and what you need the app for.
What’s The Best?

This is an easy one to answer: what’s the best photo editing software on the market, regardless of price or whatnot? Photoshop. Made by Adobe, you can do just about anything on this program: edit lighting and shadows, add in details, remove details. You name it.
While there is a free trial for it, there’s one factor that might be holding you back from using it — the money. There was once a one-time payment for photoshop that got you pretty much everything, and you only needed to pay once. That said, those days are gone, and the most affordable subscription option is $9.99/mo. That’s not too bad, granted, and probably costs less than most streaming services you subscribe to.
Still, it’s good to keep in mind. If it is in your price range, and are willing to put forth the money, Adobe Photoshop is definitely your best option.
What’s One That’s Cost Effective
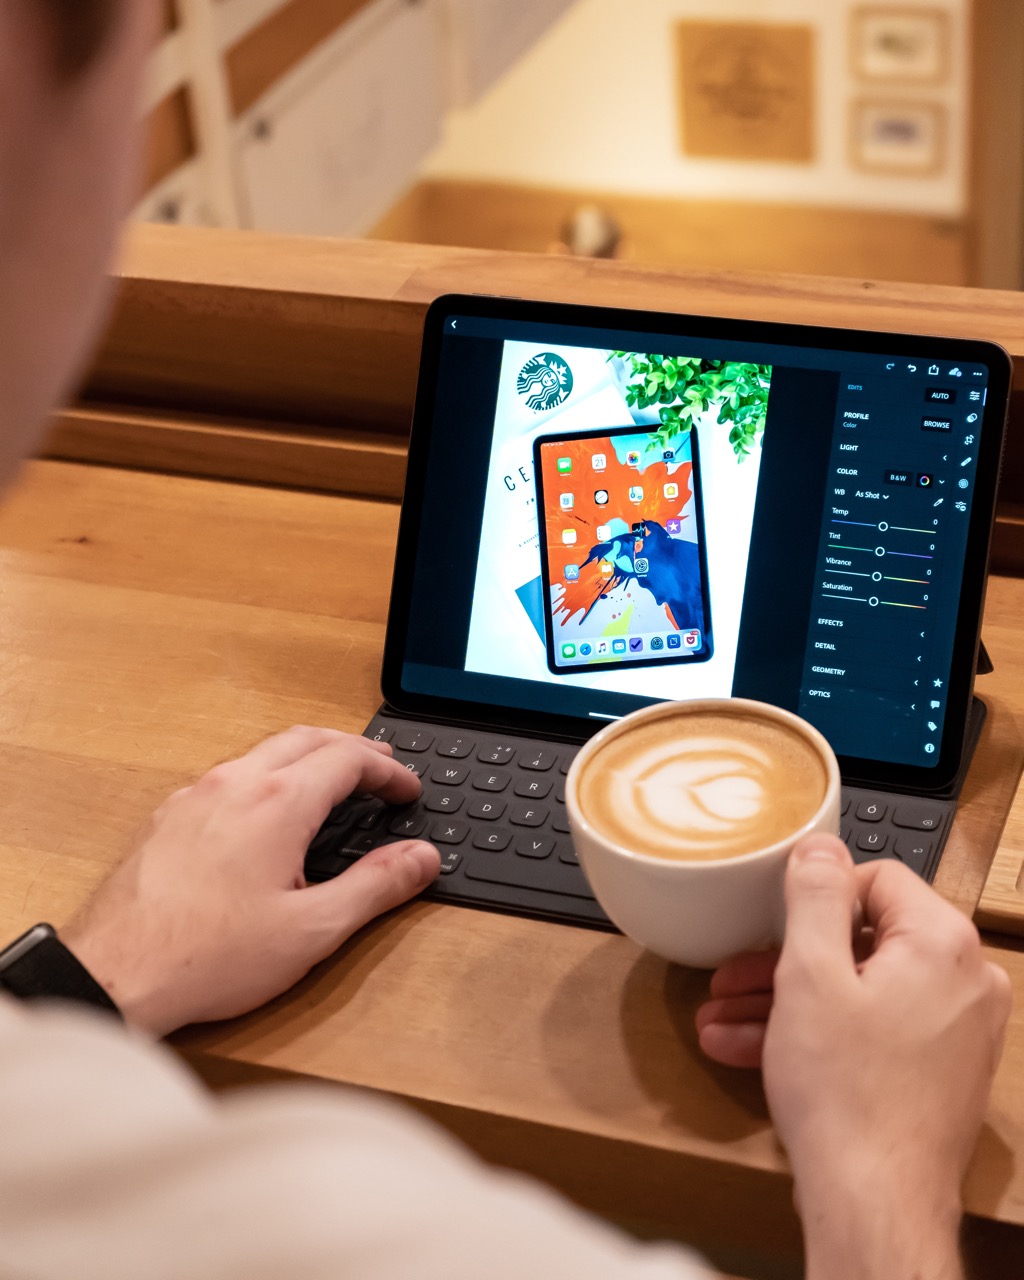
What if you’re looking for the best quality for the least amount of money? For that, we would go with Luminar. It’s a great tool that can both be used as standalone software, or as an extra plug-in device for Photoshop.
Sure, Luminar likely will cost more upfront than Photoshop does per month. But because it’s a one-time fee, the pile-up cost of Photoshop will, undoubtedly, be more. One payment, too, can authorize up to 2 computers. So it’s possible to use it on multiple devices, or maybe share it with your friend if they need it!
This is a great way to edit the backgrounds of photos, in particular, as the site advertises that you can change the mood of the photos you upload. And the software even suggests the best templates for each photo, which is pretty cool!
What’s Free?
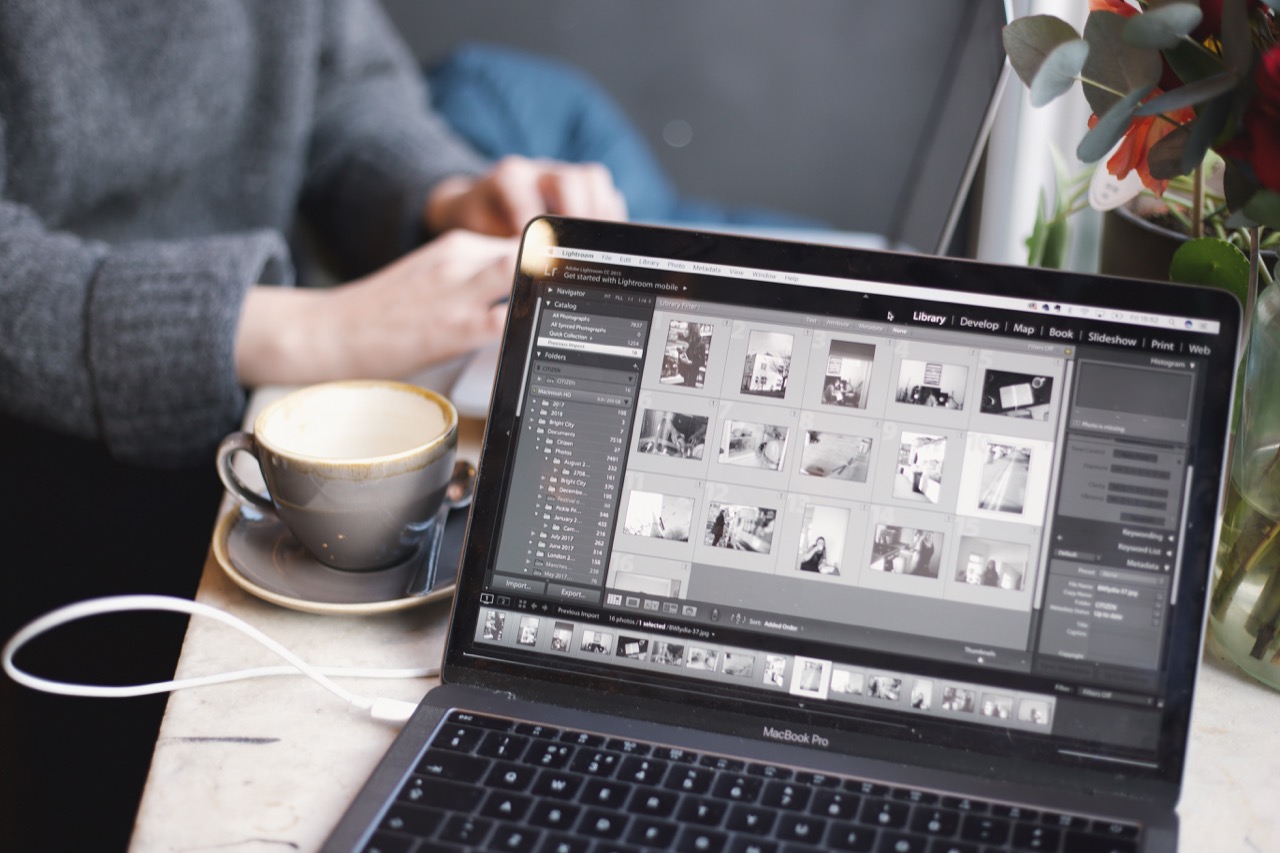
Let’s say you have no money, but need to get some photo editing done. It’s okay! We’ve all been there, and have been trying to pinch every last penny possible. If this is the case, we recommend GNU Image Manipulation Program (GIMP). You’re able to manipulate photos, create original art, and make some great logos as well. It’s available on Linux, Mac, and Windows, too, so you should be able to get a version that works for you.
Of course, there are tons more than just these three, so take a look at our top 12 best photo editing apps which will give you a more in-depth look at the best options for any hobbyists, pros, or anyone in between, you’re sure to find exactly what you’re looking for there!
Step 7: Get Creative
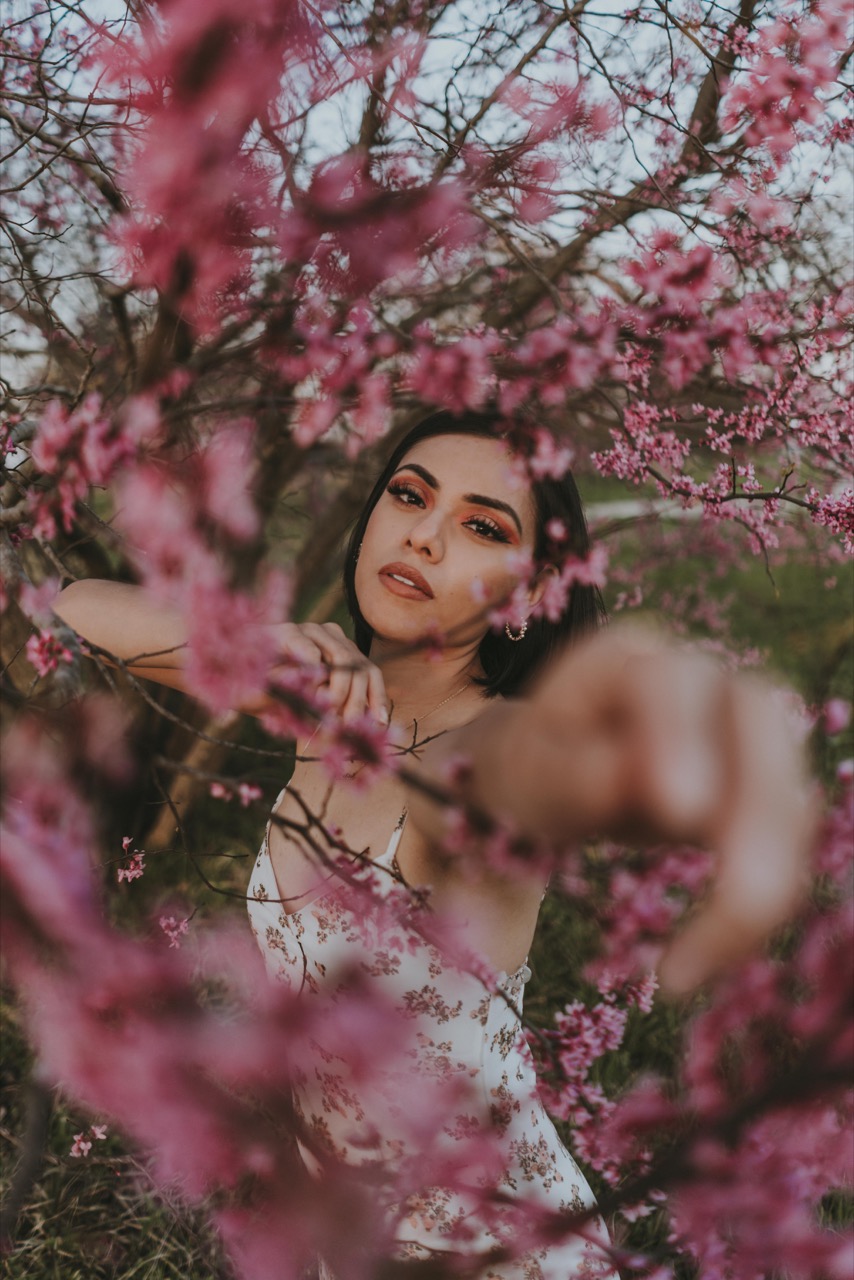
Our last and final step is to remember to get creative. Instagram is an app to share your photos with your close family and friends, but it can also reach a large crowd. If you’re an aspiring photographer or this is your business, you never know who’s watching! So be sure to get creative with your photography, try new things to stand out from the crowd, and try to challenge yourself, you never know what you’re capable of until you try!
There are tons of photography trends that you will see on Instagram, and while these are great, try to branch out to really catch people’s attention.
Framing It For The Gram (Instagram)

Instagram has gone from something you just share the occasional photo on to one of the best ways to market yourself and your business. Because of that, you want your photos to look as good as they possibly can! It’s unfortunate, but people often judge a book by its cover. So you want your product to look as good as possible on all fronts, to spark as much interest as possible with your following. Photography might not be your strength, and that’s okay! You can still take great-looking shots for your Instagram. And don’t forget — your photos don’t have to stay in the virtual world! Upload your best photos to our Frame Designer to hang them on your walls. No good photo should be left unseen.
If you have any questions or photos you want to share with us, just reach out to us on Instagram! We’d love to see them.

