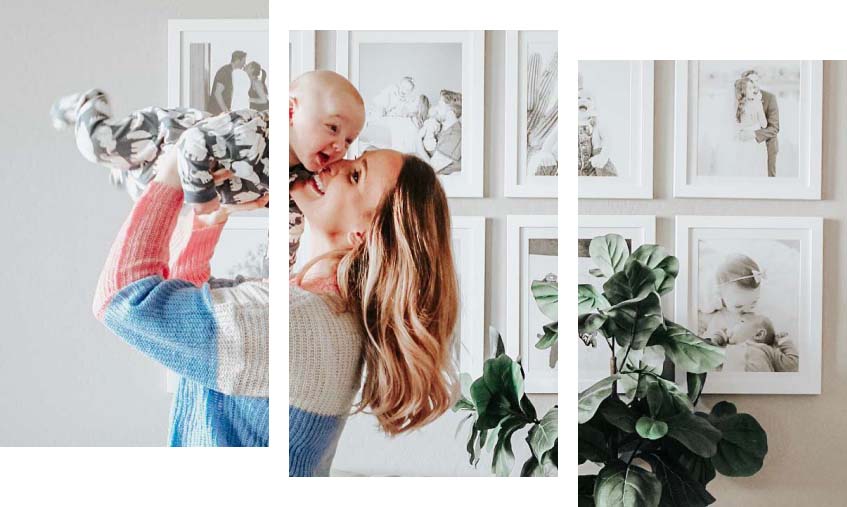
Formatting photos for online framing is a lot simpler than it sounds, and in most cases, all you need to do is upload your file, pick your size, and you’re done.
But if you want to do something a little more creative, like a photo collage or custom matting layout, knowing a few basics about image resolution and file formats will set you up for a great result. Whether you’re a total beginner or just need a quick refresher, here’s everything you need to know to get your photos print-ready.
What’s the Deal with DPI (Dots Per Inch)?
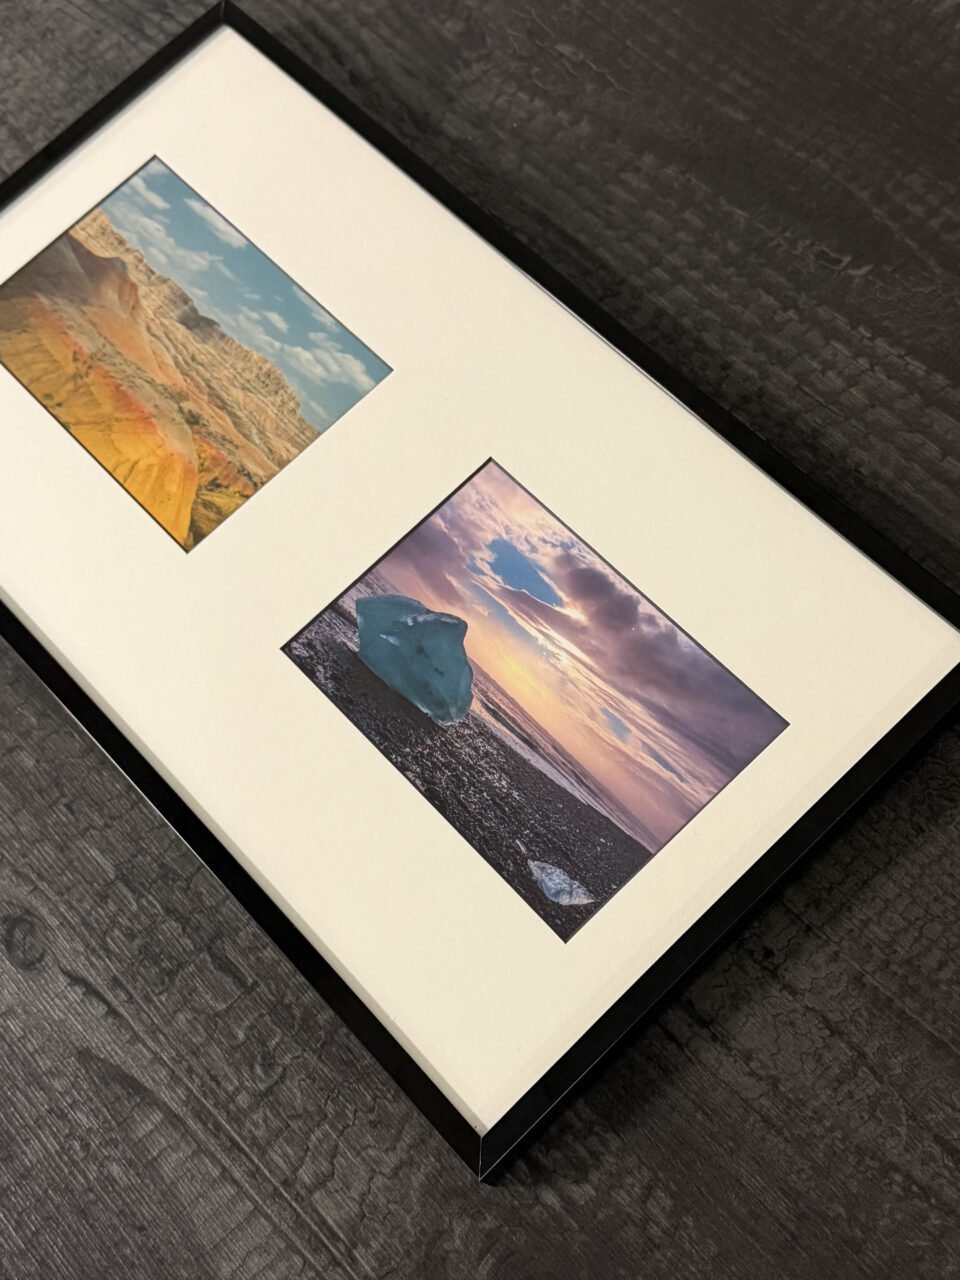
Before we get into formatting, we first have to chat about DPI. When it comes to any digital photo or image — formatted, edited, or straight out of a camera, DPI is a unit of measurement you often hear tossed around. But what is it, and what do you need to know about it when looking to print pictures for frames?
Dots per inch (or “DPI” for short) refers to the number of dots a printer puts down in a one-inch line. The greater this number, the more detail we can see in a printed photo.
When you take a photo, your camera saves it at a certain level of detail (which depends on the quality of the camera itself). These days camera technologies are so advanced that cameras and most smartphones take a high enough resolution image you shouldn’t have many problems, but it’s still important to know what role DPI plays in the quality of your print, especially if you plan to make alterations to it.
While the size of an image — how many pixels it is both in width and height — might seem like your best indicator, when it comes time to upload your file for printing, the DPI will be the biggest factor in how big you can print your photo.
For example, a photo taken with an iPhone might be 3024 pixels wide by 4032 pixels tall. At 100 DPI the photo could be printed around 30″ x 40″ — but this would be less clear and sharp.
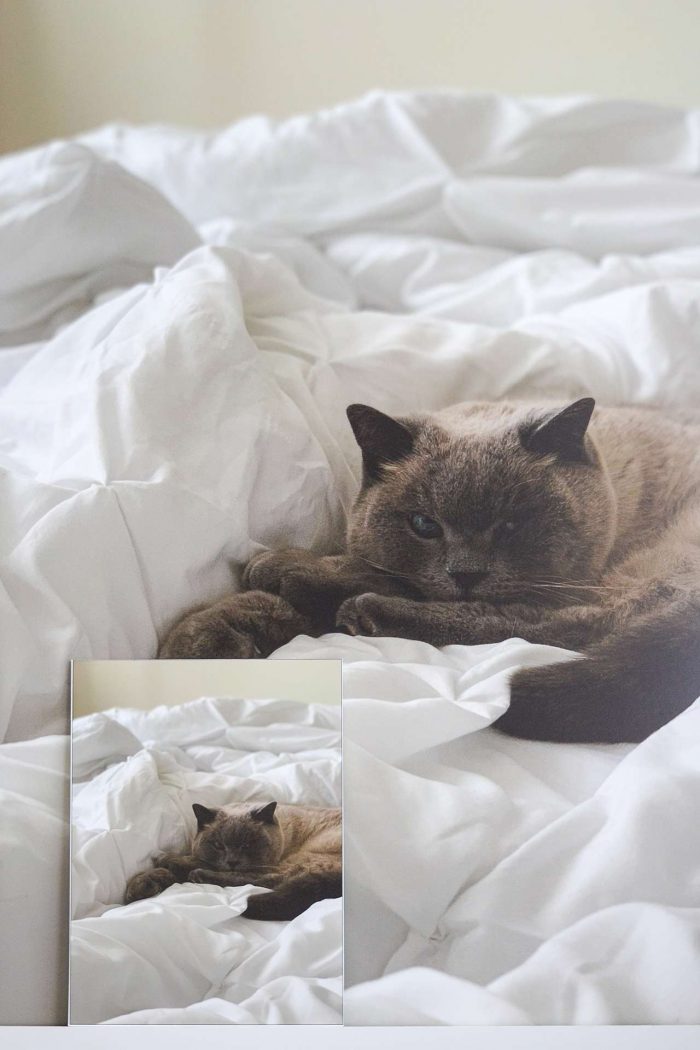
The same size photo (3024 x 4032 pixels), however, at 300 DPI, could be printed around 10″ x 13″ — a smaller print size, but higher quality and clarity.
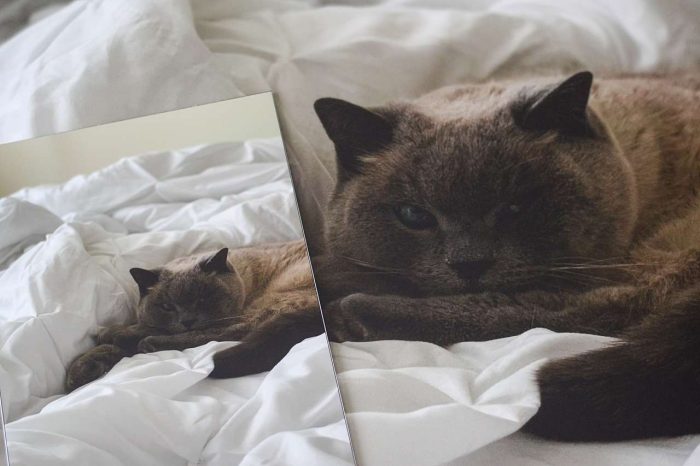
That being said, while 300+ DPI is going to ensure your photo will be crisp and clear from any angle, you can sometimes get away with a lower DPI depending on the size and distance of your framed art.
The chart below is a handy reference for determining which DPI might work for your needs and standards:
General DPI Guidelines
| Dots Per Inch | Looks best from… | Looks good from… |
|---|---|---|
| 300+ | All distances | All distances |
| 200 | 2+ feet away | 1 foot away |
| 150 | 3+ feet away | 1 1/2 feet away |
| 100 | 4+ feet away | 2 feet away |
Note: It is not possible to add detail to a photo after it is taken – for example, there is nothing that can be done to a photo taken by an older cell phone camera to make it look like a picture taken by professional photography equipment. Since DPI is the amount of visual information in an image, once you’ve captured the photo, you can’t artificially add more.
Here at Frame It Easy, we take the guesswork out of figuring out what size and DPI your uploaded photo is. Once you upload a file (.jpeg or .png), we have a handy slider in our 3D Frame Designer that will show you the size we can print it at in relation to DPI.
What If You Found Your Photo Online?
Photos found through an online search are almost never print-ready. Most web images are saved at just 72 DPI — the standard resolution for screens, which looks fine on a monitor but will appear soft and pixelated when printed. Since quality printing needs 300 DPI or more, a typical web image simply doesn’t have enough detail to hold up on paper.
Beyond resolution, most images online are also protected by copyright, so it’s best to steer clear altogether. Instead, look for high-quality prints you’ve purchased or downloaded with explicit usage rights — your finished frame will thank you.
How To Format Photos
Ok, let’s talk about how to format photos. For any photo you want to have printed and framed, you’ll want to keep the following Before you upload anything, a few things to keep in mind:
- Start with the highest resolution file you have. The original photo from your camera or phone is almost always better than a version you downloaded from social media or email — apps and websites often compress images, sometimes significantly.
- Download from the source, not social. If you saved a photo from Instagram, Facebook, or a messaging app, the resolution may be much lower than the original.
- Account for the ¼” overlap. Every framed piece has a small overlap where the frame covers the edge of the print — worth keeping in mind if your photo has important detail close to the edges. Here’s more on how that works.
If you have a great photo on your phone or desktop and want it printed as-is, you’re basically done, just upload it, choose your size, and order.
If you want to make edits first, adjusting lighting, cropping, removing red-eye, or applying a filter, do that right in your phone’s editing section or in an external app before uploading. There are plenty of great options out there, depending on your skill level (more on that below). Just make sure whatever app you use lets you export at full resolution so you don’t lose quality in the process.
Best Image Editing Apps
When it comes to formatting your photos, there are some great editing options built right into your phone. For photography you’ve taken on your fancy camera, the two apps we recommend are either Canva or Photoshop.
Canva is a free web app that’s best if you’re a beginner or hobbyist looking for the easiest photo formatting option. While there are more limitations to size and export options here, the trade-off is that it’s quick, straightforward, and free.
Photoshop is great if you already have some design/technical know-how when it comes to photo manipulation, and are willing to invest in the ability to control exact sizing, color profiles, and export features without limitation. The possibilities are truly endless here, giving you a lot more creative freedom, albeit a steeper learning curve.
A Note About Color Modes & Print Quality
When it comes to color modes, typically RGB (Red, Green, Blue) is better for monitor display, while CMYK (Cyan, Magenta, Yellow, Black) is standard for print.
Although all colors can be achieved by merging red, green, and blue (RGB) light, monitors are capable of displaying only a limited range of the visible spectrum. So when you want to convert your web files to produce artwork for business cards or brochures, changing the format from RGB to CMYK is very important for those printed documents.
Most consumer-level printers that accept RGB files automatically convert the images to CMYK which can result in faded, dull or inaccurate color representation, so converting your file to CMYK first gives you better control over the final image outcome. This is why professional printmakers and photographers save their work in CMYK for the most accurate and wide variety of colors.
Frequently Asked Questions About Formatting Photos for Framing
What is DPI?
DPI stands for “dots per inch” and refers to how much detail is packed into a printed image. Specifically, it’s the number of ink dots a printer places within a single inch. The higher the DPI, the sharper and more detailed your print will look. For framing, 300 DPI is the gold standard — it ensures your photo looks crisp whether someone is standing right in front of it or viewing it from across the room.
What is a JPEG?
JPEG (pronounced “jay-peg,” file extension .jpg) is the most common format for digital photos. It compresses image data to keep file sizes manageable, which makes it easy to share and store. For framing purposes, JPEG works great as long as you’re using the highest-quality version of the file — avoid saving a JPEG over and over, since each save can reduce image quality slightly.
What is a PNG?
PNG is another common image file format, but unlike JPEG it supports transparent backgrounds, which makes it especially useful for graphics, logos, text-based artwork, and anything with sharp edges or fine detail. PNGs tend to be larger in file size than JPEGs, but they don’t lose quality when saved. If your artwork has a transparent background or was created digitally, PNG is usually the better choice for uploading.
What DPI do I need for printing a photo for framing?
For the sharpest, clearest print at any viewing distance, aim for 300 DPI or higher. If your photo is lower resolution, you can still get good results at 150–200 DPI as long as the piece will be viewed from a few feet away. Here at Frame It Easy, our 3D Frame Designer automatically shows you the recommended print sizes for your uploaded file based on its DPI, so there’s no guesswork involved.
What file format should I use when uploading a photo for online framing?
JPEG (.jpg) and PNG (.png) are the two accepted file formats for uploading photos to Frame It Easy. JPEG works great for standard photographs, while PNG is ideal if your image has a transparent background or includes text and fine graphic detail.
Does it matter if my photo is RGB or CMYK for printing?
For most customers, it doesn’t need to be a concern. Our printers can accurately render both RGB and CMYK files at over 2,000 DPI output. We print directly from your uploaded file without resampling or altering your color profile, so what you upload is what gets printed.
Can I use a photo I found online for printing and framing?
It’s generally not recommended. Photos found on the web are typically saved at 72 DPI (screen resolution), which is far too low for quality printing. Beyond resolution, most online images are also protected by copyright. Instead, look for high-resolution art files you’ve purchased or downloaded with explicit usage rights.
How do I know if my photo is high enough resolution to print at a large size?
The easiest way is to upload your file directly into the Frame It Easy designer. Our tool will show you exactly which print sizes your image supports at a good DPI, so you can confidently choose a size that will look great on your wall.
The Frame It Easy Print Lab
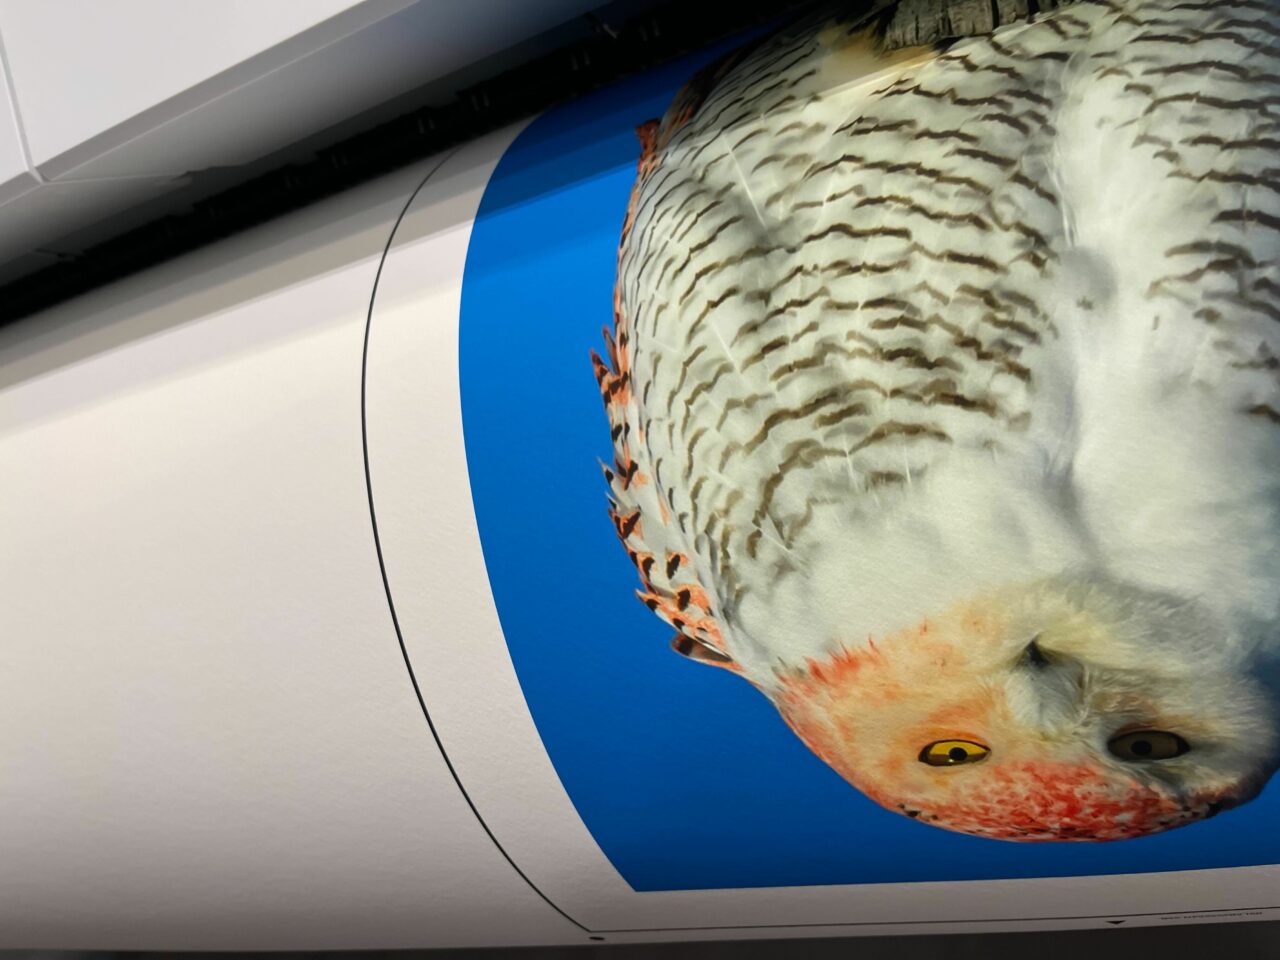
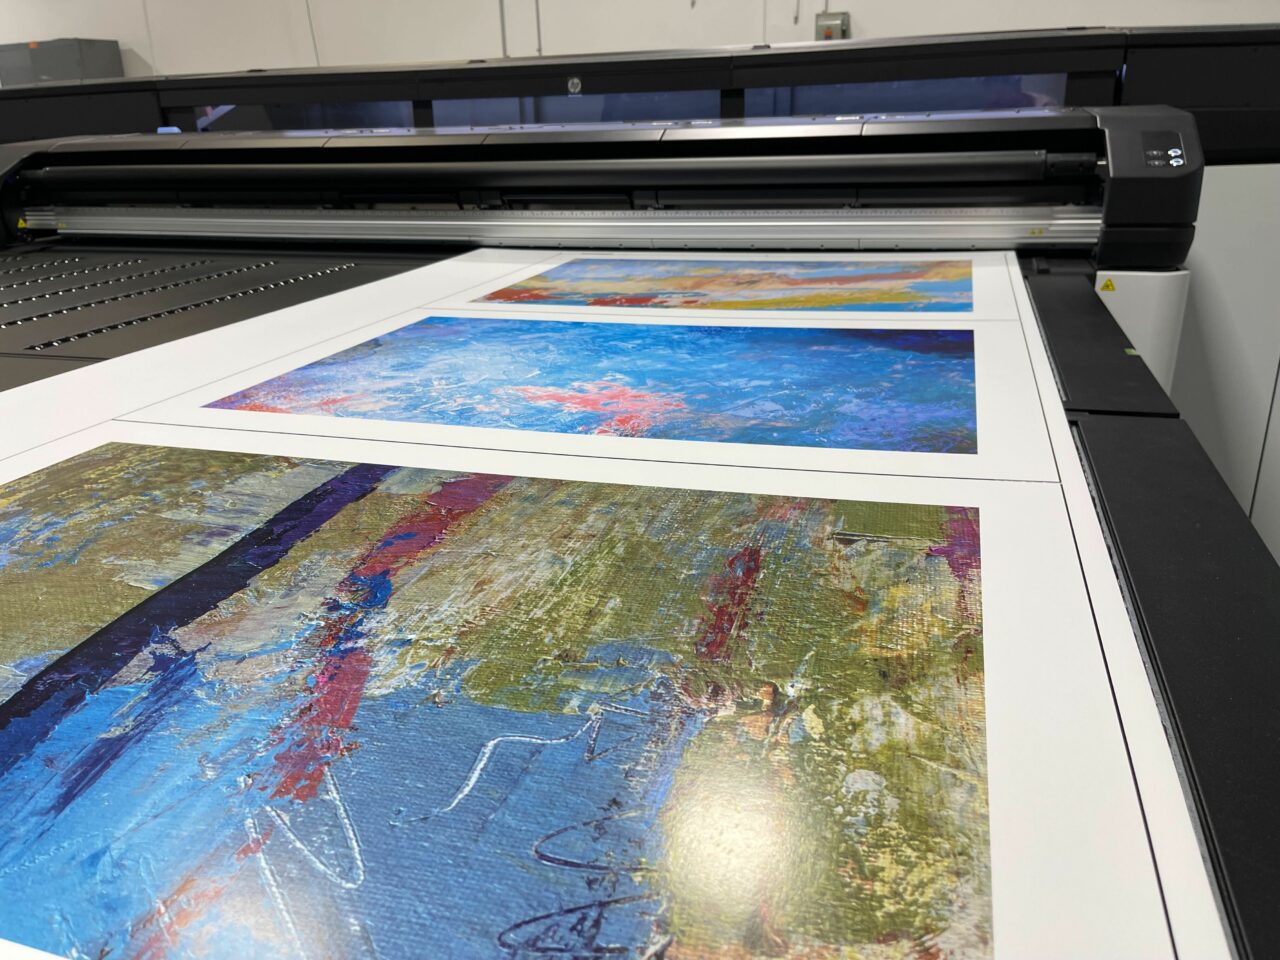
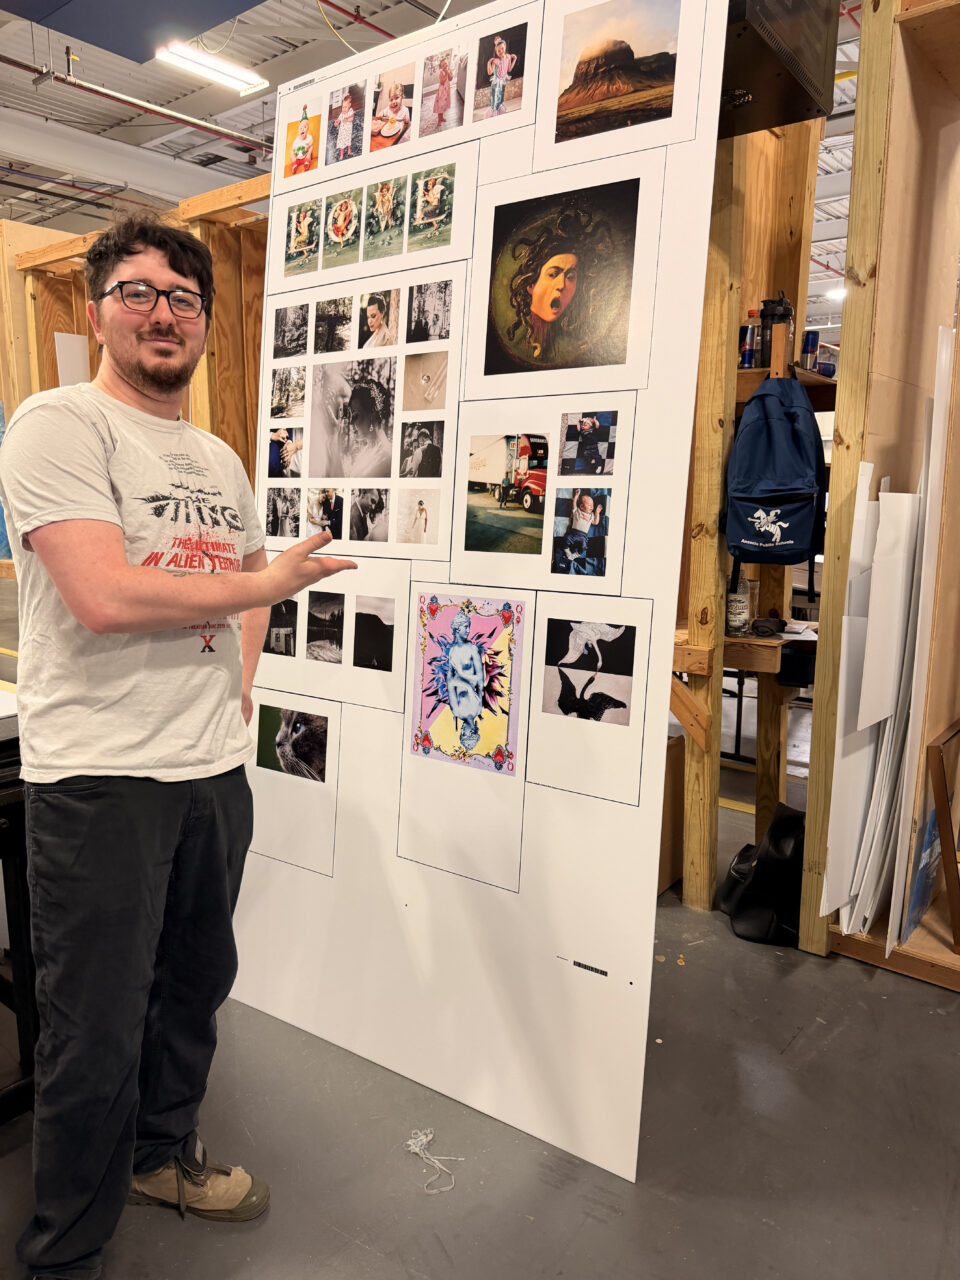
Here at Frame It Easy we print from the exact file you give us, so you can expect a highly accurate result. Our printer can still render RGB files, as we use ten ink nozzles and a print output of over 2000 DPI (so you don’t have to worry about which color profile your image is).
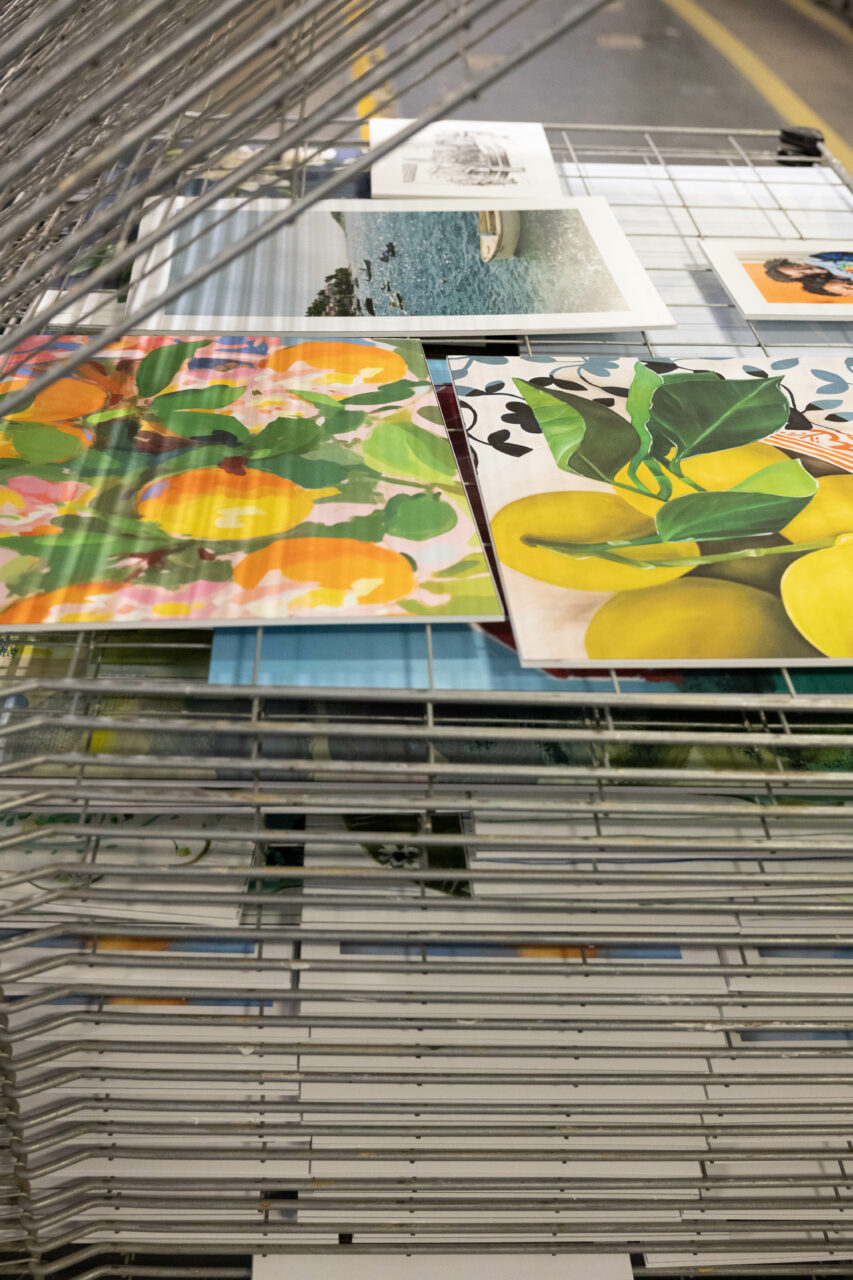
Our print lab uses top-of-the-line large format printers and we print using archival-grade ink on premium semi-matte paper. We print at up to 2880 x 1440 DPI and stay as true to your uploaded file as possible, which is why it’s important you take into consideration size, formatting, and style before uploading your file(s) to us.
We never resample or perform destructive edits to your image, and we maintain the exact profile and colorspace embedded within your file — we never remove it or add our own.
The only thing we can’t do is calibrate our print output to what you see on your display – which means if you’re looking for extremely precise color matching on your print output, you’ll want to work with a specialized color lab, but that being said, we have never heard a complaint regarding color accuracy from our many corporate clients.
Final Thoughts
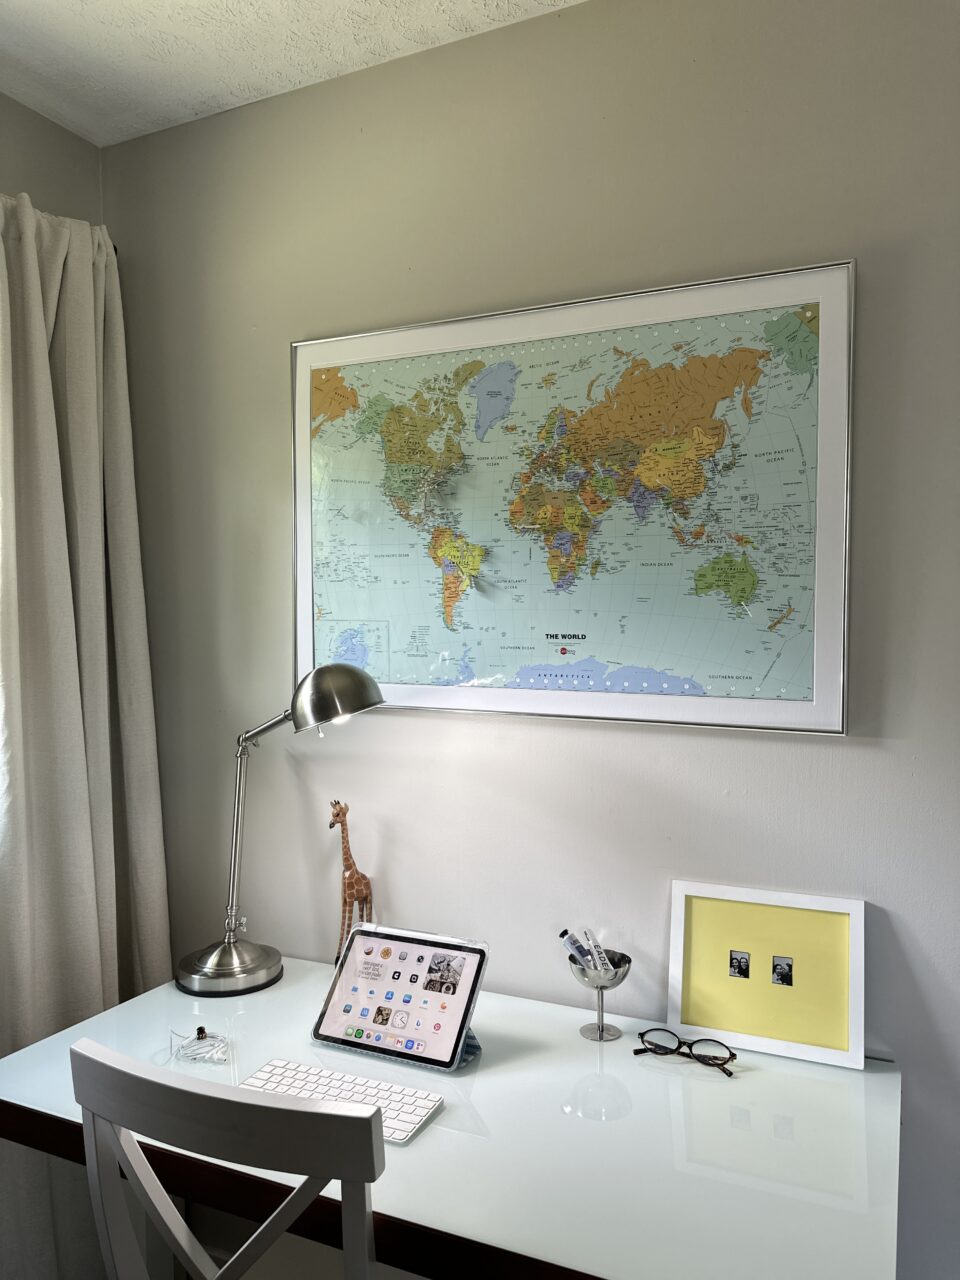
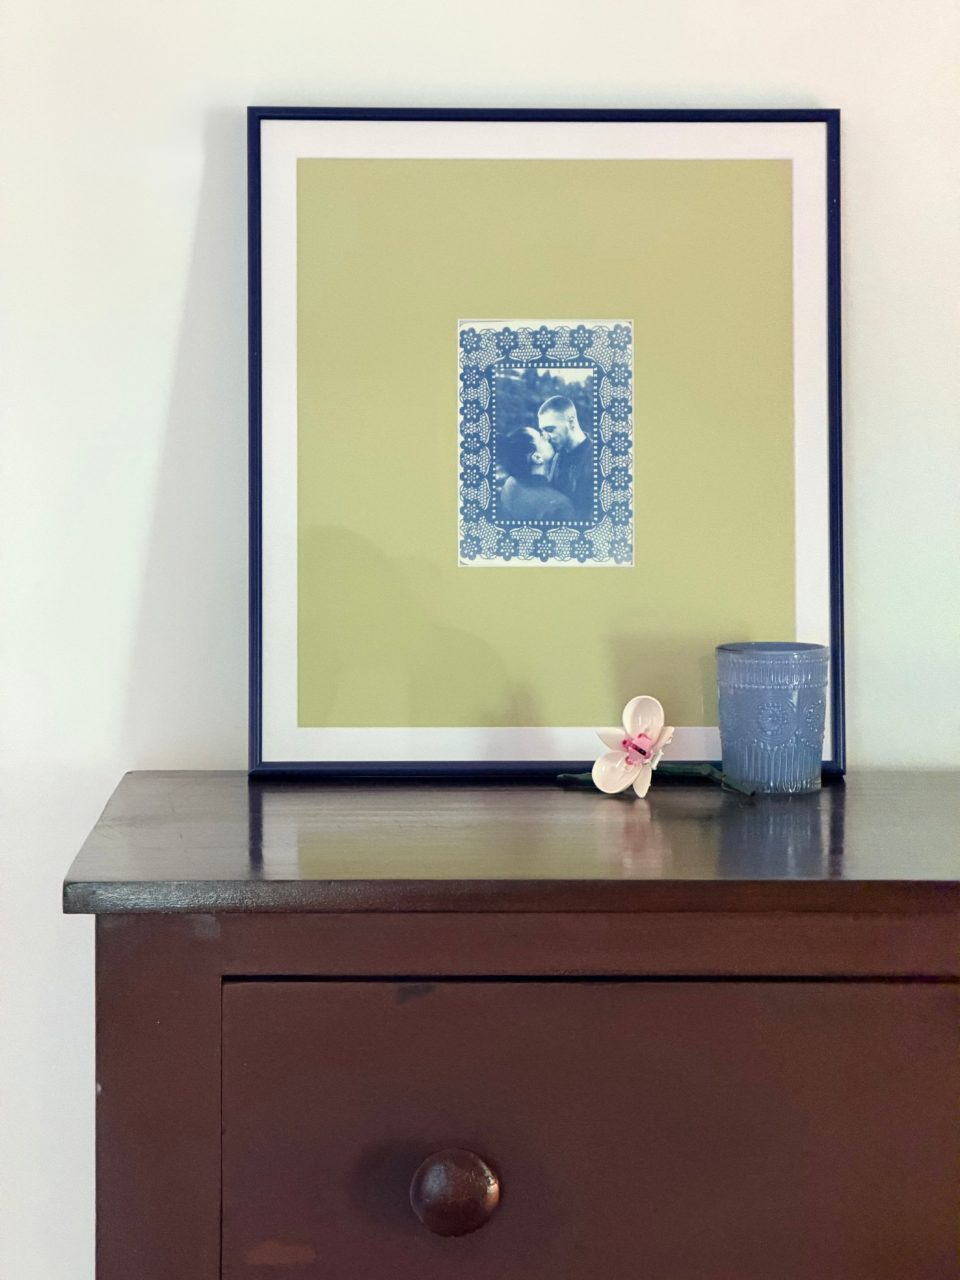
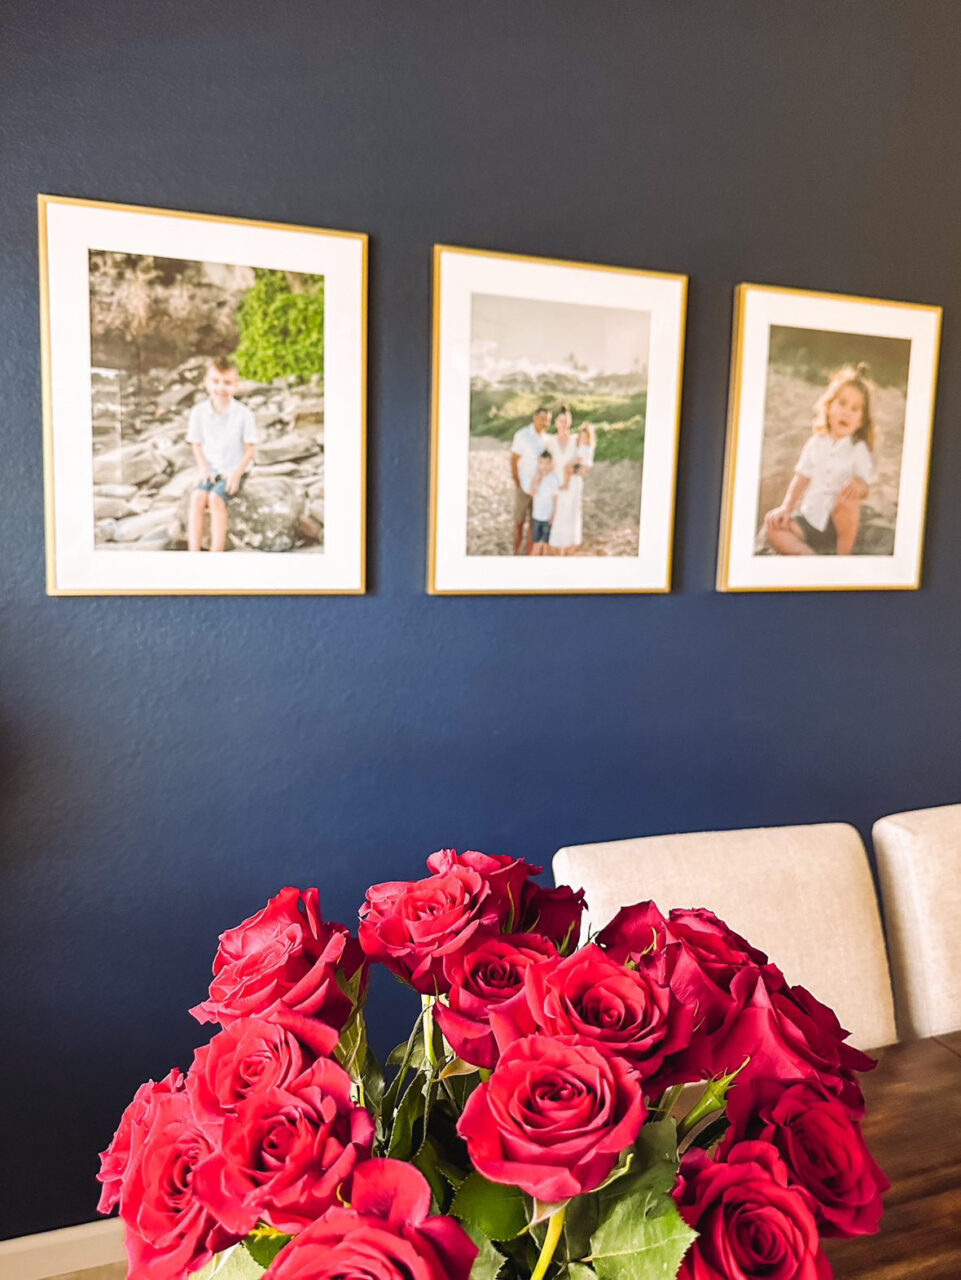
While there may be some technical limitations with your favorite frame shop, the art you frame is really only limited by your imagination. Hopefully, the examples above have armed you with enough inspiration to experiment with your own designs!
No matter what digital photo/art piece you choose to frame and mat online, our biggest piece of advice is to be sure you’re working with the highest resolution image possible. This will ensure a crisp and clear print that will truly shine within your frame.
As always, if you have any questions regarding online framing and matting, please don’t hesitate to reach out to our support team.
So where do I start?
Start by choosing something you have been meaning to frame. Then select a standard size or use a custom size in the 3D Frame Designer to create a secure fit for your display. We guide you every step of the way, giving you the confidence to properly frame your frameables! It’s that easy!