Ever made a framing fluke? 🔨 💥 (Don’t worry we’ve all been there!) Maybe you like to redecorate and change up your wall art placement? Even the smallest decor changes can give your space a fresh feel. Alas, as we change our decor, nail into, and pull hooks out of, our walls are likely to take some minor damage. (Or create some unsightly holes!)

If you’ve leased out a rental space you know that filling holes in and fixing cracks before you move out is essential! Or as a homeowner, keeping up appearances is important too! So whether you’ve got drywall or wood, we’ve got your guide to fixing these small but pesky eyesores.
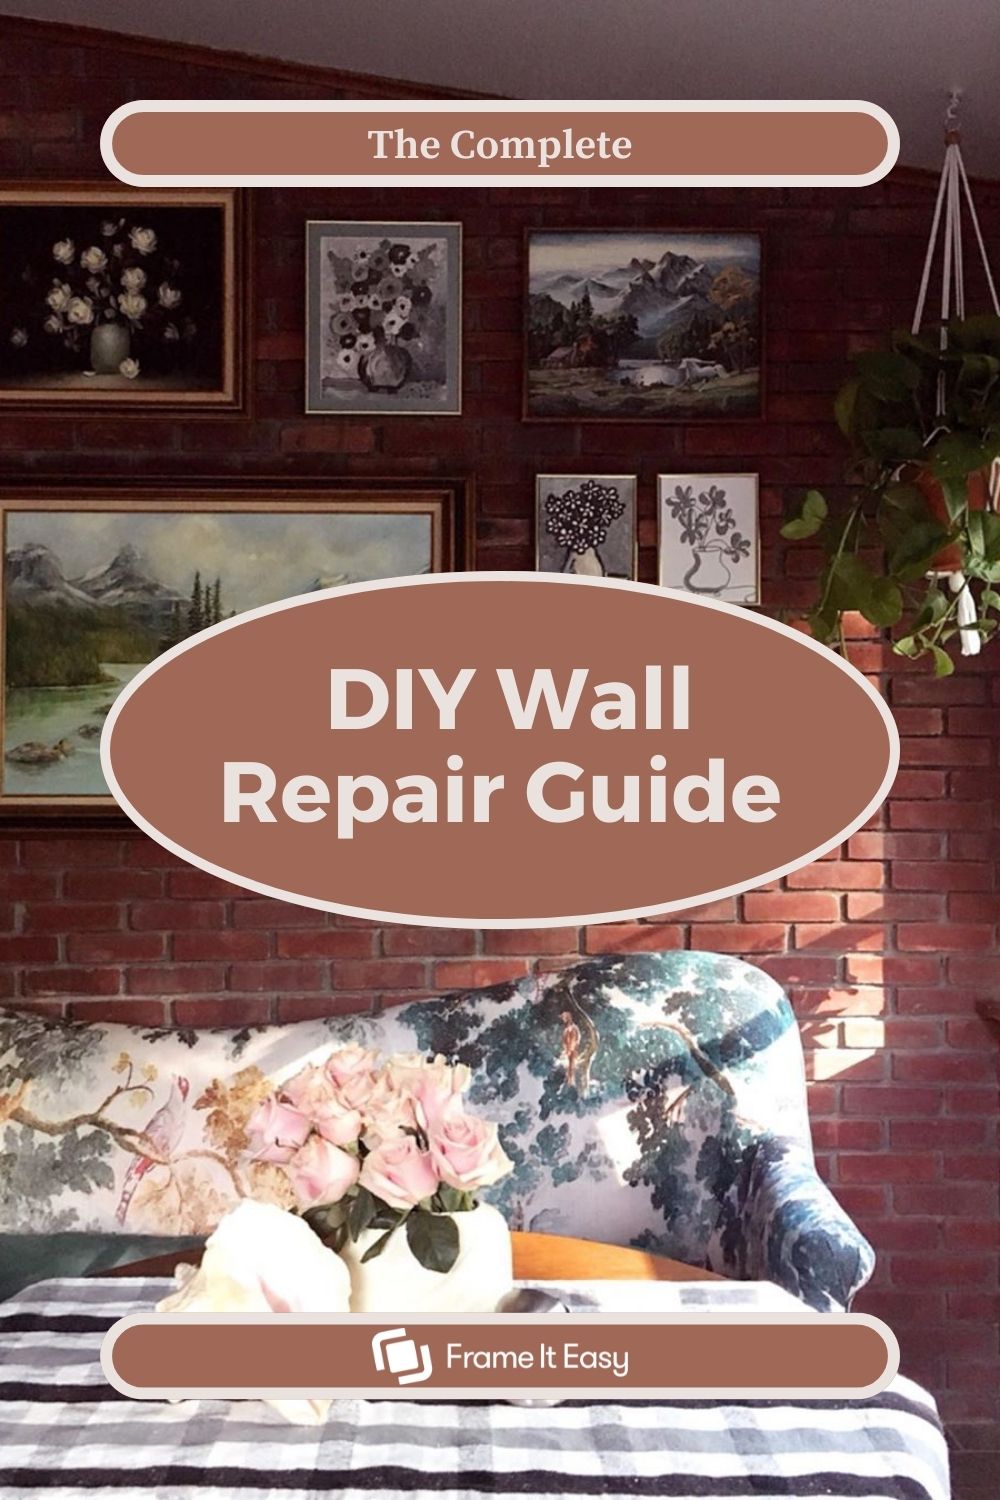
So patch it up and give life back to your walls with our DIY wall repair guide! After the fix check out some accent wall ideas for a home update!
- What are the signs of wall damage?
- How do I fix and patch drywall?
- How do I patch a wood wall?
- How do I patch a cement/brick wall?
- How do I repair scratches or cracks in my wall?
Signs Of Wall Damage
Aside from the obvious dents, holes, and cracks, there are a few other ways to test and see if your wall may be weak or damaged. Some of these indicators are more serious than others and could be signs to call the professionals in!
- Small cluster holes in drywall or wood walls – Sorry Charlie, this is a biggie! A grouping of small holes (about 1/7″ in diameter) is a sign of an active termite infestation. Flying termites chew holes in wood and drywall for their young to escape when hatched. If you see these call the bug busters ASAP!

- White cast or residue on brick walls – This white residue is a sign that moisture is gathering, you may have a water line leak behind these walls. The white substance isn’t harmful, moisture draws out the mineral salts from the bricks and pushes them to the surface.

- Peeling, cracked, or bubbling paint – This could be a less-than-stellar paint job, but it could also indicate that you may have a leak. Check around your wall and if you find water droplets or moisture it’s time to call the plumber.

- Large concrete wall cracks – Small cracks in a concrete wall are 100% normal – it’s an indication of the house settling and it’s pretty common for these to pop up after the first couple of years after building. However, if you notice deep or large splintering cracks in your walls – you may have a structural problem.

Different Wall Types = Different Repair Approach


Drywall
Also known as gypsum board, is the housing interior wall standard. It’s not the strongest so don’t be afraid when cracks and other blemishes will start to form on the surface over time. No matter how hard you try to keep your drywall pristine, someone or something is bound to bump into it or scuff it. (That’s just life! 💁)
Tools & Materials
As a homeowner or renter, it’s a good idea to keep some materials on hand just in case a wall accident occurs. Luckily, drywall repair supplies are affordable and easy to find at any home improvement store! Here are a few basic materials and tools to keep on deck for drywall:
- Spackle
- Mesh patches
- Sanding sponge (fine-grit sandpaper works too!)
- Putty knife
- Extra wall paint
Hole & Dent Repair

Small Scale –
- Grab a putty knife and scrape off any loose paint or crumbling wall from the hole or dent site.
- Smooth spackle over the blemish with your putty knife. Make sure to keep it even and level it out with the existing undamaged wall for a seamless appearance.
- Give the space about 1-2 hours to dry then use a sanding sponge or sandpaper to smooth it down and paint over your patch with your extra wall color paint!
Medium Scale –
- Grab a putty knife and scrape off any loose paint or crumbling wall from the damaged area.
- Use a sanding sponge or sandpaper to smooth the edges of the hole and clean off any dust.
- Measure out the size of the hole and apply a mesh patch over both the hole and the damaged wall area.
- Cover the patch with spackle using your putty knife. Be sure to smooth out any joining edges.
- Let the spackle dry for 1-2 hours, if your patch feels thin add another layer of spackle and let dry again.
- Grab your sanding sponge or sandpaper and smooth out your patch, then paint away!
Large Scale –
For large-scale repairs, you’ll need to grab a few more materials:
- Drywall square or scrap
- Drywall saw or Utility Knife
- Furring strips
- Screws
- Joint tape
- Joint compound
- Cut your piece of drywall scrap into a square a tad bigger than the large hole.
- Hold the square over the drywall hole and trace the shape.
- Using the drywall knife cut along the lines on the wall. (Caution: Check for electrical or plumbing elements before cutting into your wall! )
- Inside, attach a furring strip to each side of the hole with screws.
- Place the drywall square inside and screw it into the furring strips.
- Apply joint tape to the edges of the patch overlapping the wall.
- Cover your patch with joint compound and let dry. Apply a second coat after drying for 1-2 hours if needed. Be sure to feather your edges!
- Lightly sand down your drywall patch with a sanding sponge or sandpaper. Paint over it and you’re good to go!
Brick
Brick, while sturdy and strong can still be chipped and scuffed. You can also drill holes into the mortar for picture frame hanging! Check out more tips on how to hang wall decor on brick walls for help with framing your beautiful brick without damage.
Here are some items to keep handy for brick wall repair:
- Wire brush
- Mortar mix
- Pointing trowel
- Hammer
- An extra brick

Mortar Hole Repair
- Grab a wire brush and sweep off the loose pieces of mortar around and inside the hole. Use a paintbrush or canned air to remove deeper dust pieces.
- Combine mortar mix and water to form a thick pasty consistency.
- Fill a spray bottle with water or heavily dampen a cloth and saturate the mortar inside and around the hole you are looking to repair.
- Pick up some mortar paste with a pointing trowel and place it into the hole, be sure to pack it in tightly and fill the hole.
- Scrape off the excess mortar paste with your pointing trowel and shape to match the rest of your wall.
- Let it dry and you’re done!
Brick Chip & Brick Hole Repair
- Grab a wire brush and sweep off the loose pieces of brick around and inside the hole. Use a paintbrush or canned air to remove deeper chunks.
- grab your extra brick and hammer, and begin to chip away at the extra brick to create dust/pigment.
- Combine the brick dust, mortar mix, and water to form a thick pasty consistency. Keep adding in more dust to get the right color match for your brick wall!
- Fill a spray bottle with water or heavily dampen a cloth and saturate the brick chip or hole as well as the surrounding areas.
- Pick up some mortar paste with a pointing trowel and place it into the brick hole, be sure to pack it in tightly and fill the hole. Add until it slightly levels over the existing brick.
- Grab your extra brick again, place it over the patch, and press firmly into the wall – this will create a brick texture on the patch.
- You’re done – let it dry!
Wood
Wood walls give off a beautiful classic and retro vibe, but just like drywall, dents and scratches are likely to occur. While you’re fixing those walls why not find the best colors to complement your wood decor?
We recommend the following to have at the ready for wood wall repair:
- Hammer
- Extra wood panels/plywood
- Wood adhesive
- Putty knife
- Wood filler (For minor dents and scratches)
- Sanding sponge (fine-grit sandpaper works too!)
- Keyhole saw
- Furring strips

Wood Panel & Plywood
Panel Replacement –
- Remove wood molding from all 4 sides of the damaged panel. Then pull out the wood strip nails with a hammer.
- To remove the damaged panel, lift from the bottom edge and pull nails out as you go. Do this carefully as you won’t want to knick the neighboring panels.
- Use your putty knife to scrape off old panel glue from the wall, then wipe the wall down with some rubbing alcohol or soapy water and let dry.
- Apply a thin layer of wood adhesive to the back of the new panel. Place it in and nail along the seams.
- Replace the wood molding and let it dry!
Medium to Large Scale Plywood Holes-
- Cut your piece of plywood into a square a tad bigger than the hole.
- Hold the square over the drywall hole and trace the shape.
- Using the keyhole saw cut along the lines on the wall. (Caution: Check for electrical or plumbing elements before cutting into your wall! )
- Place the furring strip inside the hole and secure it on the left and right sides with screws.
- Place the plywood patch in the hole and on top of the furring strip. Secure it on the left and right sides with screws.
- Fill in the seams with wood filler and take your putty knife to smooth it out. Wait 15-30 minutes for the wood filler to dry.
- Grab your sanding sponge or sandpaper and smooth out the patch surface.
Other Wall Repairs
The Quick Fix
Ok, so maybe charades got a little out of hand and Tim punched his arm through the living room wall. Epic performance? Absolutely. Will he be invited back? Probably not. Moments like these call for an emergency quick fix!
If you don’t have the handyman supplies on deck, check out these creative home fixes:
Toothpaste
Small hole? Stuff it with toothpaste! When it dries its consistency turns very similarly to spackle. Just be sure to use the traditional white toothpaste and not the green or blue gels! Just squeeze into the hole, smooth it over, and let it dry.
Bar soap
The bar soap trick works just like the toothpaste hack. Grab a traditional bar of white soap and rub it over the hole until it’s filled. You may need to wet the soap depending on the thickness of the hole.’
Hot glue
Crafty? Grab your glue gun and pop some hot glue into the hole and let it dry. Simple.
Super glue & baking soda
Need a stronger fix? Mix some baking soda with super glue and apply it to the hole. After it’s dry you can sand it down till it’s flush with the wall. This method works well for small wall cracks too!
Flour, cardboard, and salt
(This one’s for you, Tim!) Don’t have a wall patch on hand? Make your own! Start with a piece of cardboard cut into a square that’s a bit larger than the hole. Grab a sewing needle and some thread. Poke one hole into the cardboard, thread it through, and then another hole and thread through back to the front.
Push the cardboard into the hole, making sure the thread ends are facing out and you’re able to hold them tight. After making sure the cardboard is intact behind the drywall, pull the strings to hold your patch in place.
Mix two tablespoons of flour, two teaspoons of salt, and some water to make a thick paste. Apply the paste all over your patch and walls. (Go heavy on this mixture!) Give this about 30 minutes to dry and go in with a second coat.
Once dry sand your patch down! Crazy, right?
Paint & Crack Repair


Peeling paint? It happens! Here are a few reasons why your paint job may be less than perfect:
- Moisture – You may have a leak behind your wall! Feel the wall or if you notice condensation building – it’s time to call the plumber!
- No primer – Most paints nowadays have a primer included in the mixture, your paint may have been old or simply was applied to the wall without a primer.
- Bad paint job – If a paint job was hurried and the coats didn’t have enough time to dry in between one another, paint will peel!
- Poorly applied primer – The wrong primer for your wall type was applied or it was applied poorly.
- Dirty wall – When the paint was applied it stuck to the dust and grime, not the wall!
- Bad or Low-quality paint – Paint does have an expiration date! Once it goes bad it can stop sticking to a wall.
- Mixing Paints – Peeling can occur if latex-based paint has been applied over oil-based paint.
How to patch up paint:
- Remove the chipped or bubbling area with a putty knife. Use a wire brush to lightly brush off any smaller pieces.
- Lightly sand the area with a sanding sponge or sandpaper.
- When paint stops flaking, it’s time to apply spackle to the damaged area with a putty knife.
- Let dry for 24 hours then sand down with a sanding sponge or sandpaper.
- Apply a paint primer, and after drying add your paint color! Or if you have paint with primer in the mixture – slap it on!
Cracks in your walls? Here’s what causes them:
- Newly built home – Cracks in the walls of a new home could be the result of the house settling. New lumber contains moisture and can move around as it dries out, so small cracks are normal and ok!
- Thin straight cracks – This of a sign of an incorrectly installed drywall taping. When panels are installed, seams are filled with molding and tape. If there’s not enough molding for the tape to stick to it will lift – causing a crack.
- Discoloration around crack – Not only do you have to fix a crack, but this is also a sign of a leak. Double whammy 🙁
- Large, jagged cracks – Get these checked ASAP as they usually mean a structural problem in your home!
How to repair a crack:
- Using a putty knife, scrape away any loose tape or debris around the crack, using a wire brush lightly dust off any debris inside as well.
- Sand the surface area till smooth with a sanding sponge or sandpaper.
- If you have drywall – fill the crack with drywall compound and apply new tape.
- If you have wood paneling – apply wood putty with a putty knife and smooth out.
- If you have a brick wall – apply mortar mix with a pointing trowel and smooth out.
- Let dry!
⚠️ Safety First & When To Call A Professional
As with any home repair, it’s best to keep your space clean and clear! When fixing up your walls be sure to remove any hanging wall art before you get started. It’s also recommended to wear safety goggles when scraping away any paint or debris.

If you’re unsure of ANY repair or renovation in your space, it’s always best to get a professional opinion!
Always call a professional if you have any of the following:
- Severe water damage or flooding
- Any wall damage that exposes your home to the outside elements
- Damage that affects your home’s energy efficiency
Final Thoughts
Now you have the tools and knowledge to tackle (almost) any wall disaster! Remember accidents happen, walls aren’t indestructible, and just like any home upkeep is required. Now go forth and fix holes, conceal cracks, and get those walls looking flawless! Looking to minimize damage while hanging your art? Maybe you’re a renter? head over to our damage-free hanging guide to check out some tips and tricks.

Do you have a fixed-up wall gallery you’d like to showcase? Inspire others by sending your photos to [email protected] with the subject line “Featured Friends” for a chance to be featured on our email and socials!
Tag us at @frameiteasy or use the hashtag #frameiteasy for more chances to get noticed!