If you’ve been to our Learning Center before, you know we are all about keeping up with the current trends. Whether it’s diamond painting, framing embroidery, or watercolor, we love to see all the photos you share with us on social media of your framing projects. You’re all so creative! 🥰
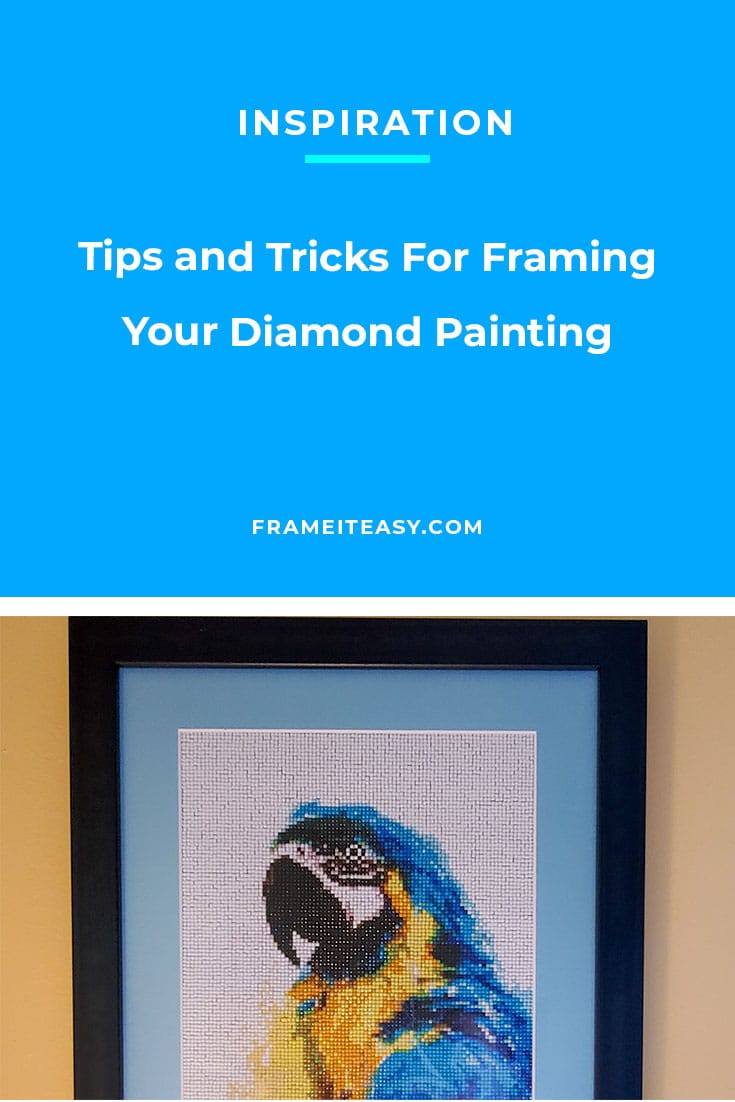
One trend we have seen recently is Diamond Art or Diamond Painting. If you are not familiar with Diamond painting, it is a form of mosaic art in which you place shiny and colorful “diamonds” onto a pre-glued canvas to complete the painting.
Each square on the canvas is labeled with a number or letter to represent a color. Diamond painting was created in 2015 as an easier, quicker, and more fun alternative to cross-stitch. It really began to take off during the 2020 quarantine when many of us found more time on our hands to get crafty and creative.
Once you are finished creating this art, don’t just throw it in your drawer to collect dust. Diamond paintings take a loooongg time and all your hard work deserves to be shown off! However, unlike a photo or drawing, diamond art isn’t as simple to frame. Finished works (especially the larger pieces) are quite heavy and need some extra support, so there are just a few additional steps to take. Lucky for you, we are here to help!
Don’t have any diamond painting kits laying around? If you don’t have one yet and are looking to buy your first diamond art kit, check out DIYmoon Shop for a large selection of quality diamond paintings licensed directly by the artists!
Measure Your Diamond Painting


Once you complete your diamond art – it is time to start the frame designing process! First, you will need to measure your art. Measuring your art correctly is perhaps the most important step in the framing process — if the art size is off, the rest of the measurements for the frame, matting, cover, backing, etc. will also be off, and we don’t want that! *Even if your artwork or the artist claims it to be a certain size, you should always measure it yourself to confirm – just to make sure you receive a frame that fits perfectly.
Just remember that our frames will overlap your art by ¼” to keep your piece from falling through. If you’re concerned about covering extra drills (that’s what the community calls the diamond pieces! 😉) add that extra 1/4″ back into your art size! (you may need to tape or glue your piece to the foamcore, but we will cover that later…
Design Your Frame

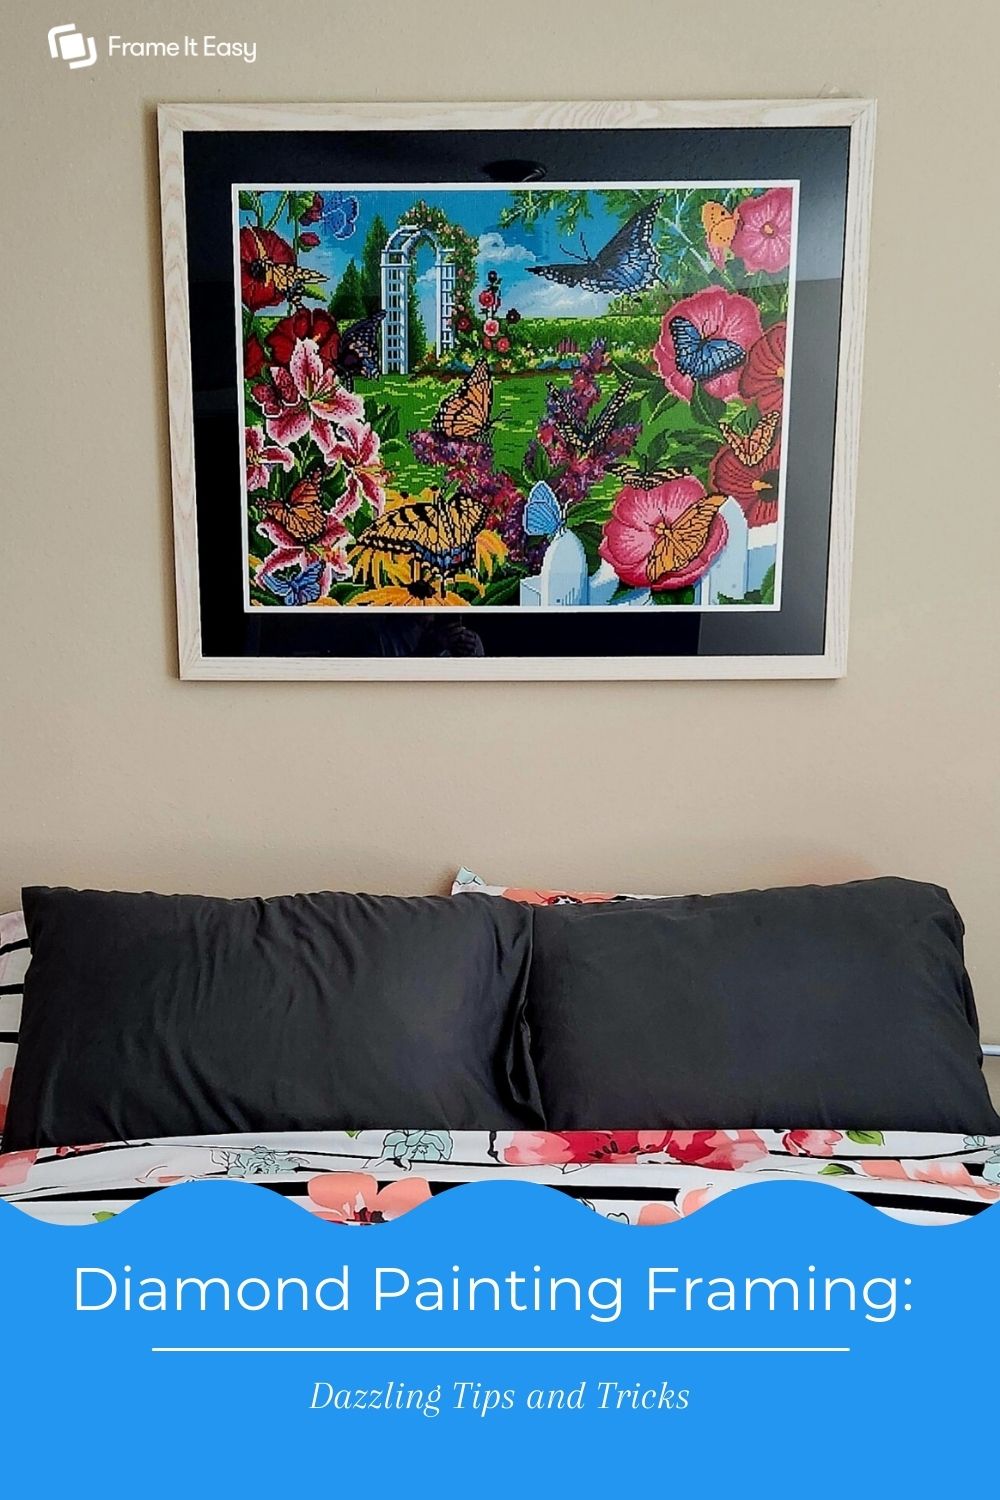
Now, comes the fun part, designing your frame! First, choose your frame style. Here at Frame It Easy, we have wood and metal frame styles in various colors and a ton of shades of matboard, so you can easily coordinate with existing decor. Take a look at the colors in your Diamond Art and consider using one of those for a matboard color. You can either take a color that only appears a few times throughout the art to bring it out more or one that already stands out. If you opt for no matboard, choose a colorful picture frame that will bring out all the colors together.
Don’t forget that with our Frame Designer process, you can see what your finished frame will look like before you purchase it. Finally, your frame will arrive on your doorstep with everything needed to hang it safely and securely. Well, almost everything. You’ll have to supply the hammer! 🔨
Time For Framing


After you receive your frame, it’s time to add your art! You’ll need to disassemble your frame a bit to actually get your art inside (Don’t worry it’s super easy!) Our metal frames require slightly more disassembly than our wood ones, the latter of which only requires you to bend back the flex-point tabs and remove the backing and acrylic.
For our metal frames, you’ll need to unscrew the corner brackets and remove the bottom rail. You’ll get access to the backing and cover from there. (you’ll just need a flathead screwdriver! 🪛)
All our frames also come with an acid-free foamcore backing, which will be helpful in mounting your art. Acid-free materials are essential to use while framing so that it does not cause damage to your art over time. Lay your diamond art onto the backing and use the acrylic cover to keep your art in place as you insert it into your frame.
Another option is to get acid-free glue and cover the foamcore backing. A less messy way is to also use our framer’s tape to secure it. (We prefer this method!) Then, place your art onto the backing while the glue is still slightly wet so you can slide it around into place. After your glue has completely dried and your art is set, go ahead and insert your art into your frame. You’re done! All that’s left is to figure out where you want to display it.
Diamond Paintings look great in all rooms, but especially those with natural light seeping in. When the light hits the drills (especially those AB drills!) they sparkle and shine✨ – and who doesn’t love that!?
Final Thoughts
When you create a beautiful masterpiece, it deserves to be given a grand display to show off! With Frame It Easy, you can create a frame that is just as custom as your Diamond Painting and it won’t break the bank. Once you’ve completed your artwork, head on over to our Frame Designer to start creating your frame.

Show off your framed Diamond Art, artwork, photos, & other items! – Inspire others by sharing your photos, tell us your story! If we share it, you’ll receive a coupon for 15% off your next order!
Be sure to follow us on our socials for more daily inspiration – check out our Shopify app to start selling your own framed prints!