Yay! You just received your package. We know what you’re thinking: FRAMING TIME! Well, not quite yet. You have a few layers of cardboard and plastic between you and your framing end goal. Don’t worry, though! We’re here to make opening your package a seamless, easy process — one that will get your frame on your wall in no time.
Here at Frame It Easy, we believe a frame cut exactly to your preferences deserves a custom-made box, too. No two boxes are totally identical — because no two orders are totally identical. Here, we are giving you a breakdown of our custom packaging that not only will guarantee the safest shipping to your doorstep, but also help to reduce waste for our environment as well! So what does your custom box consist of? And how do you open it? We will go over all of that today, as well as the parts of the frame you can expect to see! So let’s get right into it!
The Outer Box
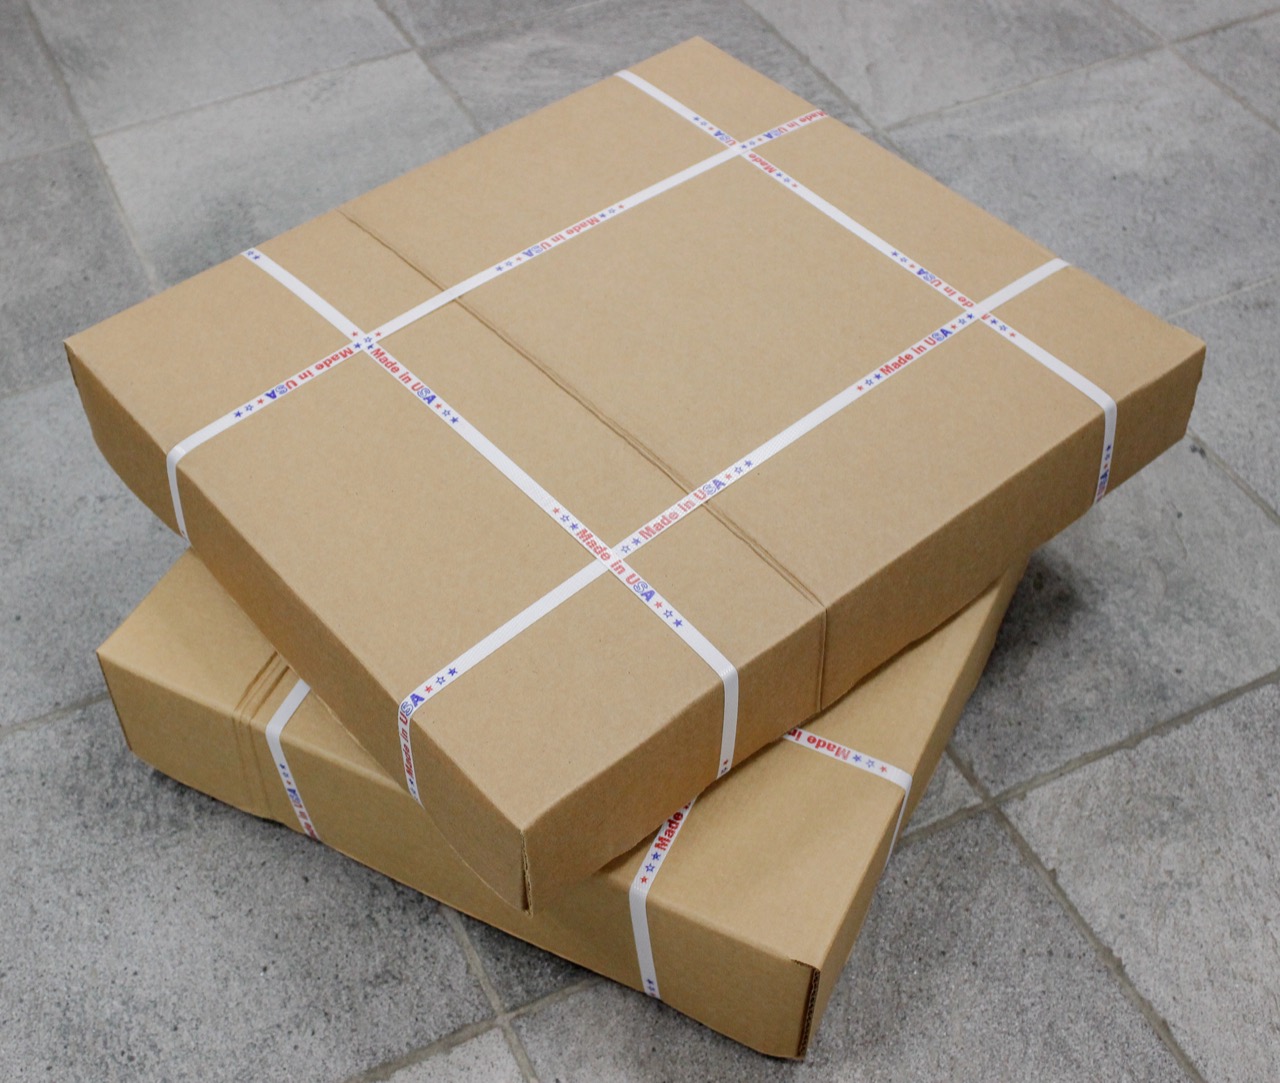
This is the first thing you’ll see when your package arrives at your doorstep. The box that your frames will be shipped in is custom-made as well! Your frames will fit snug in the box, so, as we mentioned, there will be no movement during the shipping process.
Where necessary, we also put tape around the edges of the box, as well as across the seams. It’s clearly labeled “Fragile,” too — to let the carriers know that they need to handle your frame with as much care as possible!
Straps and Wing Trays
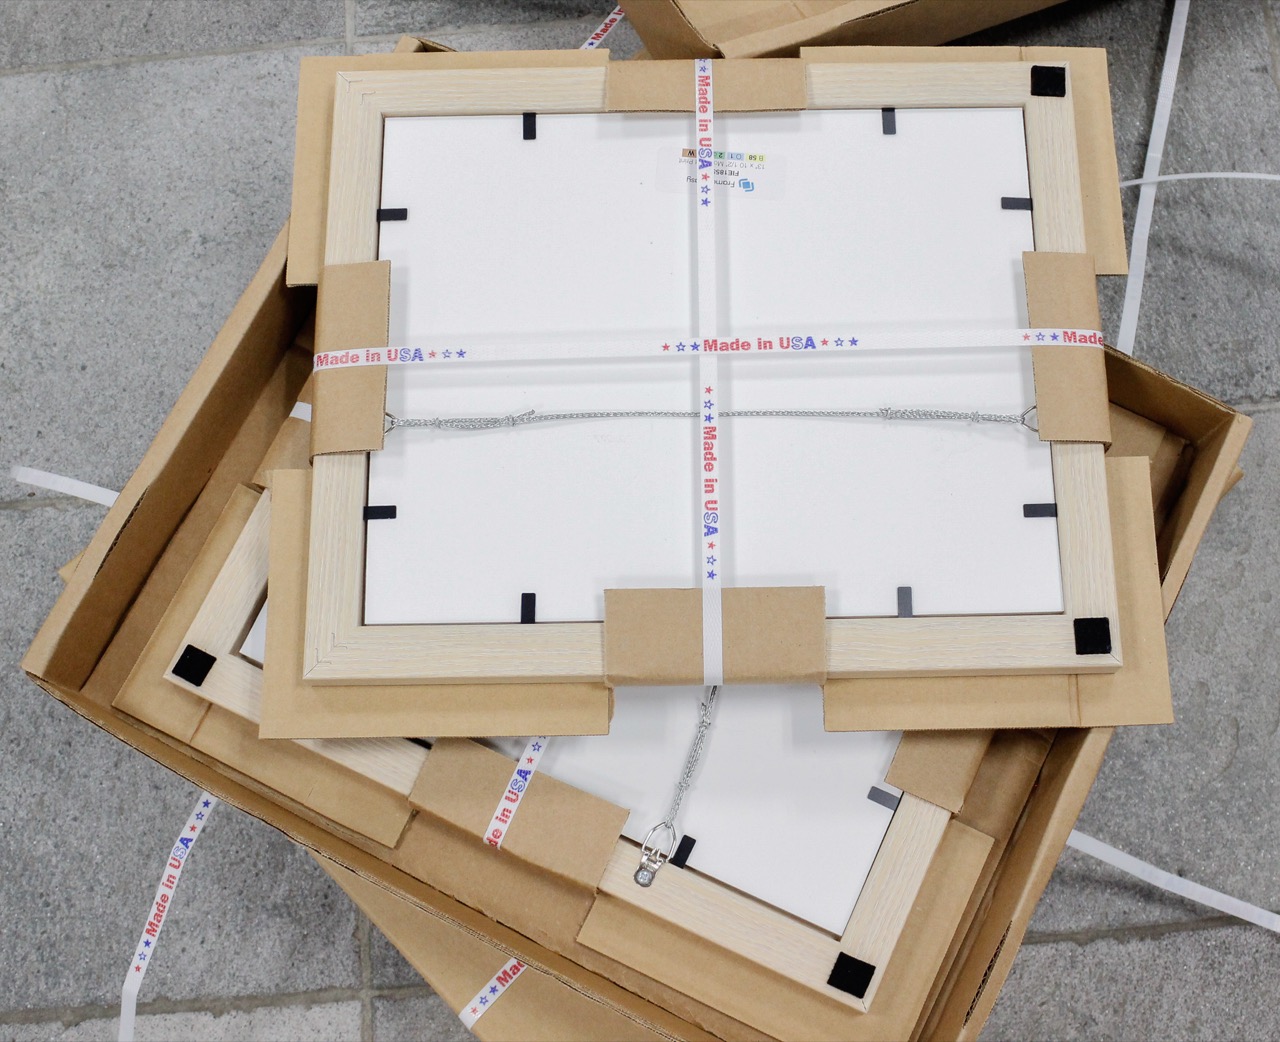
Here at Frame it Easy, it’s our utmost priority to ship your frame securely. Why is that? Well, the less apt a frame is to move around during the shipment, the more likely it is to arrive pristine, undamaged, and ready to hang on your wall — after some assembly, if you didn’t order a print. That is why we ship all of our frames in wing trays and secure them with plastic straps.
Why are they called wing trays? Simple. Before we wrap them around your frame, they look like little pieces of cardboard with foldable, well, wings along their edges. Once they’re folded around the frame, it creates a snug space for your frame to occupy.
If your order has multiple frames, each wing tray will have a pocket geared for that particular frame, but they’ll all be the same size overall — meaning each wing tray will fit snugly in the package. For instance, if you order a 50″ X 20″ frame and a 5″ X 7″ in the same order, the latter’s wing tray will have some extraneous cardboard attached to it, and the box itself will be cut around the largest frame. This guarantees little to no movement of the frames while in shipping, instead of adding an unnecessary amount of bubble wrap.
How do the frames stay snug in the wing trays, though? That’s by using the straps! We secure them around the frames tightly, and they’re easily removable by finding the point where each end is joined, and then splitting that apart.
How To Remove The Plastic Straps From Our Packaging (With No Scissors)
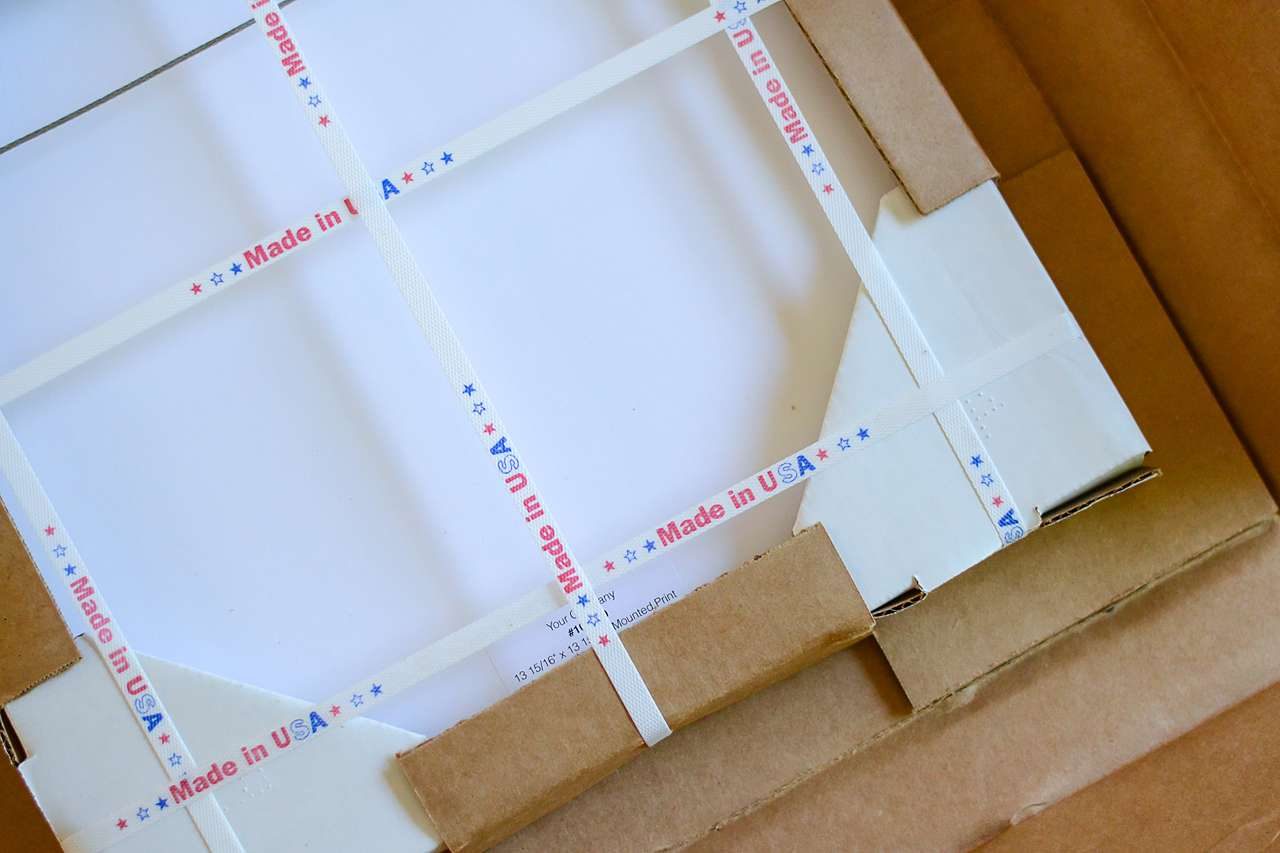
You might think you need scissors or some other type of sharp cutting apparatus in order to remove those from your package. While you are able to use scissors to cut through the straps, you can simply use your hands instead!
While the plastic straps might be tight against the package, there is a spot where one end is secured to the other. On top of the strap should be a plastic tab, and while it may seem totally adhered to the other end, it’s not.
All you need to do is lift that tab and pull; this should detach one end from the other, and then unraveling it from your package should be easy from that point.
It’s important to note, though, that the straps on our boxes can interweave. It’s important to detach the top straps before the bottom ones, just to make dismantling them easier.
The Hanging Wire
Here at Frame It Easy, we include appropriate hanging hardware with each assembled frame, and we make sure to attach any additional supports that might be needed for larger frames.
Metal Frames
Our metal frames are made of aluminum. They come either anodized or powder coated, and they are four separate rails that aren’t bound together. As such, other hardware (which we’ll get into below) is needed to hold the metal frames together that isn’t necessary on our wood frames.
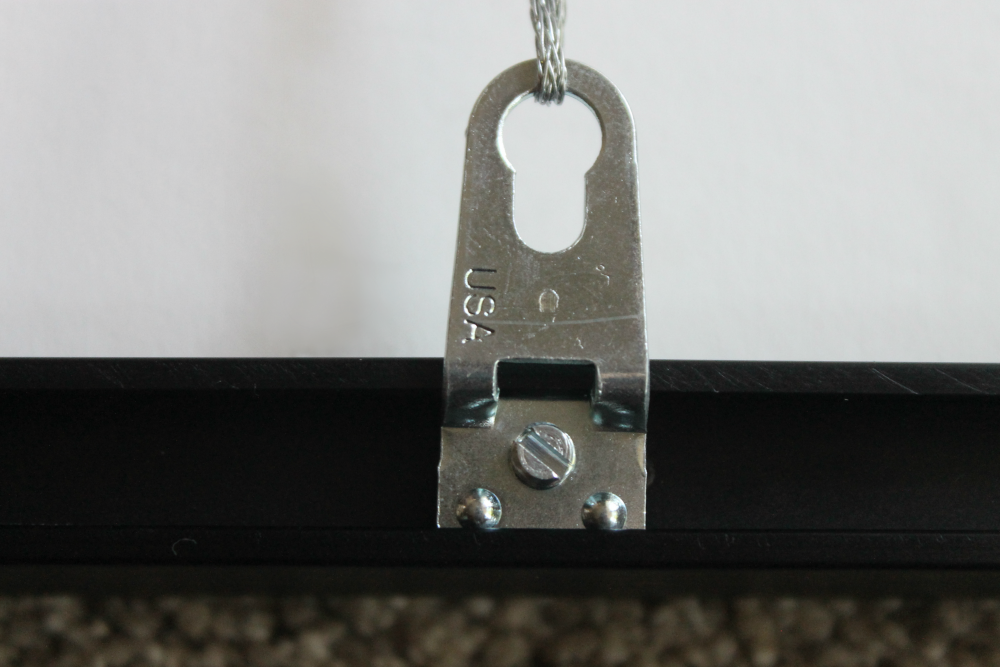
- Euro Hangers are what keeps your hanging wire in place. They fasten to the back of the frame, and hanging wire should be strung tight through each side to ensure an even display. You should also ensure that your Euro Hangers are placed evenly on both sides of the frame.
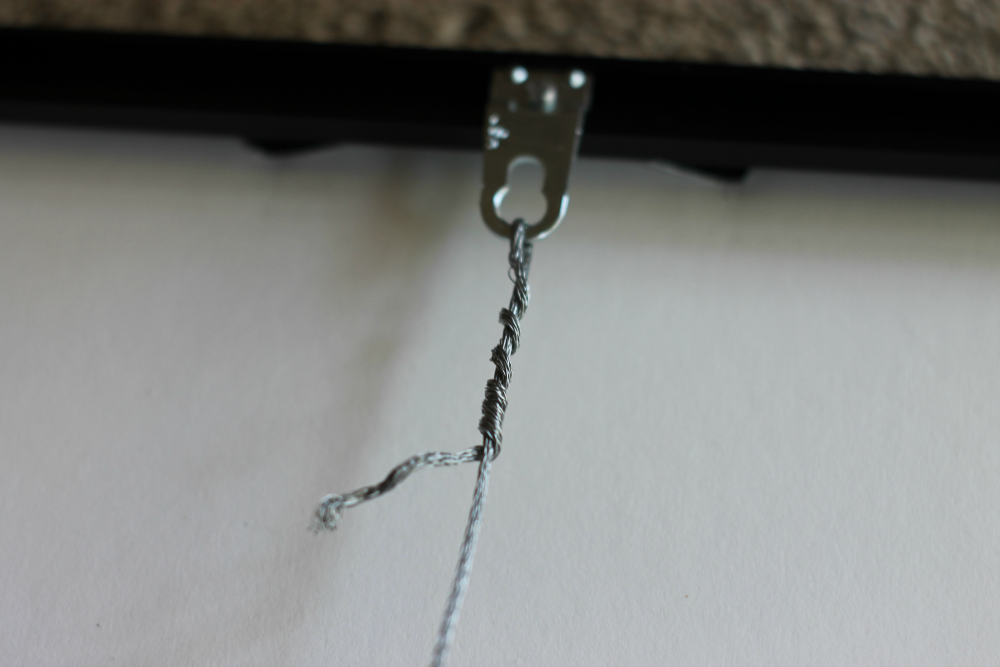
- Hanging Wire holds your frame to the hook that is on the wall. It should be taut in between both Euro Hangers, and it should be placed on a hook until the frame looks even.
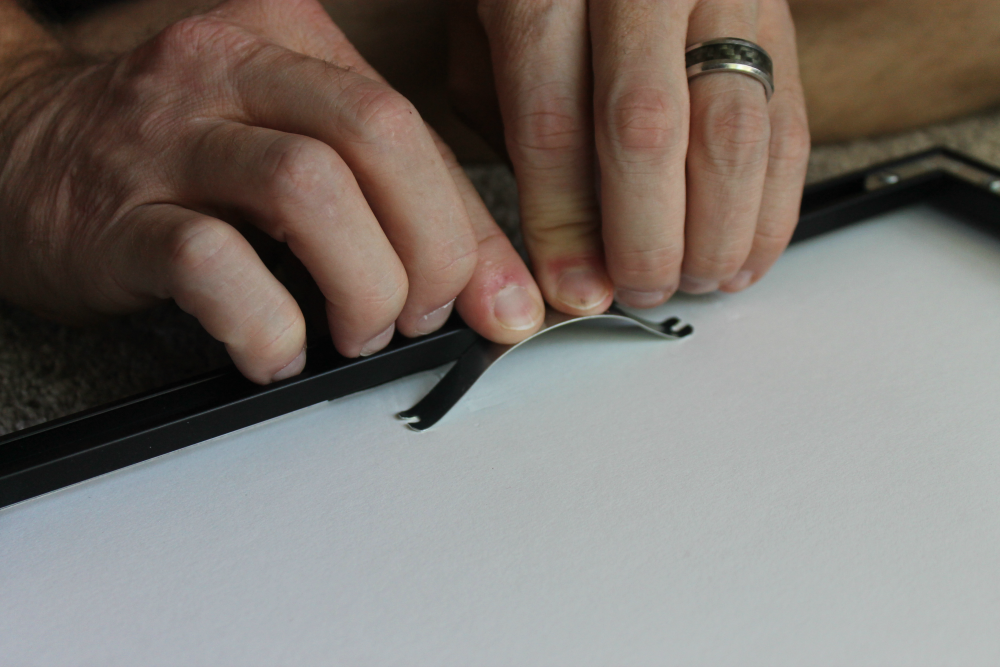
- Spring Clips ensure there is no space for your backing to move in the frame. Without them, there would be a slight bit of wiggle room for the frame’s contents to move around, and we want to make sure it stays snug. Simply place some pressure on the spring clips into the back of the frame to flatten them out, and this will remedy that issue. (Just be careful as if you let go without them being fully under the frame rail, they could spring out!)
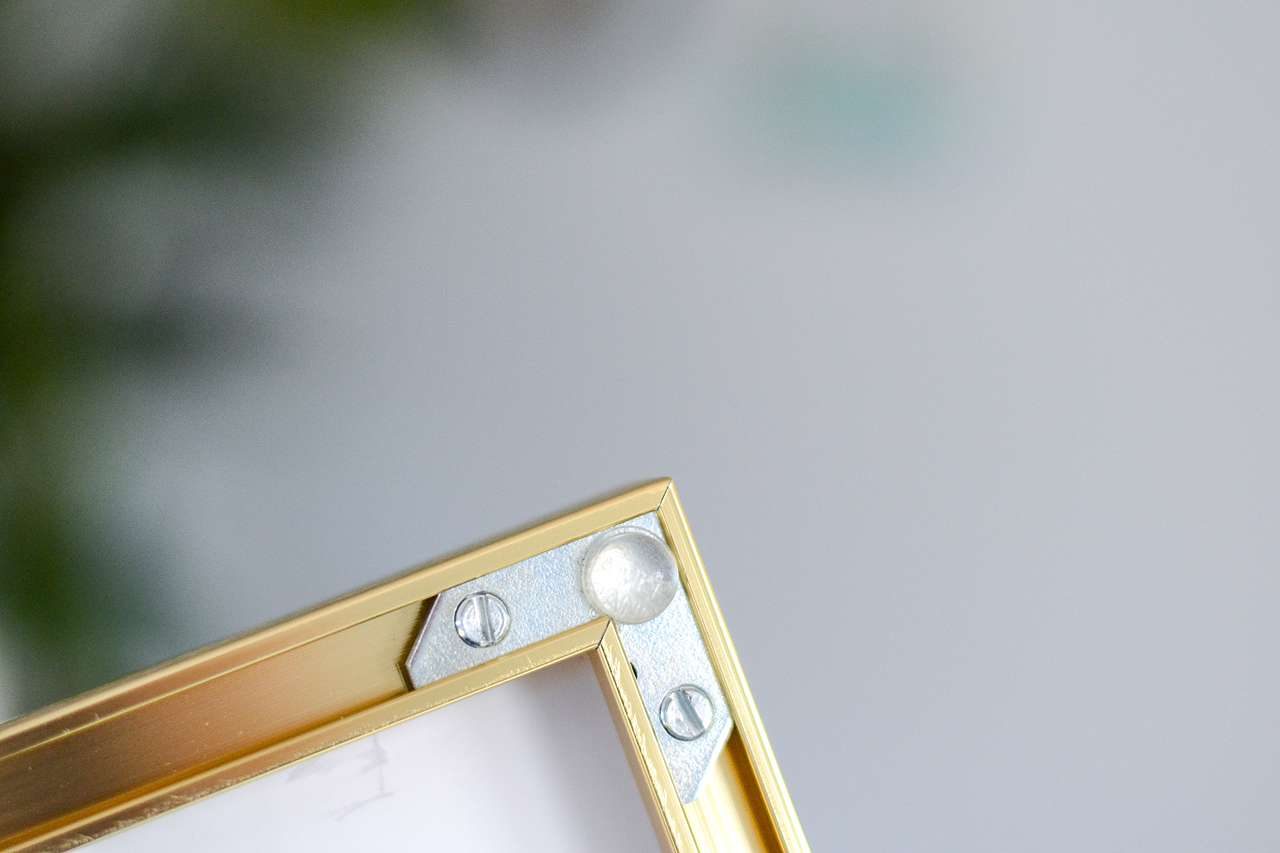
- Bumpers are meant to protect your wall more than your frame. Put the bumpers on the back corners of the metal frame to preserve your wall just as well as the frame you have preserves your artwork. (Note: sometimes these might be white foam squares instead of clear circles, but both are used the same and serve the same purpose.)
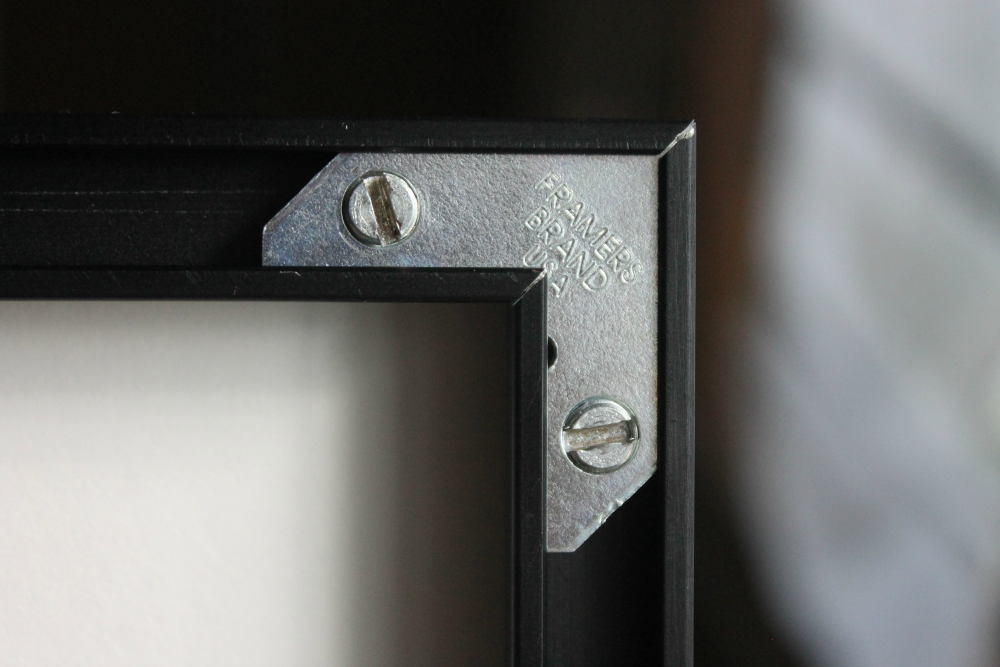
- Corner Brackets are what keep your metal frame together. As the name suggests, they are on the corners of your frame, and you can simply loosen or tighten to disassemble or assemble the frame. Something to note, however: You don’t need to remove the corner brackets entirely to loosen a frame rail. All you need to do is loosen them a little bit, about a half turn.
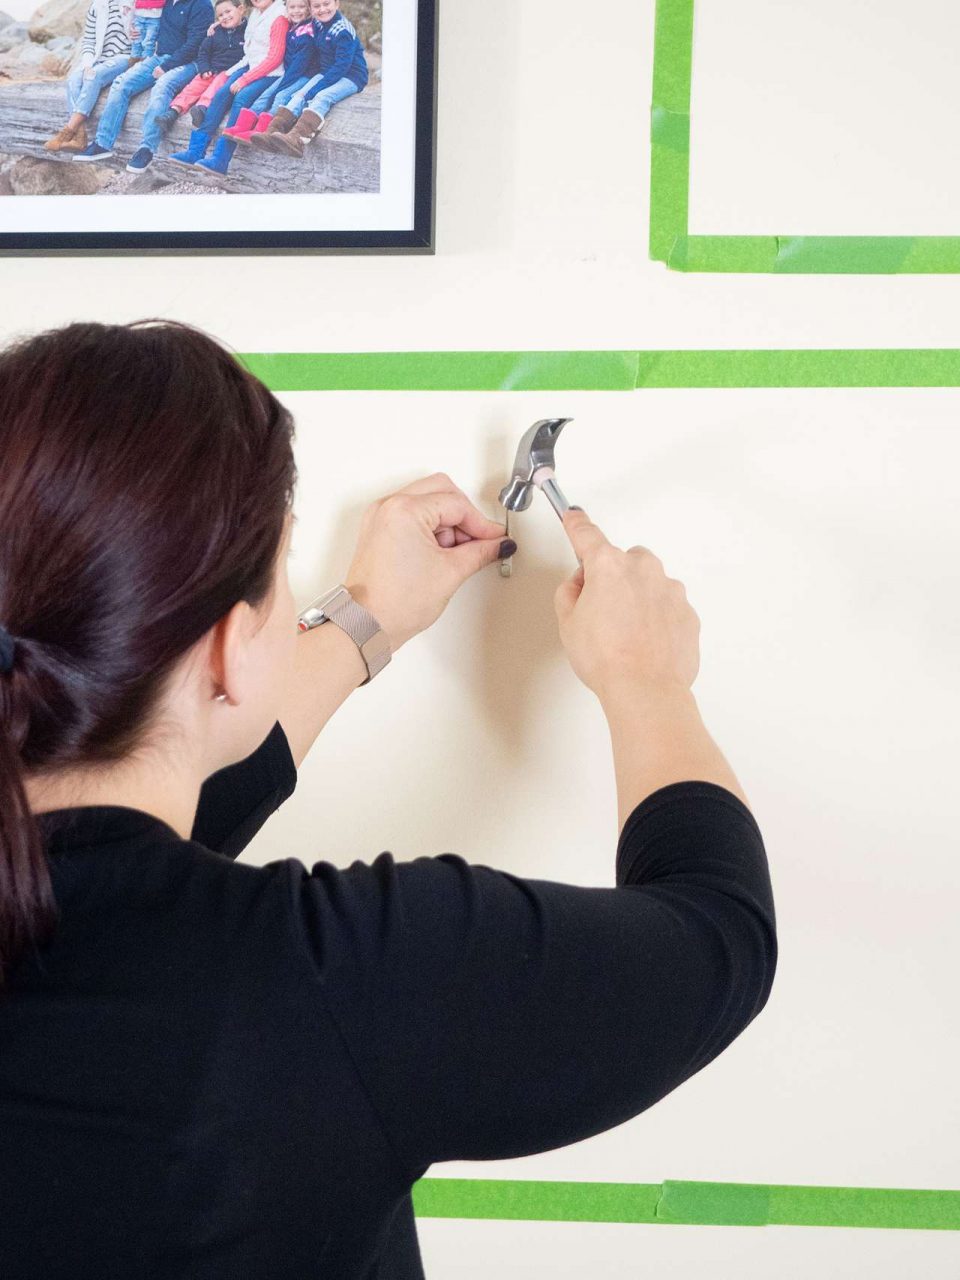
- Hook is what you mount on the wall for the frame to hang off of. Just make sure everything is level, and you should have a great display!
- Nail is what holds your hook in place on the wall. All you need to do is make sure you’ve found the perfect spot to hang your frame, and then hammer the nail through the hole on the hook; you should be all set from there.
Wood Frames
Our wood frames differ from metal frames in one key aspect: most of the hardware comes pre-attached. We do this for a few reasons, the main one being that the hanging hardware on wood frames is more permanent once secured in place.
In addition, wood frames are bound together, which means that the rails are not individual, but rather one unit. The corners are detailed in such a way to give the look of one single frame, too.
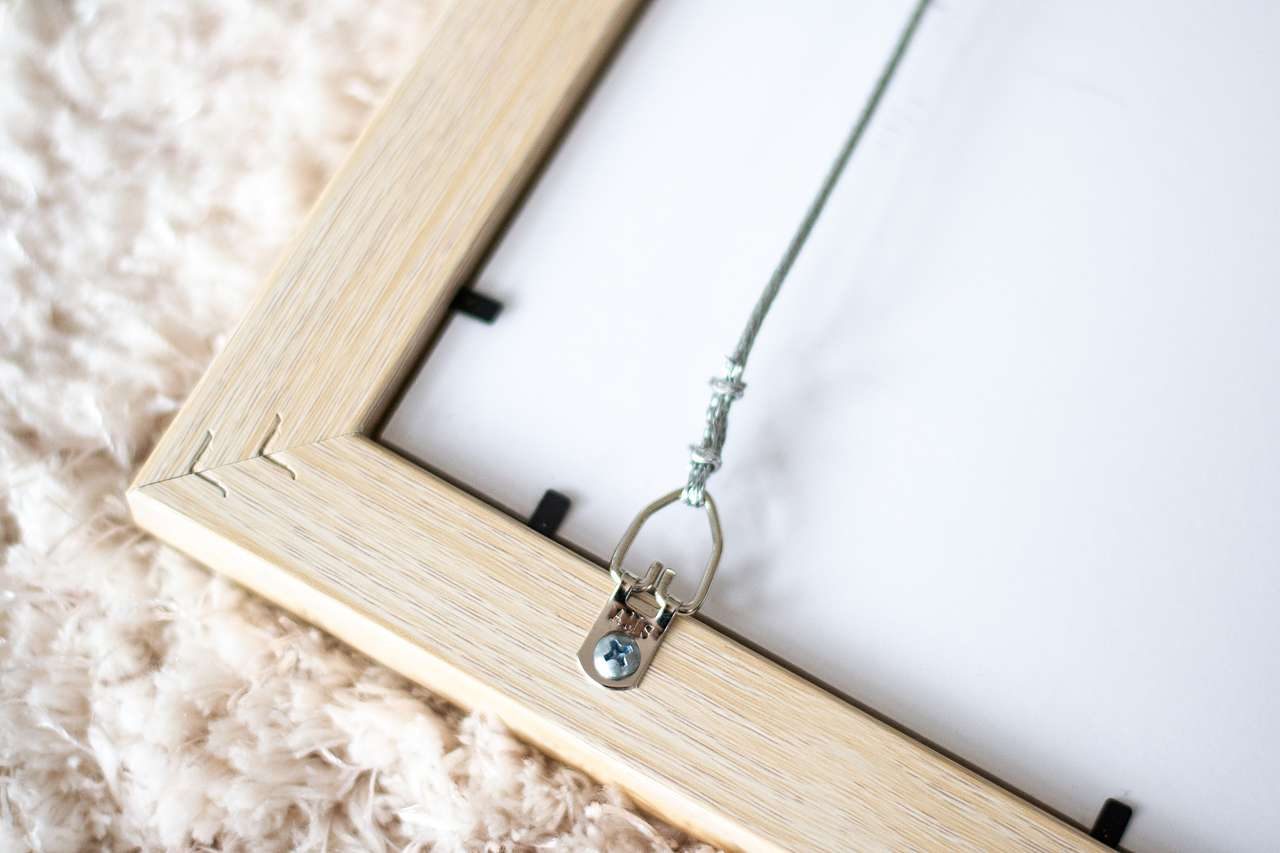
- D-Rings are the wood frame counterpart to Euro Hangers. They perform the same purpose, but for a different material. They come pre-fastened to the wood frame, since they are screwed directly into the frame profile.
- Hanging Wire used for wood frames is the same as the wire used for metal frames. The hanging wire comes pre-attached to the D-Rings, with one side untethered so you can easily remove the backing of your frame and place your artwork into it.
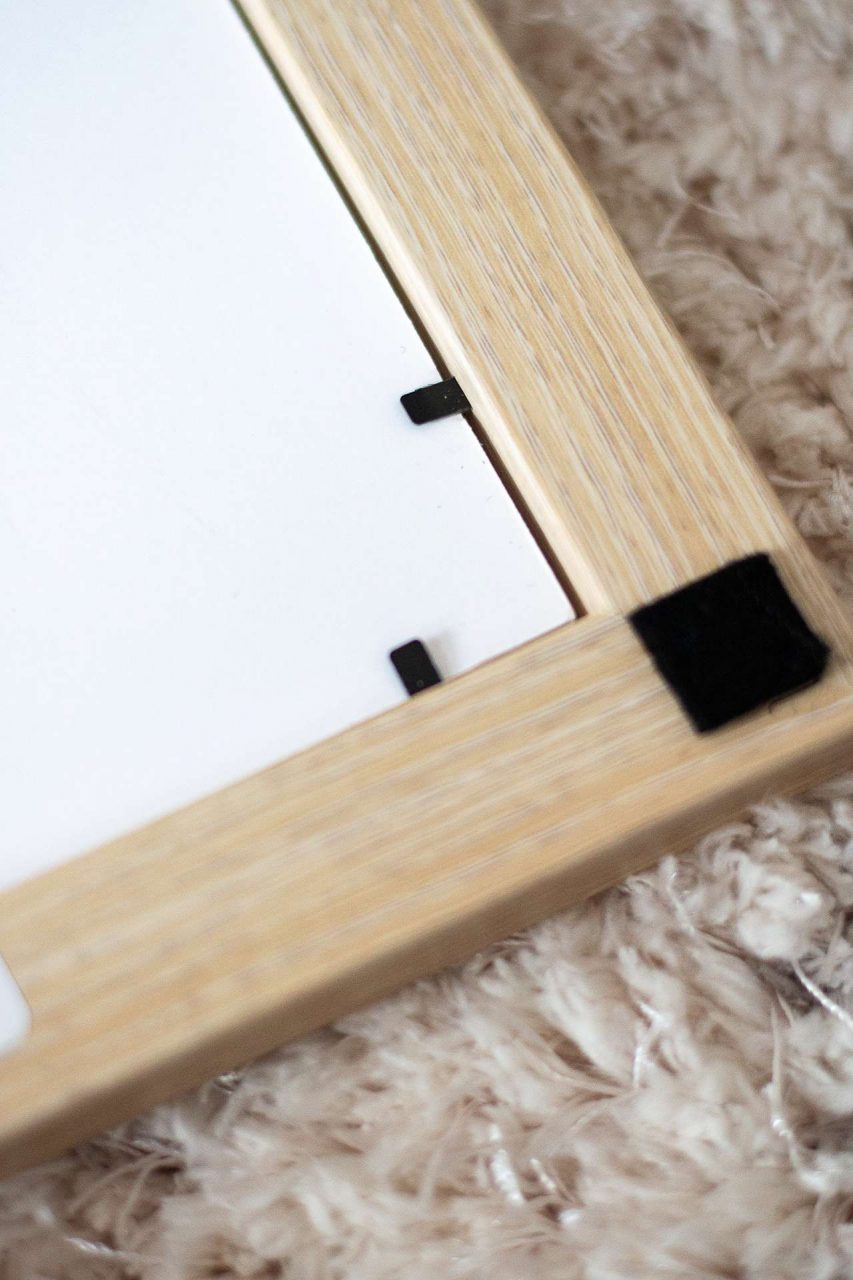
- Flexipoint Tabs come included on the back of our wood frames and are meant to be bent back to remove the backing from your frame, and then pushed back into place again once everything is placed in properly. These perform the same function as spring clips do for metal frames— keep everything in place and ensure nothing inside the frame can move or shake around.
- Felt Pads are added to the wood frame corners to protect your wall.
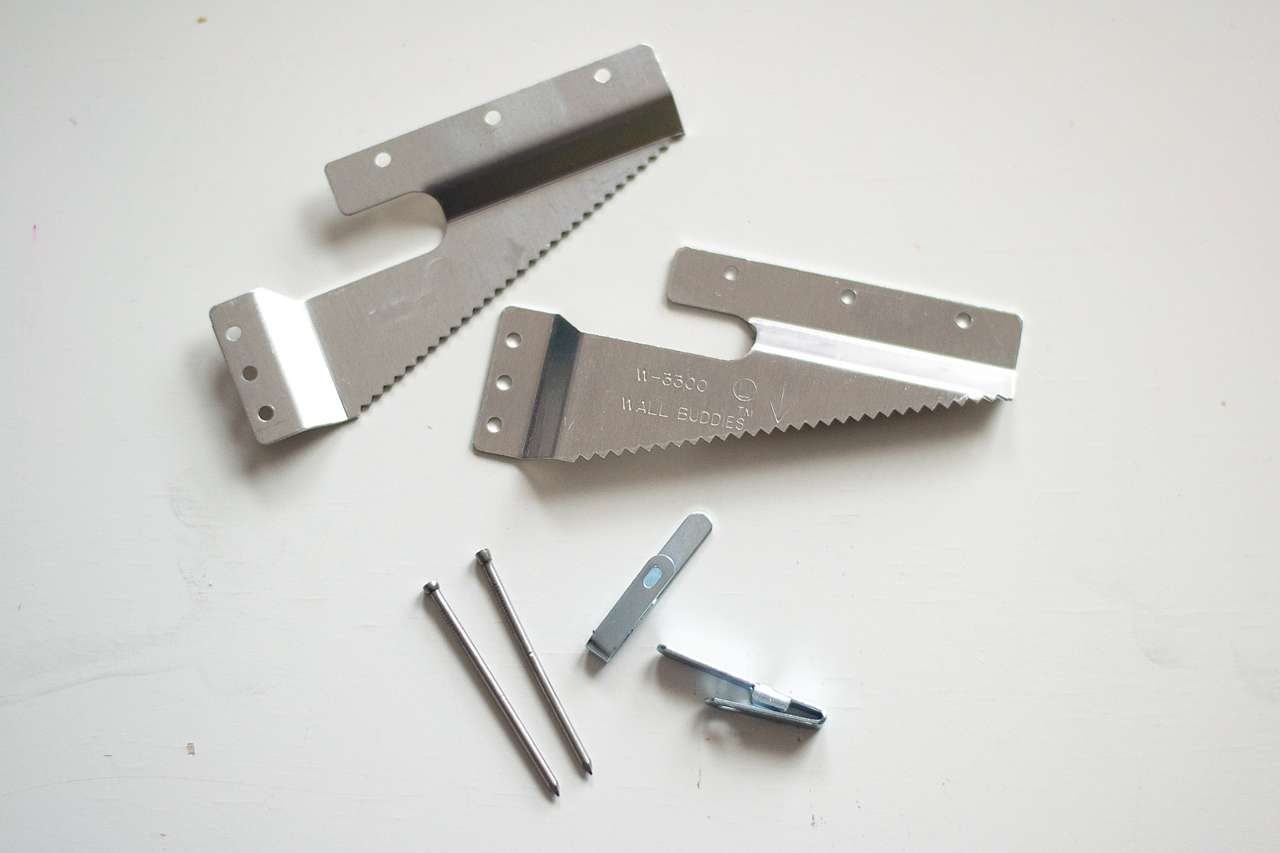
- Wall Buddies are for our larger wood frames to prevent them from bowing over time. (If you use hanging wire on a larger wood frame, the final product might warp and bow after a few months.) The Hanging Brackets are similar to sawtooth hangers— for those of you who may have prior knowledge of framing— these are placed on the corners of the frame, then attached to the nails & hooks.
*Smaller wood frames also come with a hook and nail.
EaselMate™

For metal and wood frames styles up to 13″ x 19″, you have the option to add an EaselMate™ if you wanted to stand your frame up on a shelf or table. The EaselMate™ acts as an easel to keep your frame standing straight, and can be adjusted to any angle. It takes only seconds to install but is strong and durable to keep your frame standing tall! You can find the EaselMate™ on our accessories page to add to your cart.
Packing Things Up
We get it. Unpacking your order is an exciting thing. You just got your frame, and you’re ready to get it on the wall. But we think understanding what makes our packaging secure and effective is important, too, as well as how to best dismantle it. What’s the bonus, you ask? Our packaging is 100% recyclable.
All of our frames are shipped with a packing slip that includes in-depth instructions for frame assembly. Of course, if you have any other questions, though, feel free to reach out. While we try to make our website and packaging as easy as possible for you, we understand that you may still have some questions, so we will do our best to assist you further.
Now that you know what to expect when you open your package from Frame It Easy, aren’t you even more excited to receive your order! If you haven’t ordered with us yet, head over to our Frame Designer to start designing your first frame. Once you do receive your frames and open them up, be sure to share photos with us on social media and let us know what you think! We can’t wait to see what you’ve created.
