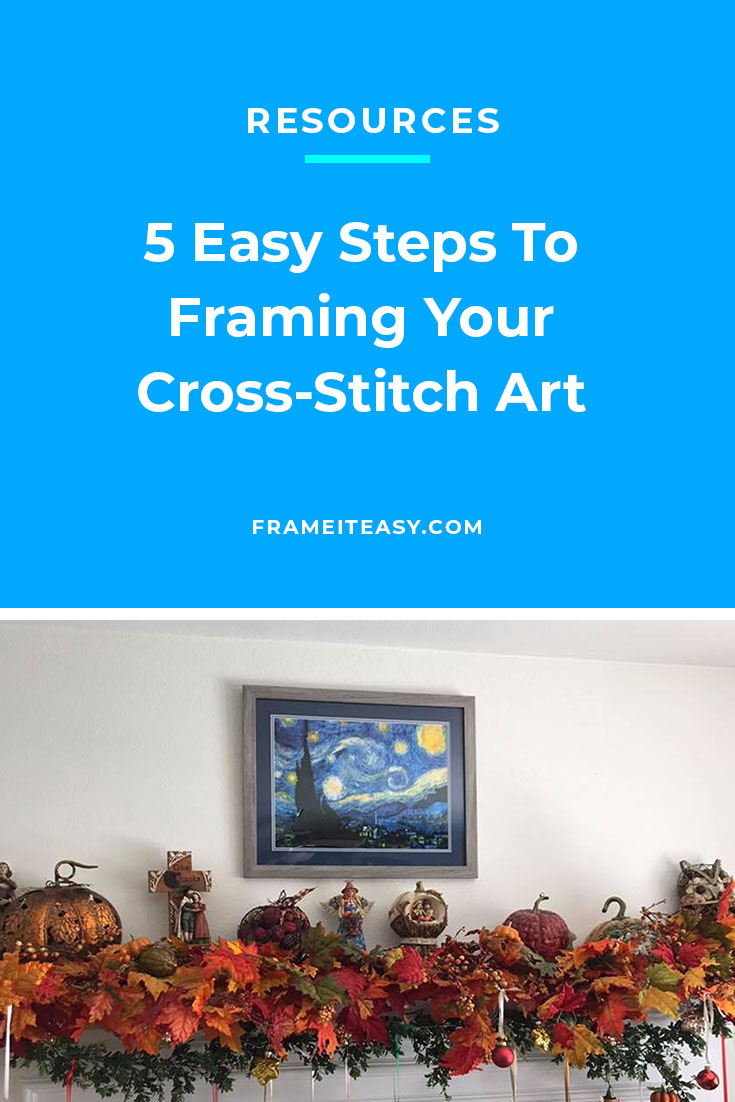
Cross-stitch is a fun and easy form of embroidery (and, in case you haven’t been to our site before, we like it when things are easy). We’ve noticed a lot of our customers end up using our frames to display their latest needlepoint project — whether it’s something they made by hand or purchased from a talented artist.
Like puzzles, though, cross stitches are different than your basic photograph or print and require a little extra work when it comes to framing them. And while our frames can certainly work for them, there are some other considerations or steps you would need to take for the best possible display.


Keep reading for mounting and framing tips & tricks, then follow along with our instructional video!
1. Wash Your Cross-Stitch


You will want to ensure that your cross-stitch fabric is clean and presentable before you frame it to be hung on your wall.
Luckily, everything you need is probably laying around your home! A bowl filled with some lukewarm water and some mild soap is all that you really need. In terms of what type of soap to use, most sources recommend something like a gentle dish detergent (just a small pinch), while others suggest using baby bubble bath formula. Either way, don’t use anything too strong, or too much of it! A little goes a long way.
Next, you will need to place the cross stitch in the water for about 15 minutes —moving it around as it soaks. Once you do that, rinse it with water a few times until the water runs clear.
From there, you’ll want to place it down on a clean, white towel — making sure to get out all the wrinkles and folds. Place another white towel on top of it, and roll until all the excess water is out. Make sure not to fold the towel and cross-stitch; roll it instead, as you won’t want any creases showing in the final, framed product!
2. Measure Cross-Stitch & Place An Order

This is a staple of all our framing tutorials — measure, measure, measure! There’s a more in-depth tutorial for measuring what youre framing on our site, but it’s still important to discuss here, as there are a few things to consider when measuring your cross-stitch.
Because you usually stretch a cross-stitch over a more solid surface, it might be a good idea to do that before measuring — the numbers you measure after your cross-stitch will represent your “Art Size”


Keep in mind that our thickness limitations are 1/8″ for our wood frames and 1/4″ for our metal. The average poster board thickness isn’t even 1/16″ thick. These would work as a mount for your cross-stitch masterpiece.
Keep in mind, while thicker than your average print, will still work for our frames. So not everything thicker than paper is automatically excluded from our frames. Needless to say, you got room to wiggle here!
Oval-Cut Matboards – We got ’em! Head over to our matboards page and select “Oval” from the opening type selection!
3. Pin & Mount

Before you put your cross-stitch in a frame that would protect it forever, why not give it some solid ground to sit on, first? That’s what mounting is for!
The biggest issue you’ll run into when mounting your cross-stitch is getting it wrinkle-free. There are a few ways you can go about doing this. The first is to use a spray bottle when you lay it over your poster or foam board. From there, you could flatten it out and remove all the wrinkles. There is, however, something different you can use that might be a little less wet, with the same result.


There are sticky foamboards made just for needlepoint works, and you can use them to adhere to your piece, so it won’t move around. There are tons of options on Amazon. Just be sure it’s suitable for cross-stitching and is acid-free.
From there, you would lay your cross stitch over your backing of choice — folding the excessive ends around the edges of the board. Make sure the piece is as tight as possible, to prevent any further creasing or wrinkling from appearing over time.
Once you stretch it across, and it’s as tight as you can make it, place pins into the side of the board to hold it in place. These are only temporary, though, as you’ll need some sort of adhesive to hold the excess folds in place permanently. Some cross-stitch enthusiasts suggest scotch tape. We would advise against this, due to the acidity. Grab some framers tape or an acid-free alternative instead!
4. Have Frayed Or Loose Edges?

Let’s face it: The worn, rustic look is in. And that means that showing the age of certain items is trendy. You might have a cross-stitch with frayed edges, and you want to show off every last bit of it — even the jagged ends.
This would require fewer steps and less speculation about measuring. All you would have to do is measure the area around the very edges of the piece that you want to show and make that your “Art Size.”
However, if you want to make sure your piece is smooth and fray-free make sure your fabric is secure and in place with framers tape! Trim any loose ends with a pair of scissors and you’re good to go.


Pro Tip: if you’re not a fan of white backing you can order a whole matboard from our Matboards page in tons of different colors. Just make sure the “Outside Width and Height” is equal to the “Art Size” for your frame!
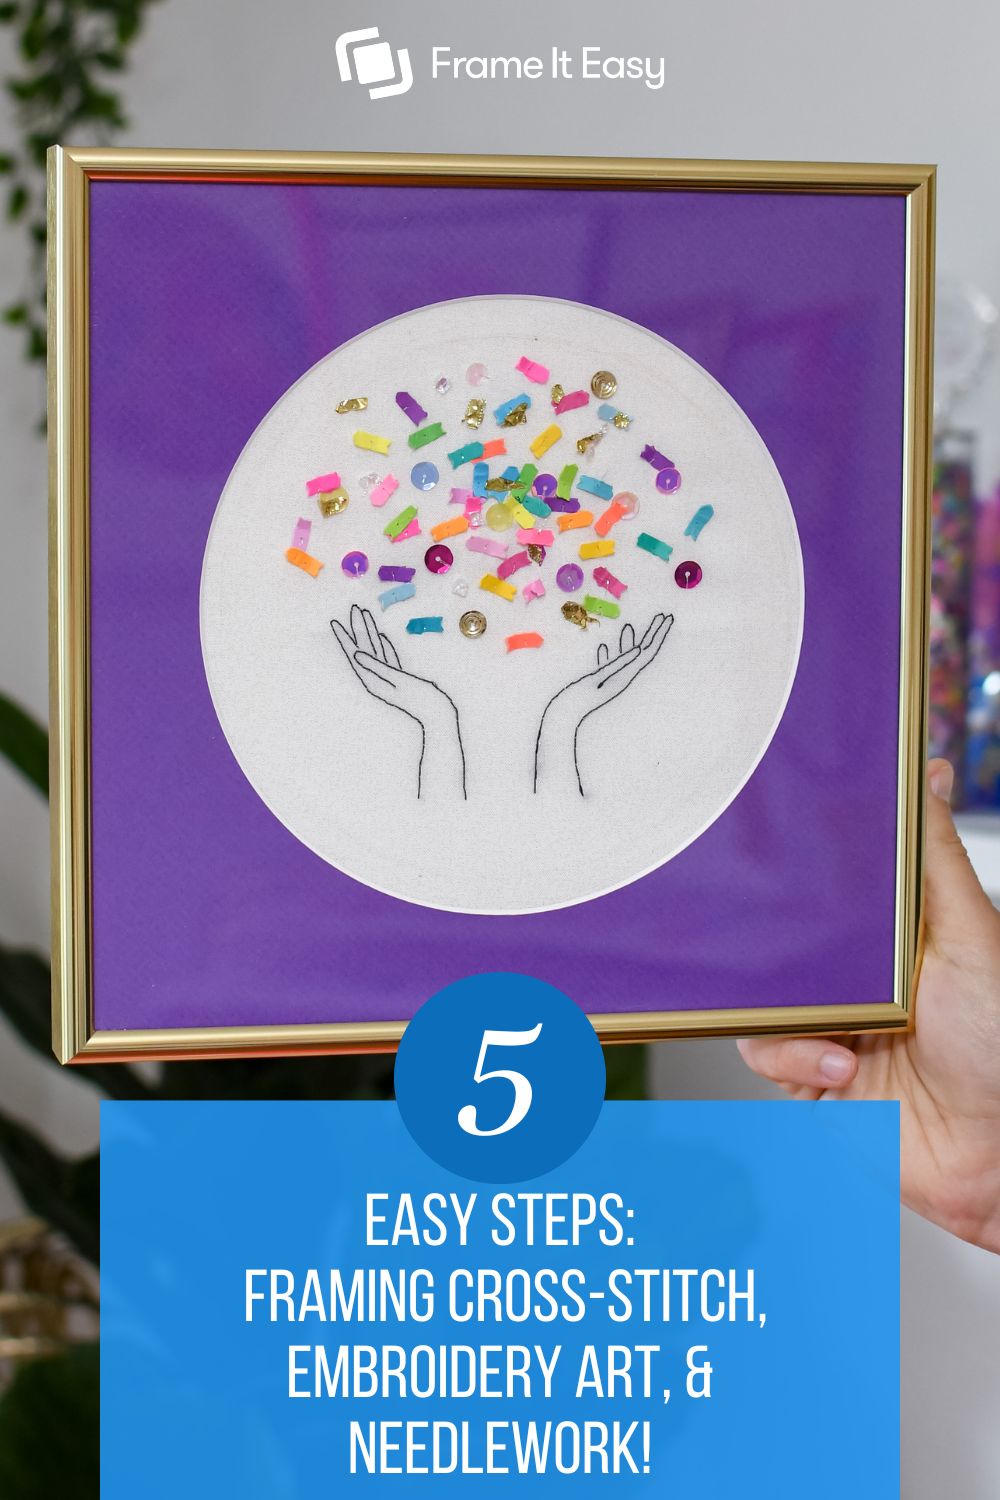
5. Frame It (Easy!)


This is the grand finale. But when you’re here, it shouldn’t be any different than framing your basic print, as you’ve already done the hard part in mounting the piece!
If you ordered a frame from us, just keep in mind the difference between wood and metal. Metal has a little more wiggle room for your thicker art pieces, so it would be our top suggestion for framing anything cloth.
Of course, it’s your project; do it as you see fit! If you really like the aesthetic of our wood frames, just make sure that the total thickness of your piece (board with the needlework itself) is 1/8″ or less.
Final Tips for Framing Cross-Stitch
Cross-stitch, embroidery, and other needlework pieces can look beautiful when framed. Because fabric art is thicker and more delicate than a standard print, framing may require a few extra steps.
Keep these basics in mind:
- Start clean. Make sure the fabric is clean and wrinkle-free before framing.
- Secure the fabric. Use pins, stitching, or archival methods to hold the piece in place.
- Use proper support. Matting and sturdy backing help protect and display the texture of the needlework.
Once framed, your piece is ready to hang and enjoy.
Have a framed cross-stitch or embroidery project? Share your photos and story with us—you might inspire someone else’s next framing project.
Ready to frame it?