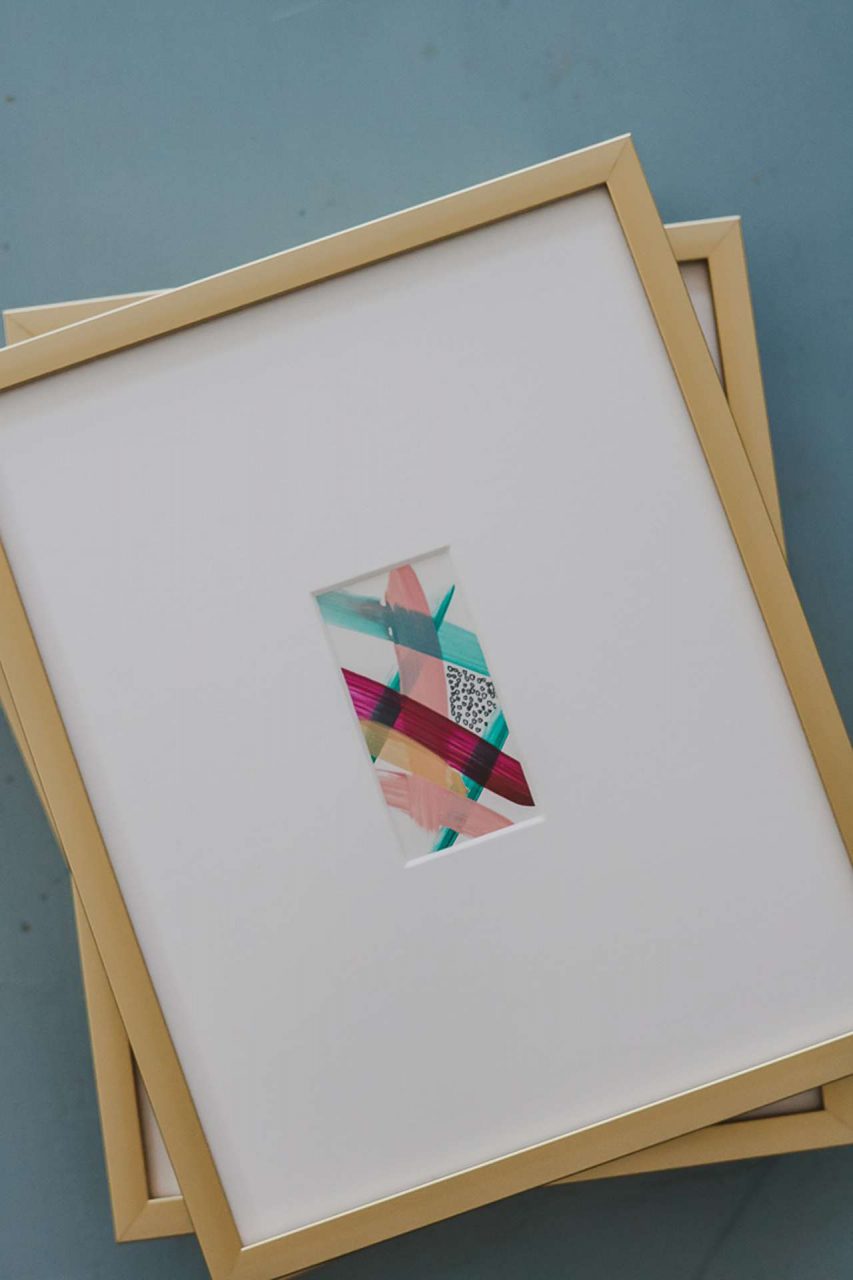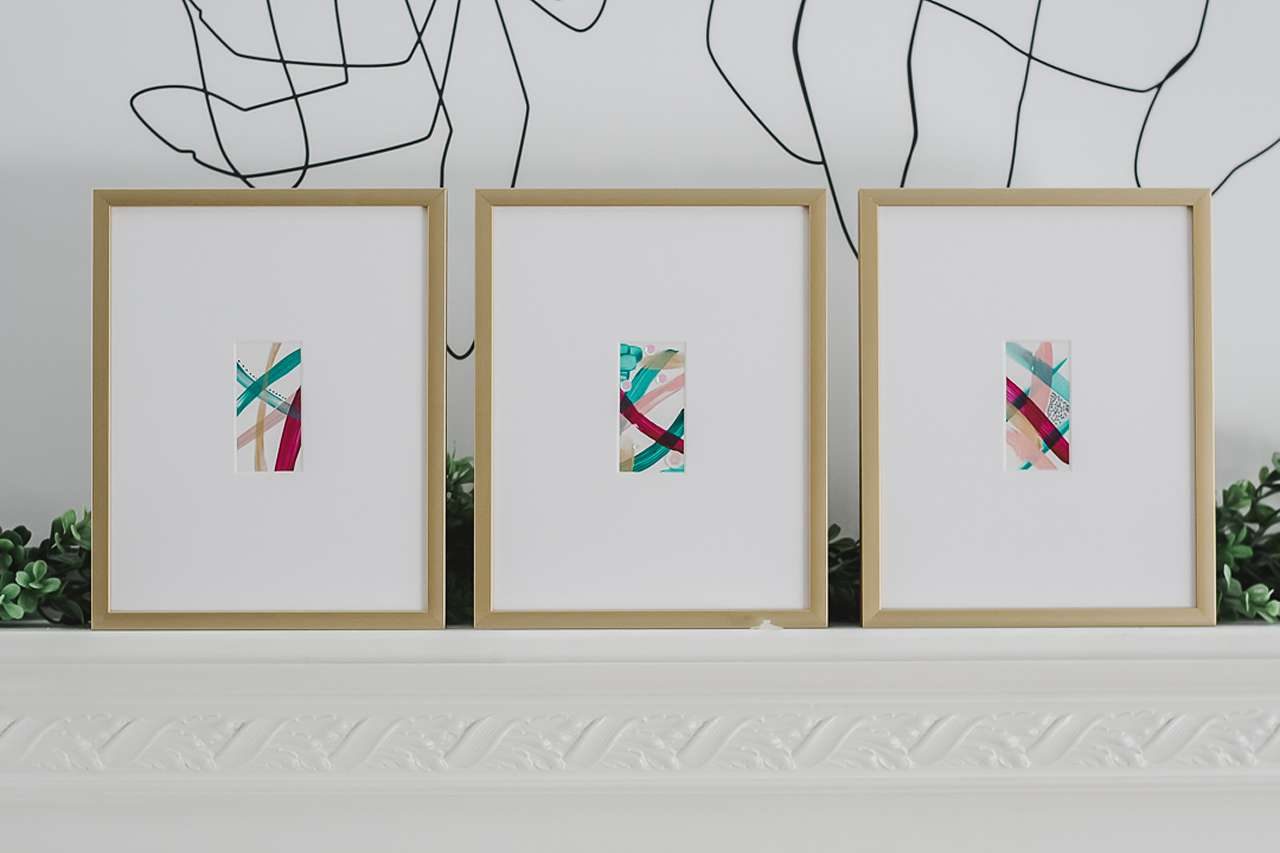
Have some small art you’re not sure how to frame? Perhaps a Polaroid picture, photo booth strip, business card, movie/concert ticket stub, greeting card, or miniature original piece of art?
While here at Frame It Easy the smallest “Art Size” our frame designer will allow is 5″ x 5″ (the smallest frame rails our operators can safely cut!), you can still frame smaller art by adding custom matting.
Here we’ll give you an easy, step-by-step tutorial on how to order a custom-sized mat for framing smaller art.
Step 1: Measure the Size of Your Art, Then Subtract 1/2″ From Each Dimension

The first thing to do when looking to frame smaller art (or any art!) is to measure its dimensions, in inches, width by height.
If you need some more guidance here, be sure to check out our post on properly measuring your art for framing!
The only extra step as far as measuring goes will be to subtract 1/2″ from each dimension. So if your art measures 2″ x 3 1/2″, you’ll want to use 1 1/2″ x 3″.
(This is so that the inside edge of the mat will cover your art by 1/4″, which will prevent your art from “falling through” the mat. Note: If you order a full frame through our frame designer without separate, specialty matting, we will automatically adjust for the 1/4″ overlap. You only need to manually change your art size measurements to achieve a very specific look, as in the case of framing smaller art.)
**Since your art is already on the smaller side, if 1/4″ is too much of an overlap, you can also choose to subtract only 1/4″ from each dimension to lessen the overlap to 1/8″. This is the least amount of overlap we recommend, as you still need some sort of “edge” to hold your art in place!
Step 2: Order Matting From Our Accessories Page
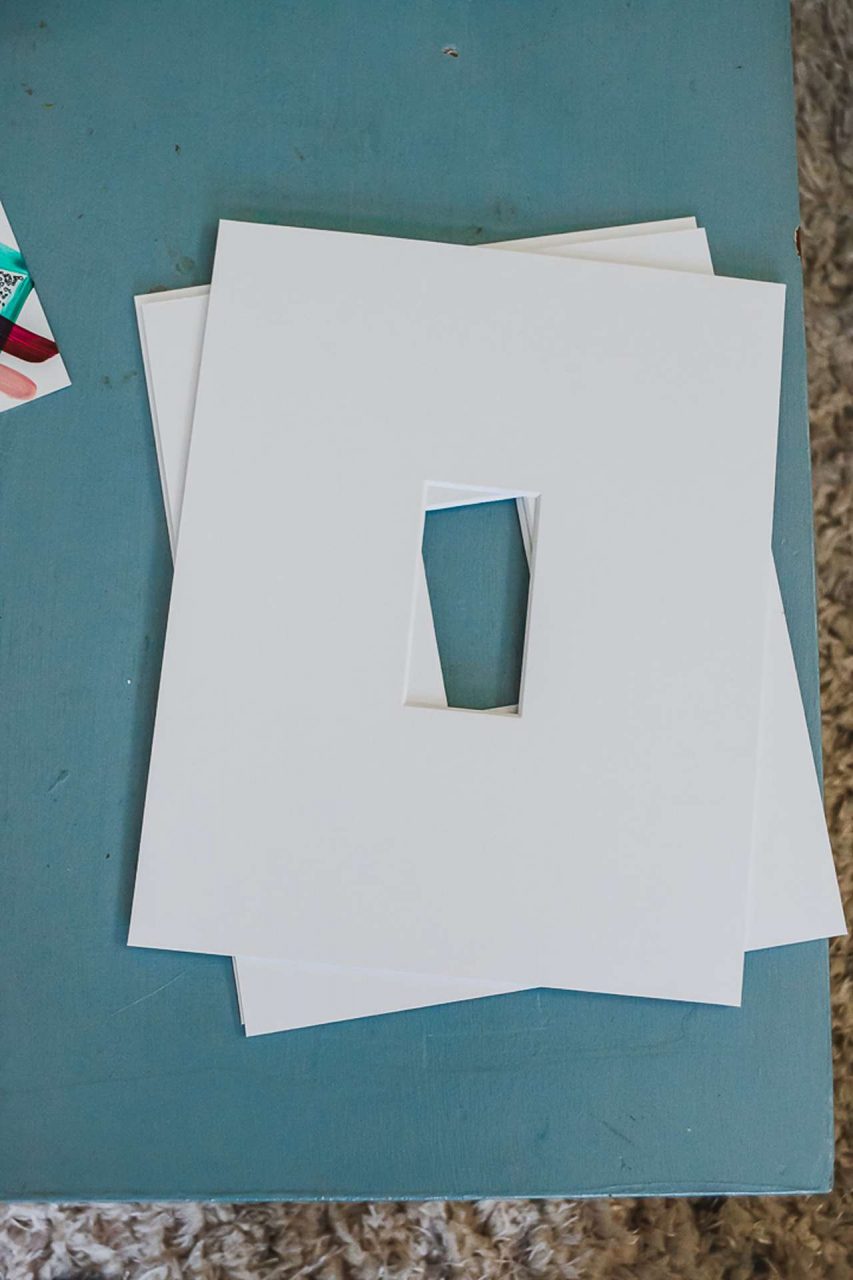
Once you have subtracted the 1/2″ from each dimension, enter these numbers as the inside dimensions of your matboard on our accessories page.
So again, if your art measures 2″ x 3 1/2″, you’ll enter 1 1/2″ as the Inside Width, and 3″ as the Inside Height.
Next, choose the outside dimensions of your matting — this will determine how thick your matting is on each side, so consider if you want something thicker or thinner (keeping in mind the minimum is 5″ x 5″, and the sizing must be at least 2″ larger than inside dimensions).
You can also choose to enter the dimensions you’d prefer your overall frame to be, so if you want a frame around 8″ x 10″ you can enter 8″ for the Outside Width and 10″ for the Outside Height.
Once you’re happy with your size and color selection, add the matting to your cart.
Step 3: Design Your Frame and Enter the Outside Mat Dimensions into “Art Size” Field
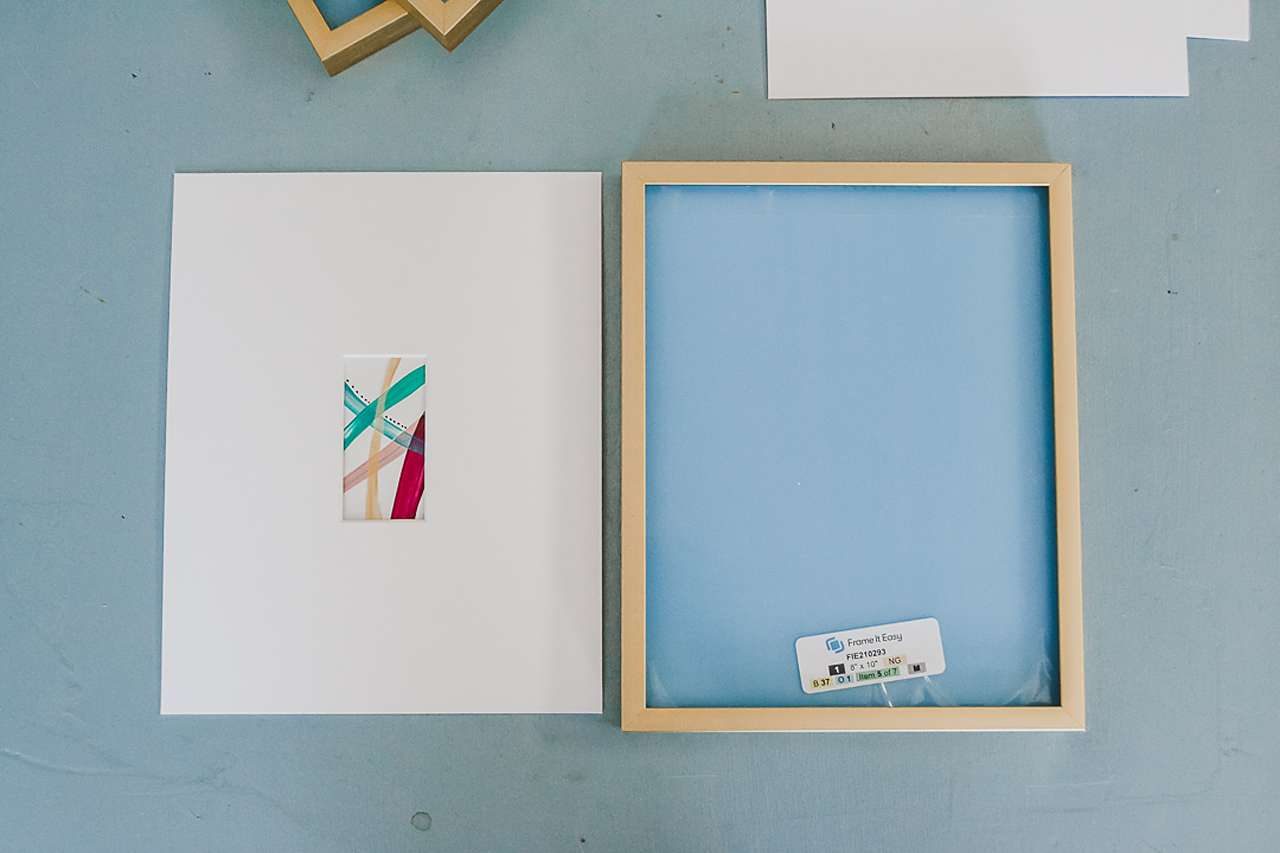
Now take those same Outside Dimensions — in our example case 8″ x 10″ — and use these as the “Art Size” dimensions in our frame designer.
Choose your style frame and cover type (no need to add matting here!), then add to your cart & purchase along with the separate matting. (*You may also want to add some Framer’s Tape to your order, as noted in the next step!)
Step 4: Mount & Frame
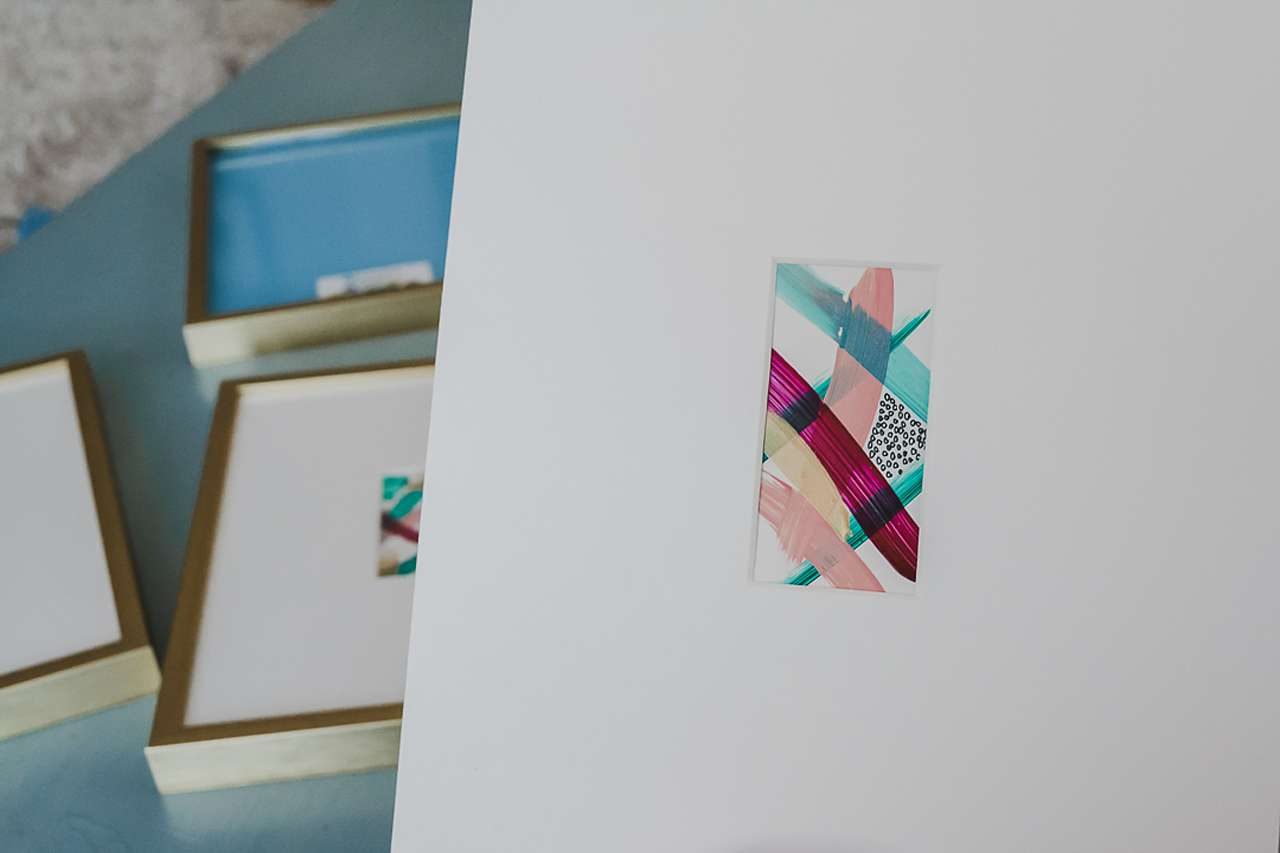
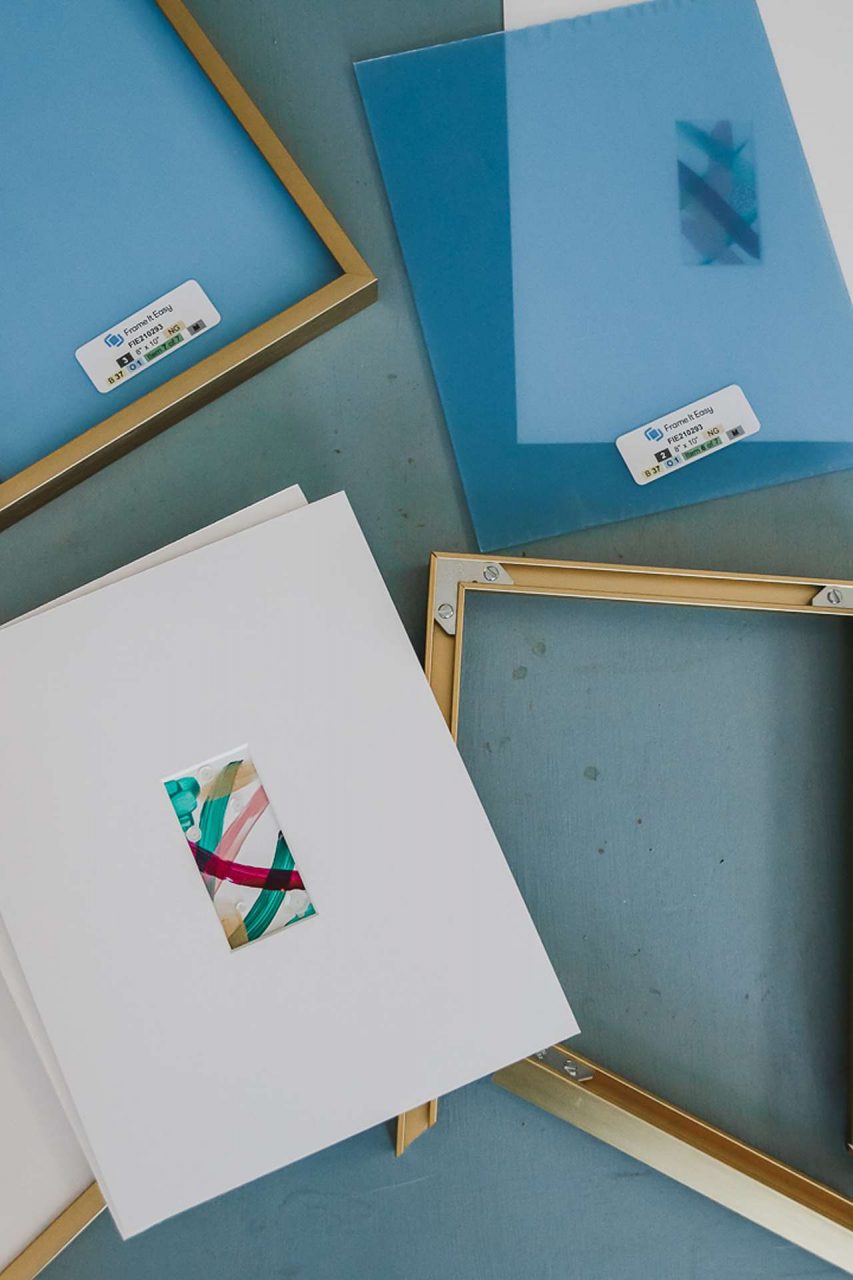
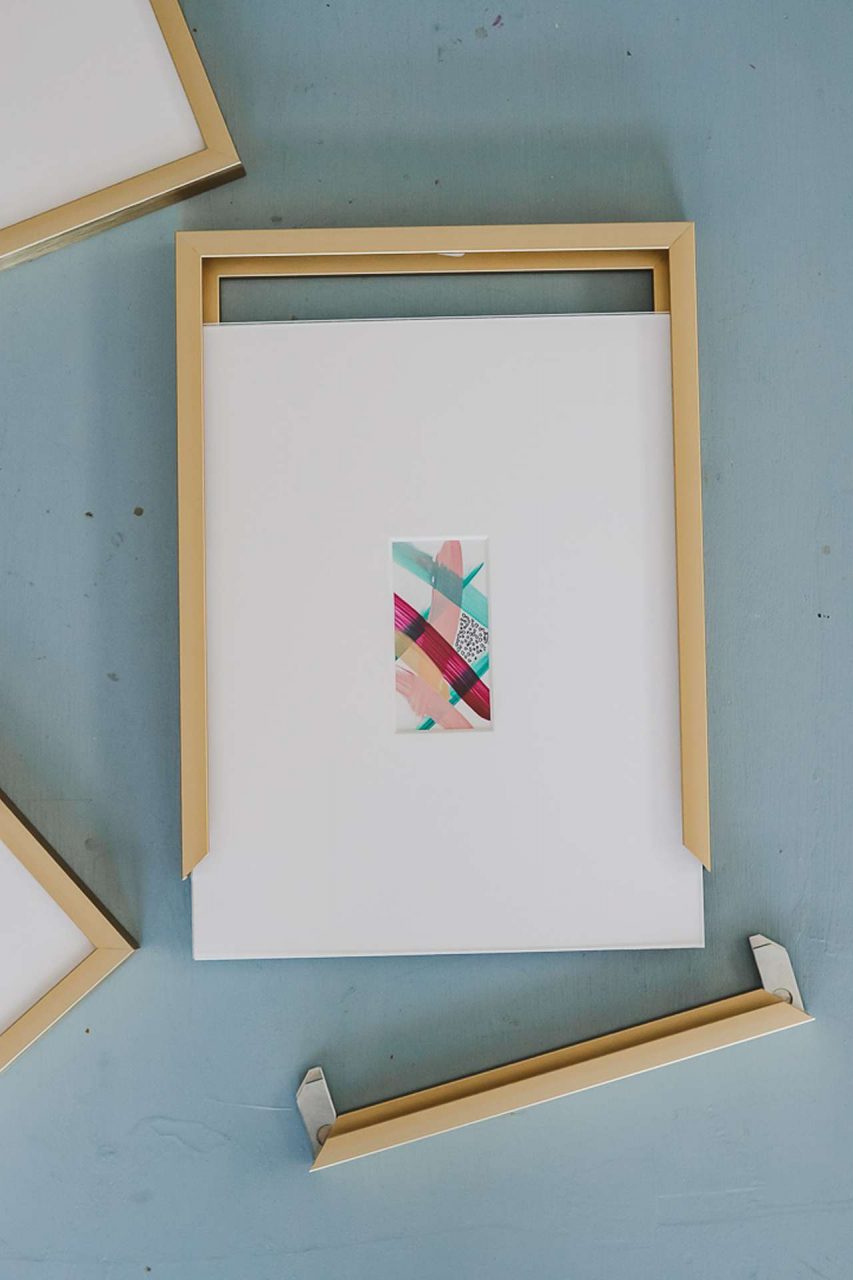
Once your frame and mat arrive at your door, follow our assembly instructions for either wood frame assembly or metal frame assembly.
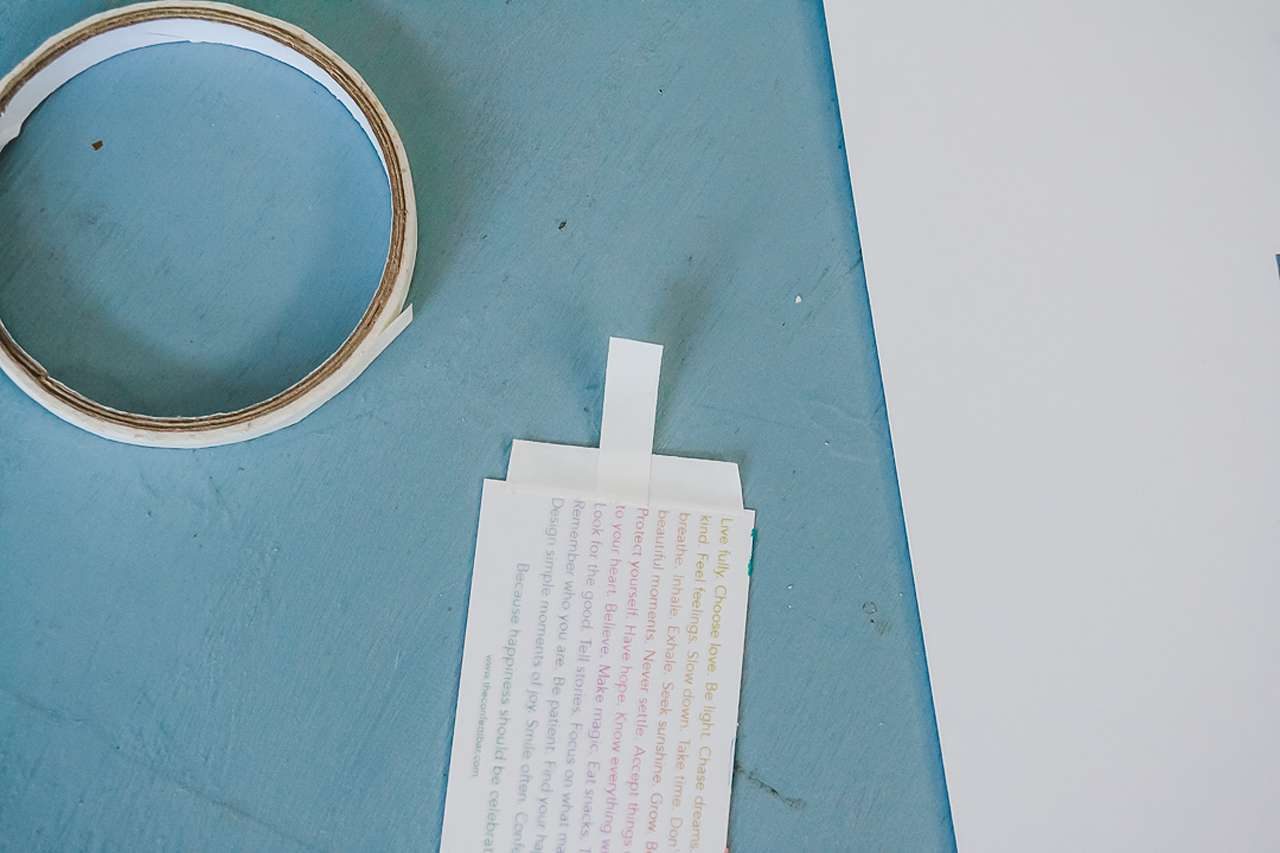
Consider using Framer’s Tape to safely mount your art to the matting using the T-Hinge Method.
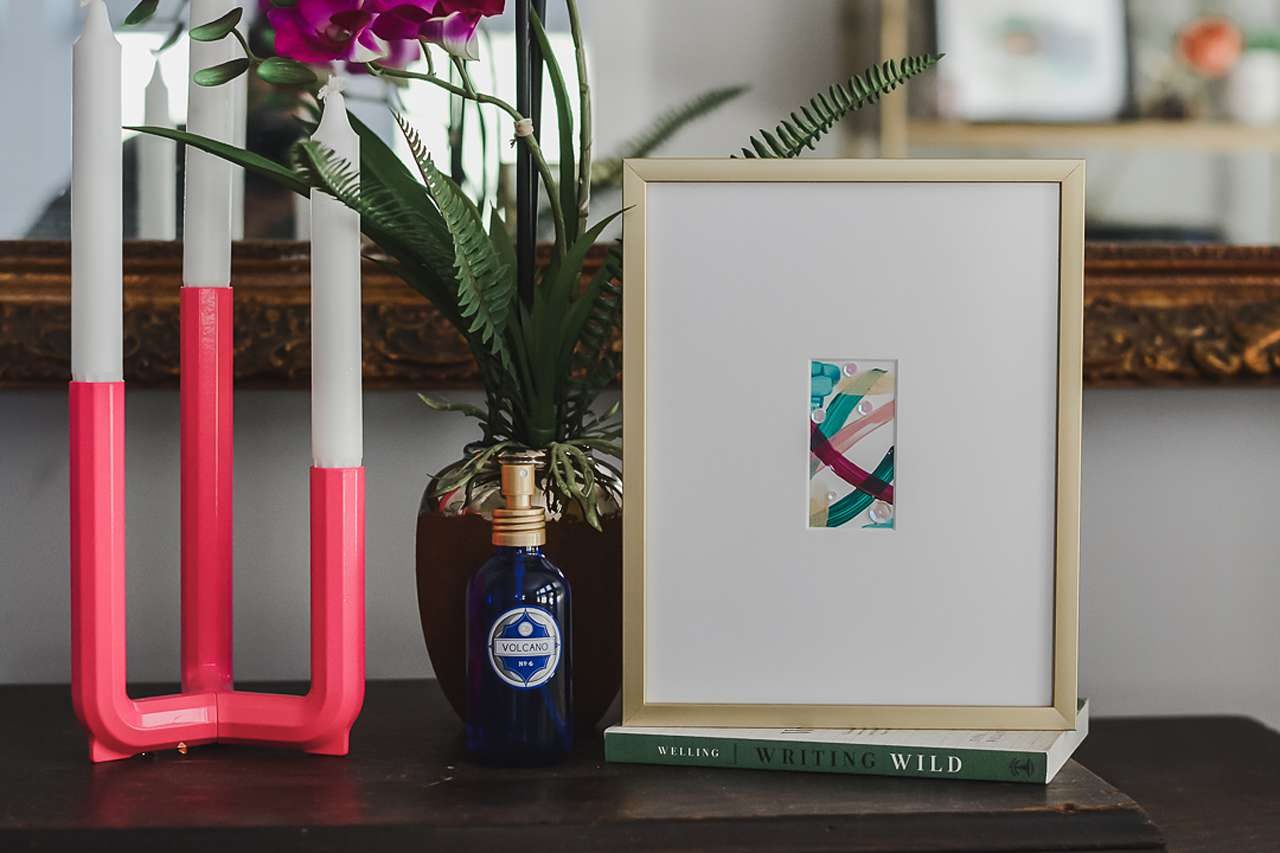
And there you have it — a beautiful custom frame with a striking mat to showcase your small piece of art.
